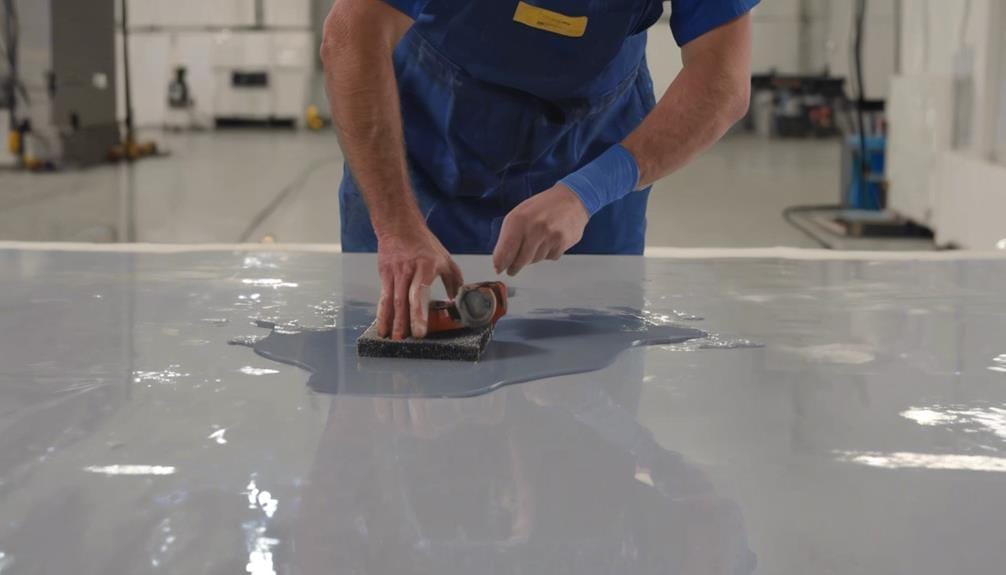
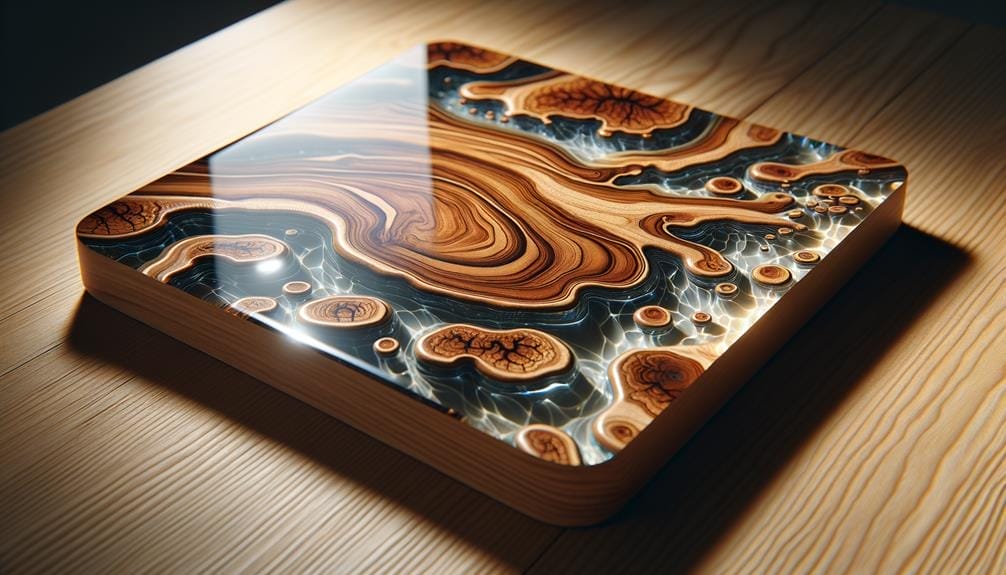
Are you looking to achieve a flawless, thick layer of epoxy on your next project? If so, you’ve come to the right place.
Thick layer epoxy application is a technique that offers numerous benefits, but it’s important to understand the proper techniques and considerations for successful results. From waiting time between resin layers to warming the epoxy for thicker application, there are various factors to consider.
In this discussion, we will explore the pros and cons of thin and thick epoxy floor coatings, as well as the importance of choosing the right epoxy floor thickness.
So, let’s dive in and discover the world of thick-layer epoxy application and how it can elevate your projects to the next level.
Key Takeaways
- Proper surface preparation is crucial for a successful thick-layer epoxy application.
- Waiting between resin layers allows for a thicker coat and reduces visible seams.
- Warming the resin in a water bath helps pour thicker layers.
- Sanding between layers helps achieve a thicker coat and allows for the addition of embellishments.
Benefits of Thick Layer Epoxy Application
The benefits of applying epoxy in a thick layer are numerous and can greatly enhance the durability and aesthetic appeal of your project.
When it comes to thick epoxy application, one of the main advantages is improved durability. A thick layer of epoxy provides a strong protective coating that can withstand heavy foot traffic, impacts, and abrasions. This is especially beneficial for high-traffic areas such as garages, workshops, and commercial spaces.
Additionally, thick epoxy application can enhance the aesthetic appeal of your project. With a thicker layer, you can achieve a glossy and seamless finish that adds a touch of elegance to any space. Whether you’re applying epoxy to a floor, countertop, or even artwork, the depth and clarity of the epoxy will be greatly enhanced with a thicker application.
This is particularly important for epoxy flooring, as the thick layer can create a smooth and seamless surface that’s both visually appealing and easy to clean.
Techniques for Applying Thick Layers of Epoxy
To achieve a thick layer of epoxy, you need to master the art of layering techniques.
Proper surface preparation is crucial to ensure adhesion and a smooth finish.
Layering Techniques
To achieve a thicker epoxy coat, follow these layering techniques.
To build up a thicker coat, wait 24 hours between resin layers. This allows for adding embellishments and requires sanding for a smooth finish.
If you want to reduce visible seams, wait 3-5 hours between resin layers. The new layer should be applied while the previous layer is still tacky for better adherence. This technique also allows for adding inclusions for artistic effects.
To pour thicker layers, warm the resin in a water bath to lower its viscosity. Make sure to warm the bottles before measuring and mixing them for better flow and coverage.
To reach the desired epoxy thickness, wait 4-6 hours between layers and pour new layers over the partially cured previous layers. Repeat this process until the desired depth is achieved.
Remember not to exceed the optimal thickness to prevent trapped air bubbles, smoky emissions, and a cloudy finish.
Surface Preparation
Consider these effective techniques for applying thick layers of epoxy during the surface preparation process.
- Sanding between layers of resin is crucial for achieving a thicker coat and allows for adding embellishments.
- Allowing 3-5 hours between resin layers reduces visible seams and enables the addition of inclusions, requiring the new layer to be tacky for adherence.
- Lowering resin viscosity by warming it in a water bath allows for pouring a thicker layer and should involve warming bottles before measuring and mixing.
- Waiting 4 to 6 hours between layers and pouring new layers over partially cured previous ones helps in achieving the desired epoxy thickness.
- To prevent issues, avoid pouring epoxy that is too thick, as this can lead to the formation of air bubbles, smoky emissions, and a cloudy finish.
Proper surface preparation is crucial when working with epoxy coating systems. Following these techniques will help you achieve a thick and flawless epoxy layer.
Considerations for Successful Thick Layer Epoxy Application
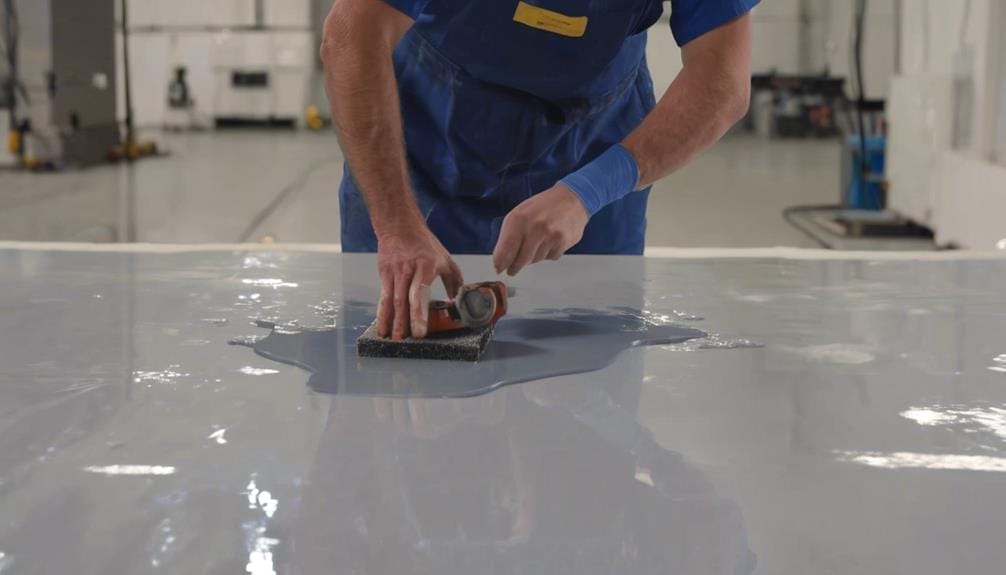
To ensure successful thick-layer epoxy application, there are a few key considerations to keep in mind.
First, the thickness of each layer is crucial for proper curing, so it’s important to follow the recommended waiting time between layers.
Additionally, proper surface preparation techniques, such as warming the resin and applying a seal coat, are essential for achieving a smooth and bubble-free finish.
Thickness for Proper Curing
Achieving the proper thickness for curing thick layer epoxy requires careful consideration of resin layer thickness and wait times between layers. To ensure a successful epoxy coating, here are some key points to keep in mind:
- Resin layer thickness:
- Pouring epoxy too thick can lead to issues like trapped air bubbles, smoky emissions, and extended curing time.
- Optimal thickness depends on the desired appearance and the specific epoxy floor thickness requirements.
- Wait times between layers:
- Different wait times, such as 24 hours or 3-5 hours, offer various benefits and considerations.
- Longer wait times allow for better leveling and self-leveling properties, while shorter wait times are suitable for achieving a thicker layer.
Surface Preparation Techniques
To ensure a successful application of thick layer epoxy, proper surface preparation techniques are essential. When it comes to applying epoxy for floor coatings, surface preparation is crucial for achieving optimal adhesion and durability.
The first step is to thoroughly clean and degrease the surface, removing any dirt, dust, or contaminants. This can be done using a mild detergent, water, and a scrub brush.
Next, it’s important to repair any cracks or imperfections in the surface, as these can compromise the integrity of the epoxy coating. This can be done by filling the cracks with a suitable filler and sanding it smooth.
Finally, the surface should be roughened or etched to create a mechanical bond with the epoxy. This can be achieved by using a chemical etching solution or mechanically grinding the surface.
Following these surface preparation techniques will ensure a successful application of thick layer epoxy for floor coatings.
Waiting Time Between Resin Layers
For optimal results, allow a waiting period between resin layers to achieve a smoother finish and enhance the bonding of the new layer.
Here are some important points to consider regarding the waiting time between resin layers in thick-layer epoxy application:
- Waiting 24 hours between resin layers:
- Allows for adding embellishments to create unique designs.
- Builds up a thicker coat for maximum durability.
- It requires sanding between layers to achieve a smooth finish.
- Waiting 3-5 hours between resin layers:
- Reduces visible seams and creates a more seamless appearance.
- Requires the previous layer to be in a tacky state for proper adhesion of the new layer.
- Allows for adding inclusions such as glitter or pigments for creative effects.
It’s worth noting that warming the resin in a water bath can lower its viscosity, allowing for pouring a thicker layer. However, for the best results, it’s important to warm the resin bottles before measuring and mixing them.
Additionally, when aiming for a thicker epoxy coating, waiting 4 to 6 hours between layers, pouring new layers over partially cured previous layers, and using a heat gun or torch to remove air bubbles can help achieve the desired thickness. Remember to consider the intended use of the epoxy coating and ensure proper floor preparation for maximum adhesion.
Warming Epoxy Resin for Thicker Application
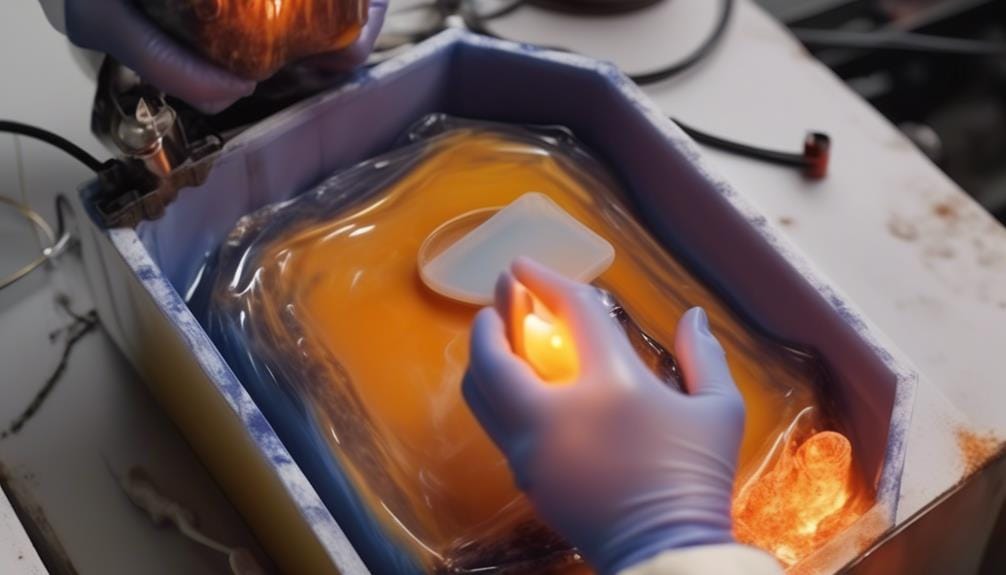
To achieve a thicker application of epoxy resin, consider warming the resin in a water bath to lower its viscosity. This process can help you pour a thicker layer, as warm resin has a lower thickness and flows more easily. You can warm the resin by placing the bottles in a warm water bath or by warming them before measuring and mixing. By doing this, you can ensure that the epoxy is at the optimal temperature for achieving the desired thickness.
In addition to warming the resin, it’s important to wait 4 to 6 hours between layers. Pouring new layers over partially cured previous ones allows for better adhesion and helps in building up the desired thickness. It’s also recommended to use a heat gun or torch to remove any air bubbles that may have formed during the pouring process. By repeating the layering process until the desired depth is achieved, you can effectively create a thicker layer of epoxy.
Once you have reached the desired thickness with additional layers, it’s crucial to allow the entire project to be cure cured. This ensures that the epoxy hardens and becomes durable. By following these steps and warming the epoxy resin, you can achieve a thicker application for your project.
Effects of Pouring Epoxy Resin Too Thick
When you pour epoxy resin too thick, you risk encountering several undesirable effects. Excessive heat can be generated, leading to the formation of air bubbles that can be difficult to remove.
Uneven curing may occur, resulting in a cloudy or murky finish. Additionally, pouring epoxy resin too thick can cause cracking and other imperfections in the final coating.
It’s important to carefully consider the thickness of the epoxy to avoid these issues and achieve a successful application.
Excessive Heat and Bubbles
Poured too thick, epoxy resin can result in imperfections such as trapped air bubbles and a cloudy finish due to excessive heat. To avoid these issues, consider the following:
- Air bubbles: When epoxy resin is poured too thick, air bubbles can become trapped within the resin. To prevent this, it’s important to remove air bubbles by using a heat gun or torch to heat the surface carefully, allowing the bubbles to rise and pop.
- Excessive heat: Thick layers of epoxy resin can generate excessive heat during the curing process, leading to smoky emissions and potential curing issues. To prevent this, it’s crucial not to exceed the optimal thickness and wait for each layer to fully cure before applying additional layers.
Uneven Curing and Cracking
Excessive thickness in the application of epoxy resin can lead to uneven curing and cracking, resulting in a compromised finish.
When pouring epoxy resin too thick, the curing process becomes challenging. The heat generated during curing is unable to dissipate efficiently, causing uneven curing. This uneven curing can result in the formation of cracks as the epoxy resin tries to shrink and expand.
Additionally, when the resin layer is too thick, it can trap air bubbles, which can also contribute to uneven curing and cracking.
To prevent these issues, it’s crucial to follow the manufacturer’s guidelines for the recommended thickness of epoxy resin application. Ensuring a uniform and appropriate thickness will help achieve a smooth and durable finish.
Measuring Epoxy Floor Thickness
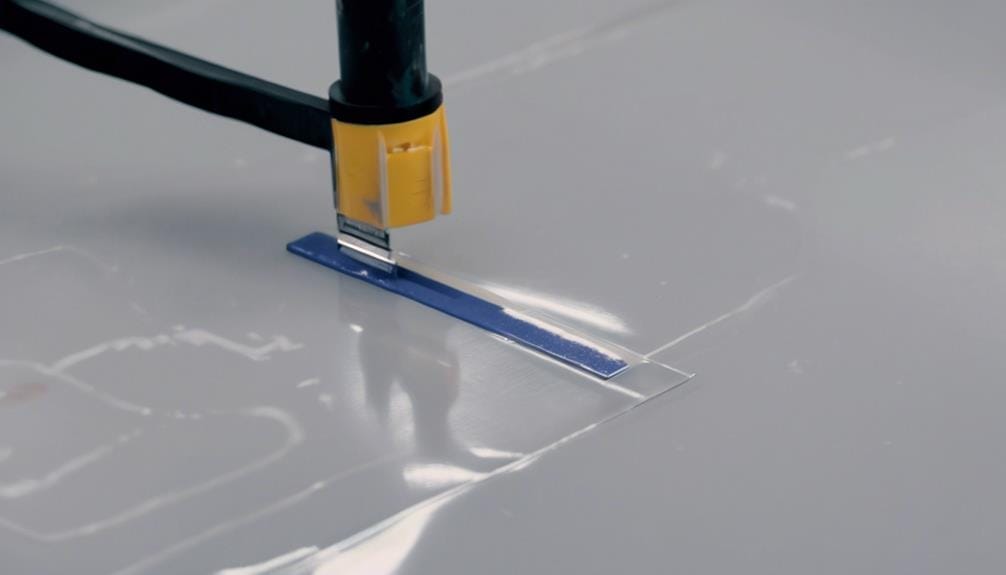
To accurately measure the thickness of an epoxy floor coating, utilize a mil gauge for precise results. Here are some key points to keep in mind when measuring epoxy floor thickness:
- Use a mil gauge: A mil gauge is a specialized tool designed for measuring the thickness of coatings. It consists of a comb-like instrument with teeth of varying heights. Press the teeth onto the surface of the epoxy coating and read the measurement displayed on the gauge.
- Measure at multiple points: To ensure accuracy, it’s important to measure the epoxy floor thickness at multiple points. This will help identify any inconsistencies or variations in thickness across the surface.
- Consider the purpose of the coating: The desired thickness of an epoxy floor coating depends on its intended use. Thin coatings, ranging from 0.2 to 3 mils, are suitable for industrial and manufacturing areas where quick installation and easy cleaning are important. On the other hand, thick coatings, measuring 250 mils or more, are needed for heavily damaged areas that require durability and support for high traffic and heavy equipment.
- Seek professional advice: Choosing the right epoxy floor thickness can be a complex decision. It’s recommended to consult with professionals who have expertise in epoxy floor coatings. They can assess your specific needs and guide the appropriate thickness for your application.
Pros and Cons of Thin Epoxy Floor Coatings
Thin epoxy floor coatings offer several advantages. These coatings can be applied efficiently, saving you time and reducing downtime. They provide a smooth and seamless surface that’s easy to clean, making maintenance a breeze. Additionally, thin epoxy coatings are ideal for areas with light foot traffic, such as residential garages, basements, and storage rooms.
However, it’s important to consider the limitations of thin epoxy floor coatings. One significant drawback is their inability to repair deep holes or hide visible scratches. If your floor has extensive damage or requires extensive repairs, a thin epoxy coating may not be the best option. Another factor to consider is durability. While thin epoxy coatings are economical, they’re less durable than thicker options. They may not withstand heavy use or support heavy equipment.
In contrast, thick epoxy coatings offer superior durability and are suitable for high-traffic areas and environments with heavy machinery. However, they require detailed floor preparation and have longer installation processes compared to thin coatings.
When deciding between thin and thick epoxy floor coatings, consider your specific needs, budget, and the level of traffic your floor will experience. Thin epoxy coatings are a cost-effective choice for low-traffic areas, while thick coatings are a more robust option for high-traffic environments.
Pros and Cons of Thick Epoxy Floor Coatings
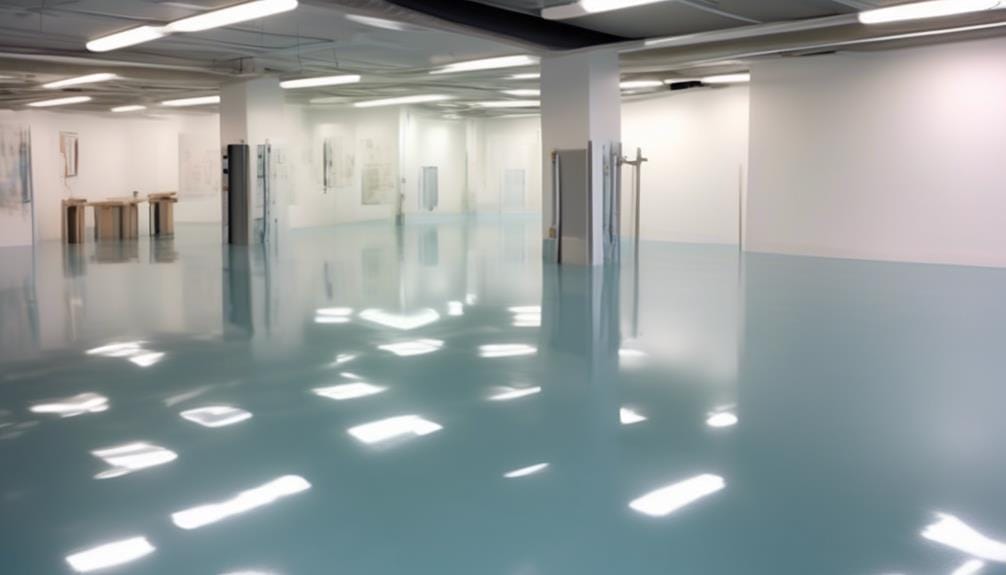
When considering the advantages and limitations of thin epoxy floor coatings, it’s important also to evaluate the pros and cons of thick epoxy floor coatings.
Thick epoxy floor coatings have several benefits that make them a popular choice for many applications. Here are some of the pros:
- Extremely durable: Thick epoxy floor coatings are highly resistant to wear and tear, making them ideal for high-traffic areas.
- Great for heavy equipment: These coatings can withstand the weight and impact of heavy machinery, making them suitable for industrial environments.
- Protects the concrete: The thickness of the coating ensures that scratches and minor damages don’t penetrate through to the concrete, prolonging the life of the floor.
However, there are also a few cons to consider when opting for thick epoxy floor coatings:
- Detailed floor preparation: The installation process for thick coatings requires meticulous floor preparation to ensure proper adhesion and a smooth finish.
- Longer installation process: Applying multiple layers of epoxy takes more time compared to thin coatings, which can extend the installation process.
Choosing the Right Epoxy Floor Thickness
Consider factors such as traffic levels, intended use, and potential hazards when selecting the appropriate thickness for your epoxy floor coating. The thickness of epoxy floor coatings can range from 0.2 to 3 mils for light-duty applications, all the way up to 250 mils or thicker for heavy-duty industrial settings. To help you make an informed decision, here is a table outlining the different epoxy floor thickness options and their recommended applications:
| Thickness Range | Recommended Application |
|---|---|
| 10-25 mils | Industrial and manufacturing areas, easy to clean and quick to install, may not repair deep holes and blemishes |
| 10-20 mils | Heavily damaged areas provide durability and support for high traffic and heavy equipment and require detailed floor preparation and a longer installation process. |
| Up to 125 mils | Commercial and industrial spaces resist heavy machinery, chemical spills, and vehicle traffic. |
Keep in mind that these are general recommendations, and it is always best to consult with flooring specialists for personalized advice based on your specific needs. Choosing the right epoxy floor thickness ensures that your flooring can withstand the demands of your environment, providing long-lasting protection and functionality.
Industry Expertise and Innovation in Epoxy Floor Coatings
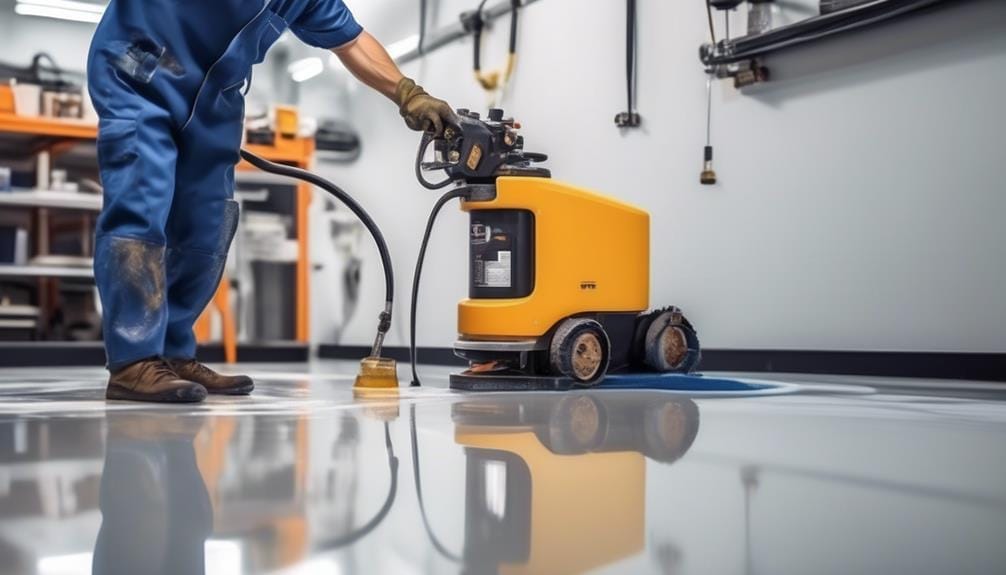
To fully understand the industry expertise and innovation in epoxy floor coatings, it’s essential to explore the techniques used to achieve a thick layer of resin, along with the benefits and tips for working with this versatile material.
Here are some techniques for achieving a thick layer of epoxy resin:
- Waiting between layers: Allowing sufficient time for each layer to cure before applying the next ensures a strong and durable coating.
- Warming the resin: Heating the resin slightly can help reduce its viscosity, making it easier to pour and spread.
- Adding embellishments: Incorporating additives like glitter, pigments, or metallic flakes can enhance the visual appeal of the epoxy coating.
Now, let’s look at the benefits and tips for working with epoxy floor coatings:
Benefits:
- Enhanced colors: Epoxy coatings can bring out the vibrancy of colors, making them appear more vivid and appealing.
- Durable protection: Epoxy coatings provide a tough and resilient surface that can withstand heavy foot traffic and resist scratches and stains.
- UV resistance: Epoxy coatings have excellent resistance to UV damage, ensuring that the colors stay vibrant and don’t fade over time.
- Depth and dimension: Epoxy coatings create a glossy and reflective surface that adds depth and dimension to any space.
- Embedding objects or creating 3D effects: Epoxy coatings allow for the embedding of objects like coins, shells, or logos or even creating unique 3D effects.
Tips for working with epoxy floor coatings:
- Wear protective gear: Ensure you have proper ventilation, gloves, and safety glasses to protect yourself from any potential hazards when working with epoxy.
- Follow manufacturer’s instructions: Read and follow the instructions provided by the manufacturer to ensure proper mixing ratios and application techniques.
- Use a clean and level surface: Prepare the surface properly by cleaning it thoroughly and ensuring its level to achieve a smooth and flawless finish.
- Allow complete curing before handling: It’s important to allow the epoxy coating to fully cure before subjecting it to any foot traffic or other stresses.
- Experiment with different additives or pigments: Get creative and try different additives or pigments to achieve unique effects and personalize your epoxy floor coating.
Frequently Asked Questions
How Do You Apply Thick Epoxy?
To apply thick epoxy, pour layers with proper pouring techniques and wait for curing time between each layer. This allows for building up a thicker coat and achieving the desired depth.
How Thick Can Epoxy Be Applied?
Epoxy can be applied in thick layers, depending on the application. For low-traffic areas, a thickness of 4-6 mils is recommended. Higher traffic areas require a 2-3 coat system for enhanced durability. Factors to consider include the type of surface and the desired level of protection.
Can You Pour Epoxy 2 Inches Thick?
Yes, you can pour epoxy 2 inches thick, but there are limitations. Thick pours can generate excessive heat, leading to cracking or incomplete curing. It’s important to follow manufacturer guidelines for optimal epoxy thickness and application techniques.
How to Do Multiple Layers of Epoxy?
To do multiple layers of epoxy, ensure a smooth finish by waiting between layers, removing air bubbles with a heat gun or torch, and allowing for full curing. Avoid common mistakes for thick layers.
Conclusion
Congratulations on completing the thick layer epoxy application process!
By following the manufacturer’s instructions and taking the necessary precautions, you have successfully enhanced the colors, achieved a glossy finish, and added durability to your artwork.
With each layer, you built up a thicker coat, creating a stunning masterpiece.
Now, the only thing left to do is wait for the resin to cure fully, and the suspense of seeing the final result is sure to make the wait even more enjoyable.

