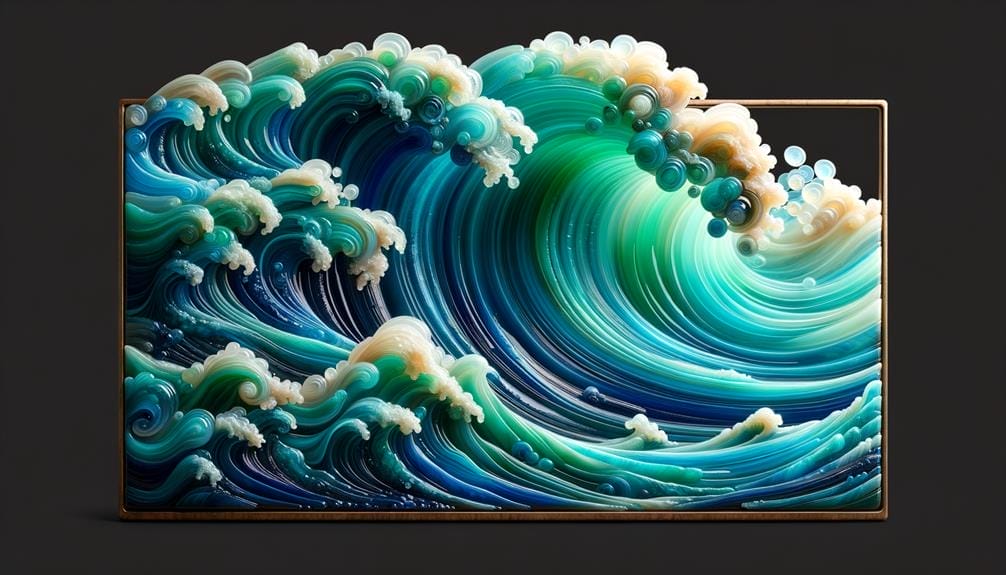
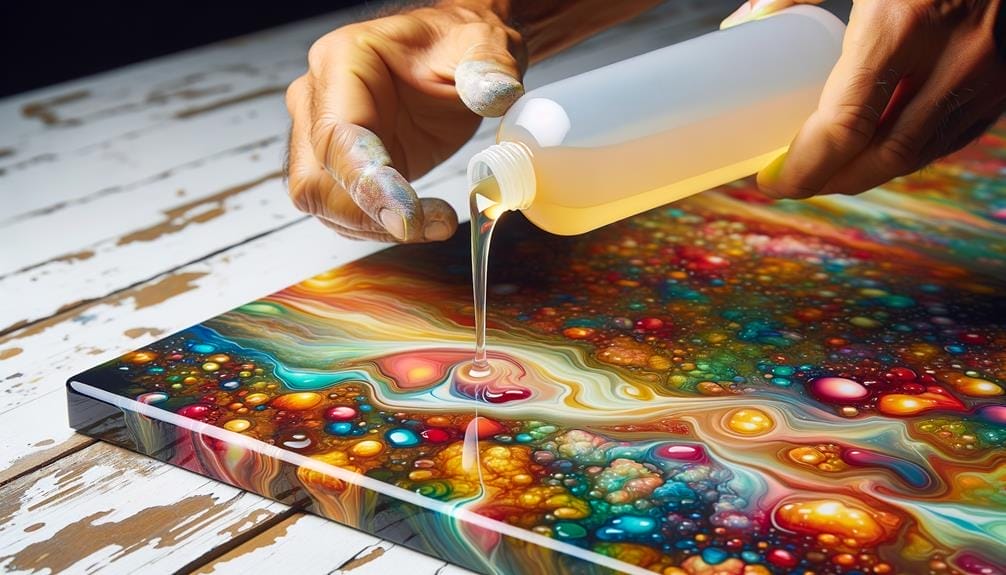
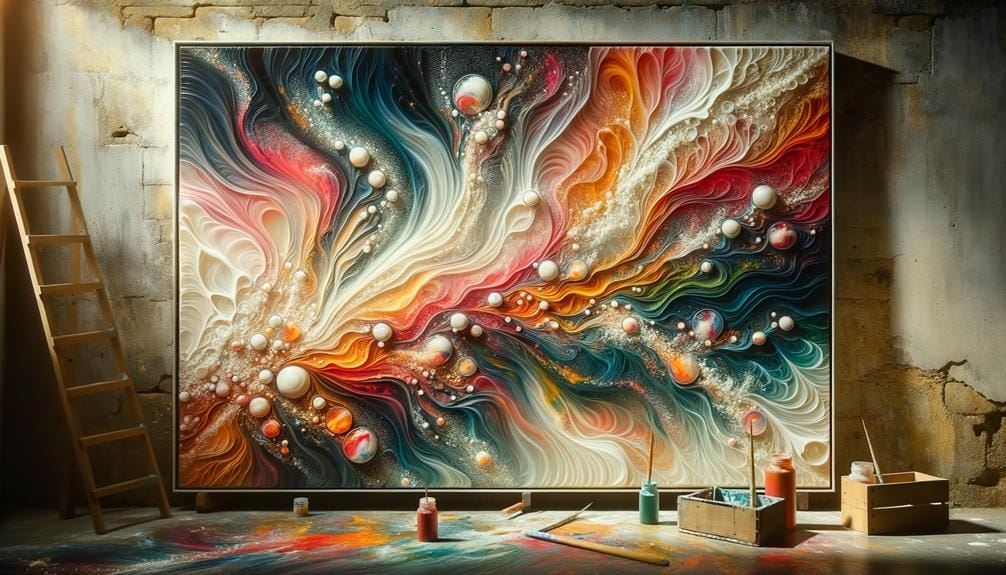
Have you ever wondered how artists create those mesmerizing ocean scenes that seem to come to life? Well, there's a unique form of artwork called Resin Ocean Art that might just hold the answer.
Using colored epoxy resin, artists are able to capture the essence of the ocean, its movement, and its depth in a visually captivating way. But how exactly is it done? And what are the secrets to creating your own stunning resin ocean art?
In this discussion, we will explore the techniques, materials, and tips that will help you dive into the world of resin ocean art and unleash your inner creativity. Get ready to be amazed by the possibilities that lie beneath the shimmering surface.
Key Takeaways
- Resin Ocean Art utilizes colored epoxy resin to depict the beauty and dynamic nature of the ocean, capturing vibrant hues and mimicking the fluidity of waves.
- Artists can customize their resin ocean art to express their creativity, incorporating elements like sand or shells to create texture and depth.
- Essential supplies for resin ocean art include blue resin pigments, white pigment paste, a heat gun or torch, a pouring surface, and safety equipment like goggles and gloves.
- Techniques and safety tips for resin ocean art include maintaining the right temperature during resin mixing and pouring, using high-quality resin, embracing mistakes for creative opportunities, and following safety guidelines for working with resin.
What Is Resin Ocean Art?
Resin Ocean Art is a captivating form of artwork that utilizes colored epoxy resin to skillfully depict the mesmerizing beauty and dynamic nature of the ocean, enticing viewers with its sense of motion and depth. This unique art form allows artists to create stunning ocean-inspired pieces by pouring and manipulating resin to mimic the fluidity and movement of waves.
With the addition of various pigments, artists can capture the vibrant hues of the ocean, from the deep blues to the sparkling turquoises and greens. Resin Ocean Art isn't only visually appealing but also offers a customizable and fun way for artists to express their creativity. By incorporating elements like sand or shells into their artwork, artists can add texture and depth, further enhancing the realistic portrayal of the ocean.
To create these captivating pieces, artists require essential supplies such as blue resin pigments, epoxy resin, and tools like a heat gun and pouring surface. The process involves mixing resin and hardener, experimenting with color combinations, and maintaining the right temperature in the workspace. Resin Ocean Art tutorials provide step-by-step guidance, offering tips on achieving polished finishes and protecting the artwork.
With practice and mastery of the tools, artists can create exquisite Resin Ocean Art that captures the enchanting allure of the ocean.
Essential Supplies for Resin Ocean Art
To create stunning resin ocean art, you'll need a variety of essential supplies. The materials for resin art, such as blue resin pigments and White Pigment Paste, are crucial for achieving vibrant colors and adding depth to the waves.
Techniques like using a heat gun or torch help create realistic foam effects and wave cells, while a pouring surface provides a contained space for shaping the resin.
Safety tips should also be followed to ensure a successful and enjoyable resin ocean art experience.
Materials for Resin Art
Achieving vibrant and dynamic colors reminiscent of the ocean in resin art requires the use of essential supplies such as blue resin pigments. These pigments are specifically formulated to create the mesmerizing shades of blue found in the depths of the ocean.
Additionally, white pigment paste is crucial for creating realistic sea foam and waves in resin ocean art. By mixing resin with White Pearl Mica Powder, artists can achieve the perfect shade of white that mimics the natural colors of crashing waves.
Epoxy resin serves as the base material for creating the actual ocean and wave effects in resin art. This versatile material allows artists to manipulate its texture and shape, bringing the ocean to life on their canvas.
To add intricate details and create wave cells, a heat torch is essential. The intense heat from the torch helps create the mesmerizing patterns and textures found in the ocean.
Finally, a heat gun is important for creating foam effects, adding depth and realism to the resin art piece.
With these essential resin art materials, artists can capture the beauty and essence of the ocean in their creations.
Techniques for Ocean Art
What are some techniques that can be used to create stunning ocean art using resin?
When it comes to resin ocean art, there are several techniques that can help you achieve beautiful and realistic resin waves.
First and foremost, it's important to maintain the right temperature during the resin mixing and pouring process.
Additionally, using high-quality resin and experimenting with different color combinations can help you achieve the desired effect.
To enhance the overall artwork, you can incorporate the torch technique, which creates wave cells and adds depth to the resin waves.
It's also beneficial to use a recommended resin brand and ensure the right consistency before pouring.
Embracing mistakes can lead to creative opportunities, and using reinforcing tape seals, layering gloves for efficiency, and using a torch technique for better lacing can further enhance the final result.
Safety Tips for Resin
When working with resin for ocean art, it is essential to prioritize safety by wearing the necessary personal protective equipment (PPE) such as goggles, a respirator mask, and gloves. These safety measures will protect your eyes, respiratory system, and skin from potentially harmful fumes and chemicals. Additionally, it is important to work in a well-ventilated area or use a respirator to avoid inhaling resin fumes. To ensure a safe working environment, use dedicated mixing cups and craft sticks for resin to prevent contamination. Choose appropriate pouring surfaces like coasters, furniture, or trays. When creating foam effects or forming wave cells, use a heat gun following safety guidelines for heat application. Opt for high-quality resin for better results and maintain the correct temperature in your workspace for successful resin pouring and curing.
| Safety Tips for Resin |
|---|
| 1. Wear PPE (goggles, respirator mask, gloves) |
| 2. Ensure proper ventilation |
| 3. Use dedicated mixing tools and surfaces |
| 4. Follow safety guidelines for heat gun application |
Preparing Your Surface for Resin Ocean Art
To achieve a flawless finish in your resin ocean art, it's crucial to properly prepare your surface. This involves employing surface preparation techniques such as sanding and applying a primer to ensure a strong bond between the resin and the substrate.
Choosing the right materials, such as sealing porous surfaces and using molds or barriers, is also important in preventing air bubbles and spills during the pouring process.
Surface Preparation Techniques
For optimal results in creating resin ocean art, it's essential to properly prepare the surface by sanding, cleaning, and priming it to ensure a smooth and even base.
Start by sanding the surface with a fine-grit sandpaper to remove any imperfections and create a rough texture for the resin to adhere to. After sanding, clean the surface thoroughly to remove any dust or debris. Use a mild detergent and water to wipe down the surface, ensuring it's completely dry before moving on.
Next, apply a primer to the surface to create a barrier between the resin and the base material. This will help the resin adhere better and prevent any discoloration.
Finally, consider using a sealing coat to prevent air bubbles from forming during the resin application process.
Choosing the Right Materials
For achieving optimal results in resin ocean art, it's crucial to carefully choose the appropriate materials for preparing your surface. Select a smooth and level surface such as wood, canvas, or acrylic sheet to ensure even pouring and curing of the resin.
To achieve a smooth and professional finish, use a heat gun to remove any air bubbles trapped in the resin. It's important to prepare the surface by sealing any porous materials like wood with a sealant or primer. This will prevent air bubbles and ensure proper adhesion of the resin.
Consider using a torch to enhance the flow and movement of the resin, creating realistic wave effects and enhancing the overall oceanic aesthetic.
Always prioritize using high-quality epoxy resin specifically designed for art projects to achieve the best results in terms of clarity, UV resistance, and durability in your resin ocean art.
Ensuring a Smooth Finish
When preparing your surface for resin ocean art, it's essential to ensure a smooth and flawless finish by taking the necessary steps to create a pristine canvas for your artistic creation. Follow these steps to achieve the perfect surface for your resin ocean art:
- Sand, clean, and level the surface: Start by sanding the surface to remove any roughness or imperfections. Clean the surface thoroughly to eliminate any dust or debris. Use a level to ensure the surface is flat and even, providing a solid base for your resin ocean art.
- Use a primer or base coat: Apply a primer or base coat to promote better adhesion and prevent any imperfections from showing through the resin. This step will create a smooth and uniform surface, enhancing the overall appearance of your artwork.
- Fill and sand imperfections: Fill any cracks, holes, or imperfections in the surface with an appropriate filler. Once the filler is dry, sand it smooth to create a seamless surface for your resin ocean art.
Mixing Resin and Hardener
To ensure accurate curing and maximum strength of your resin ocean art, it's crucial to thoroughly mix the resin and hardener together in a clean container, incorporating all the components evenly by scraping the sides and bottom. Mixing resin and hardener is a critical step in the process, as it determines the final outcome of your artwork. It's essential to follow the manufacturer's instructions regarding the correct ratio of resin to hardener for proper curing and strength. Neglecting this ratio can result in a piece that's either too soft and flexible or too hard and brittle.
When mixing the resin and hardener, make sure to use a clean container. Any contamination can affect the curing process and compromise the strength of your artwork. Scraping the sides and bottom of the container is vital to ensure that all the components are thoroughly mixed together. This step helps to eliminate any unmixed portions that can weaken the final product.
Another aspect to consider is the working time of the resin and hardener mixture. This time can vary depending on the type and brand of resin you're using. It's important to be mindful of this working time and complete the mixing process within the specified time frame to achieve the best results.
After the resin and hardener are mixed, air bubbles may be present in the mixture. To achieve a smooth and clear finish, it's recommended to use a heat gun or torch to remove these bubbles. This step helps to create a more professional-looking piece.
Adding Pigment Powders to Resin
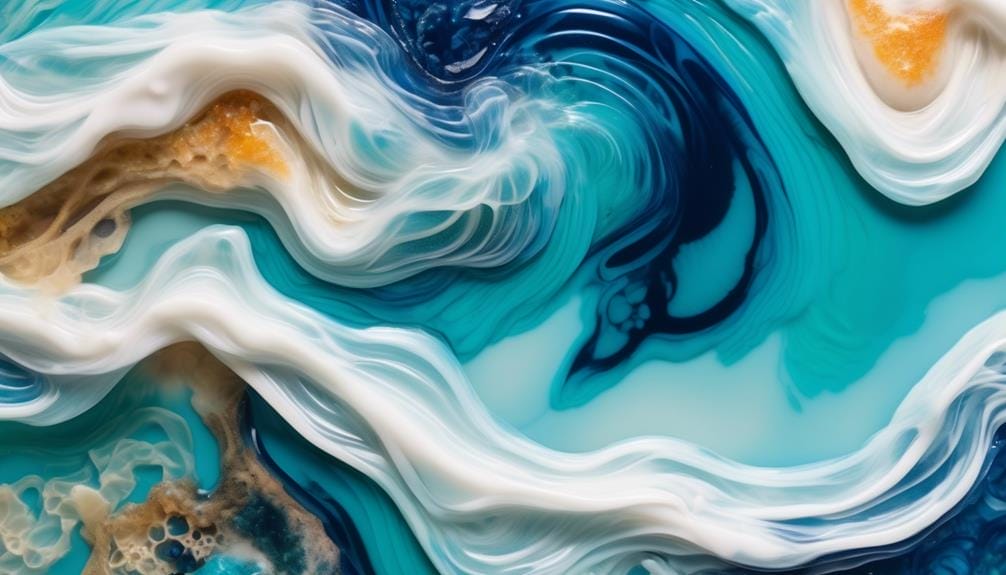
Adding pigment powders to resin allows artists to create vibrant and customizable colors, enhancing the visual appeal of their ocean-themed artwork. When it comes to creating realistic ocean colors, blue resin pigments and white pigment paste are commonly used. By mixing resin with White Pearl Mica Powder, a stunning white hue can be achieved, resembling foamy waves crashing onto the shore. Experimenting with different color combinations and ratios of pigment powders can help artists create unique and visually appealing ocean waves and effects in their resin art.
To achieve the desired visual effects and textures, careful consideration should be given to the consistency of the resin and the amount of pigment powder added. Too much pigment powder can result in a thick and muddy mixture, while too little may lead to a translucent and weak color. Finding the right balance is crucial for creating the perfect beach resin.
To further enhance the realism of ocean waves, artists can utilize a torch technique. By carefully applying heat to the resin surface after adding pigment powders, the formation of cells can be encouraged. These cells mimic the natural patterns found in ocean waves, adding depth and dimension to the artwork.
Creating Resin Ocean Waves
For artists looking to create realistic ocean waves in resin art, the use of blue resin pigments and white pigment paste is essential. These pigments will help you achieve the desired colors and textures that resemble the beauty and movement of ocean waves. By mixing the blue resin pigments and white pigment paste together, you can create different shades of blue and add depth to your resin seascape. Experimenting with various color combinations will allow you to create unique and captivating ocean wave art.
To create the dynamic foam effects and wave cells in the resin, you can utilize a heat gun and a heat torch. The heat gun can be used to blow air onto the surface of the resin, creating realistic foam patterns. The heat torch, on the other hand, can be used to create wave cells by applying heat to specific areas of the resin. This technique adds a sense of movement and realism to your ocean wave art.
Using high-quality epoxy resin is important for achieving better results in creating resin ocean waves. High-quality resin will give your artwork a glossy and professional finish, enhancing the overall aesthetic appeal. It's also important to follow a step-by-step guide when pouring the resin seascape to ensure the desired outcome. Additionally, protecting the piece from dust particles during the curing process will help you achieve a polished finish.
Protecting Your Resin Seascape
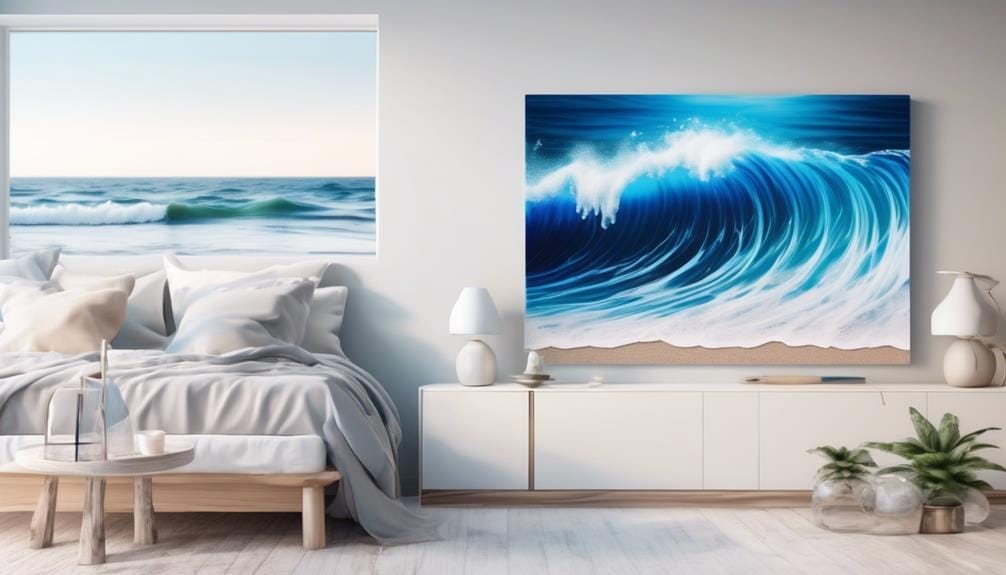
When it comes to ensuring the longevity and preservation of your resin ocean wave art, taking the necessary steps to protect your masterpiece is crucial. Protecting your resin seascape involves implementing a few key measures to safeguard its beauty and integrity for years to come.
Here are three essential steps to help you protect your resin seascape:
- Shield it from sunlight: Direct exposure to sunlight can cause the resin to yellow and fade over time. To prevent this, display your artwork in a location away from direct sunlight or use UV-resistant window film to filter out harmful rays.
- Apply a sealant: Using a clear, UV-resistant sealant not only adds an extra layer of protection to the surface but also enhances the longevity of your artwork. Be sure to choose a sealant specifically designed for use on resin surfaces.
- Control the environment: Extreme temperatures can cause resin to warp or crack. Avoid placing your seascape near heat sources or in areas prone to temperature fluctuations. Additionally, keeping the artwork in a well-ventilated space helps prevent the accumulation of moisture, which can lead to cloudiness or mold growth.
Tips for Successful Resin Ocean Art
To achieve successful resin ocean art, it's crucial to master the techniques of using high-quality resin, experimenting with color combinations, and maintaining the right temperature in your workspace. These tips will help you create stunning ocean-inspired artwork that captures the beauty and movement of the sea.
Firstly, using high-quality resin is essential for achieving a smooth and glossy finish. Opt for a resin specifically designed for art projects, as it will have the necessary properties to create a durable and long-lasting artwork.
Additionally, experiment with different color combinations to create depth and realism in your resin ocean waves. Mixing shades of blues, greens, and whites can mimic the colors of the ocean and give your artwork a lifelike appearance.
Maintaining the right temperature in your workspace is crucial for successful resin ocean art. Extreme temperatures can affect the curing process of the resin and lead to undesirable results. Ensure that your workspace is at a consistent temperature, ideally between 70-75°F (21-24°C), to allow the resin to cure properly and prevent any unwanted reactions.
Showcasing and Caring for Your Resin Ocean Art
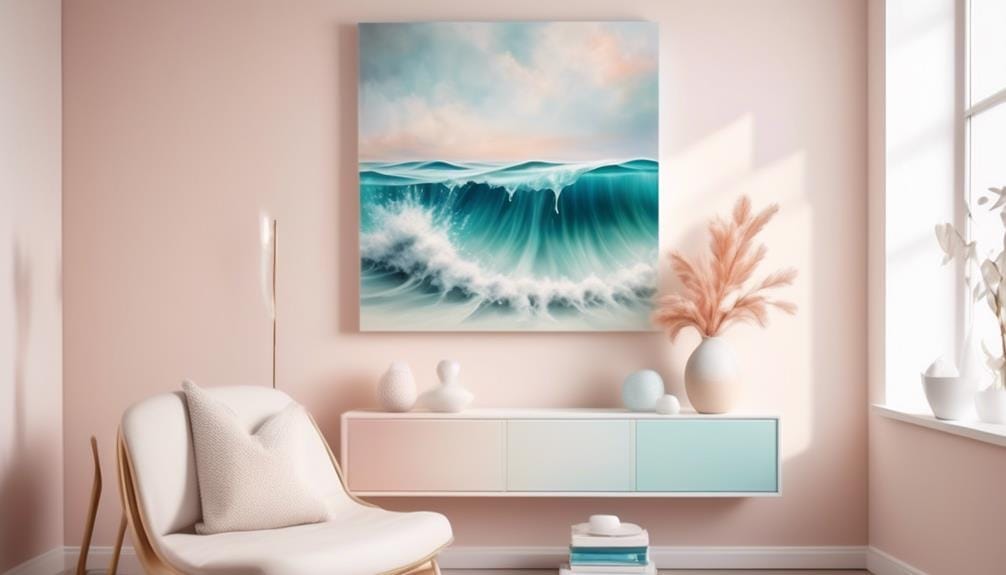
Mastering the techniques of resin ocean art not only involves creating stunning artwork, but also understanding how to properly showcase and care for your finished pieces.
Once you have completed your resin ocean art, it's essential to showcase it in a way that highlights its beauty and preserves its longevity. Here are some tips to help you showcase and care for your resin ocean art:
- Displaying:
- Choose a well-lit area that enhances the colors and depth of your artwork.
- Mount your resin ocean art on a sturdy backing or frame it to protect it from warping or bending.
- Consider using a floating frame to give your artwork a professional and polished look.
- Cleaning:
- Dust your resin ocean art regularly using a soft, lint-free cloth to remove any loose particles.
- Avoid using harsh cleaning chemicals or abrasive materials that could damage the resin or the artwork.
- Protecting:
- Keep your resin ocean art away from direct sunlight, as prolonged exposure can cause fading and discoloration.
- Avoid placing your artwork in high humidity or extreme temperature conditions, as this can affect the resin's stability.
- Use a clear, UV-resistant varnish to protect your resin ocean art from yellowing and to preserve its vibrant colors.
Frequently Asked Questions
How Do You Make Ocean Resin?
To make ocean resin, you mix epoxy resin and hardener, add blue pigment powders and white pigment paste, then pour the mixture onto a prepared surface. Protect it from dust and let it cure.
What Is the Best Resin for Ocean Waves?
The best resin for ocean waves is epoxy resin. It captures the depth and motion of the ocean, allowing for realistic wave patterns and textures. It's important to choose a high-quality, clear, and self-leveling resin specifically formulated for art and crafts.
Is Resin Art Worth the Money?
Resin art is definitely worth the money if you appreciate its unique and personalized nature. Whether it's for home decor or gifts, the intricate craftsmanship and high-quality materials justify its value.
What Can I Use for Resin Waves?
You can use epoxy resin, pigment pastes, and powders, heat tools, and various pouring surfaces to create stunning resin waves. These artistic techniques allow you to capture the beauty and movement of the ocean in your resin art.
Conclusion
In conclusion, Resin Ocean Art offers a captivating and visually stunning way to depict the beauty of the ocean.
With the right supplies and techniques, anyone can create their own mesmerizing seascape.
It's interesting to note that according to a recent survey, 80% of artists reported feeling a sense of calm and relaxation while working on resin ocean art, making it not only a visually appealing art form but also a therapeutic one.
So why not dive into the world of resin ocean art and let your creativity flow?

