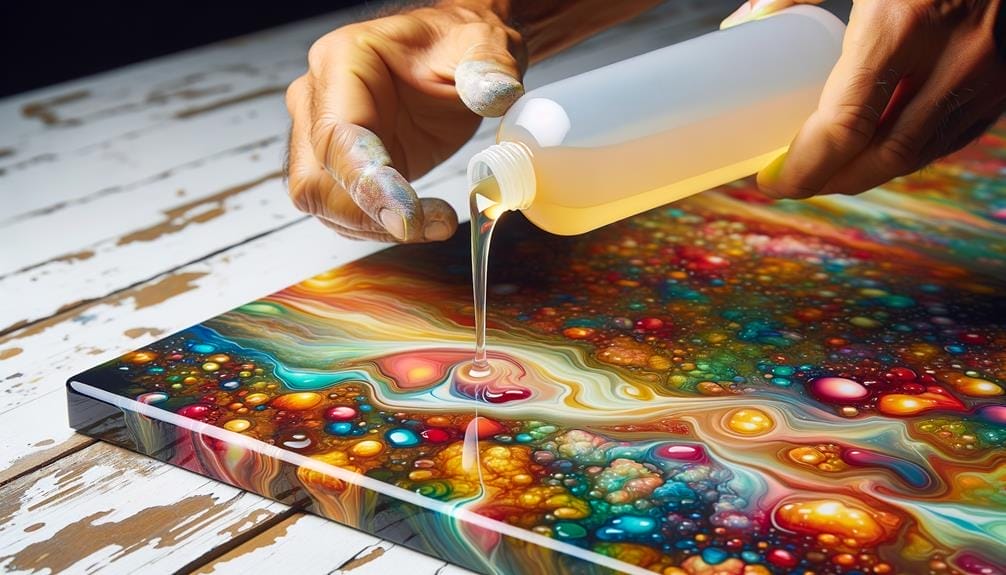
Unlock the captivating world of layered resin art, where each pour becomes a brushstroke in a symphony of colors and textures. Step into a realm where ordinary surfaces transform into extraordinary masterpieces, capturing your imagination and leaving you craving for more.
But how does this mesmerizing technique work? What materials do you need? And most importantly, how can you create your own stunning layered resin artwork?
Prepare to embark on a journey of artistic exploration as we delve into the secrets of this enchanting craft.
Key Takeaways
- Choosing the right resin based on transparency and compatibility with the design is crucial for successful layered resin art.
- Thoroughly cleaning the surface before pouring resin and creating a rough texture by lightly sanding it helps with better adhesion.
- Using molds for shaping and containing resin layers, as well as using sandpaper for smoothing between layers, can enhance the overall surface preparation.
- Considering the overall mood and theme of the artwork, choosing complementary pigments, and using special effects and techniques can enhance the visual appeal and effects of layered resin art.
Choosing the Right Resin
When choosing the right resin for your layered resin art project, it's important to consider several factors to ensure the best results.
Layered resin art involves pouring multiple layers of clear resin to create depth and dimension in your artwork. The type of resin you choose will greatly affect the outcome of your project.
First and foremost, you want to make sure you use a clear resin. This will allow the layers to be transparent and showcase the different elements within each layer. Using a colored or opaque resin may obscure the details and defeat the purpose of layering.
Additionally, consider the contents and design of each layer before starting the resin layering process. Different resins have varying properties and cure times, so it's important to choose a resin that will work well with your specific design. Researching and following step-by-step examples can provide valuable insight into the layering process and help you achieve the desired results.
Furthermore, ensure that your surface is clean before adding a new layer. Any dirt or debris can interfere with the adhesion of the layers and create imperfections in your artwork. Taking the time to properly clean and prepare your surface will ensure a smooth and flawless finish.
Preparing Your Artwork Surface
Before you begin pouring each layer of resin, it's crucial to prepare your artwork surface. This involves ensuring that the surface is clean and free from any dust or debris that could affect the final result.
Additionally, you should plan the design and materials for each layer to avoid any issues with casting or adhesion.
Proper surface preparation is essential for achieving a smooth and flawless layered resin artwork.
Surface Preparation Techniques
To ensure optimal results in your layered resin art, it is essential to properly prepare the surface of your artwork. The surface preparation techniques play a crucial role in ensuring the adhesion and longevity of your layered resin and acrylic painting. Before applying the first layer of resin, you need to ensure that the surface is clean, dry, and free from any dust or debris. Use a soft cloth or brush to remove any loose particles. Additionally, it is recommended to lightly sand the surface to create a rough texture, which will enhance the adhesion of the resin layer. Below is a table summarizing the surface preparation techniques for layered resin art:
| Surface Preparation Techniques |
|---|
| Clean the surface |
| Ensure it is dry |
| Lightly sand the surface |
Materials Needed for Surface Preparation
For optimal surface preparation in your layered resin art, gather the necessary materials to ensure a clean and textured canvas. Here are three essential items you'll need:
- Cleaning supplies: Before starting your artwork, make sure to clean the surface thoroughly. Use a mild detergent and water to remove any dirt, dust, or grease. This step is crucial as it ensures proper adhesion of each resin layer.
- Molds: Consider using molds to shape and contain the resin layers for a specific design. Molds help create defined boundaries and prevent the resin from spreading beyond the desired area. They also allow you to experiment with different shapes and forms in each layer.
- Sandpaper: To achieve a smooth surface between layers, use fine sandpaper to fix any imperfections. Sanding helps create a uniform texture and removes any bumps or unevenness. It's an essential step in achieving a professional finish for your layered resin artwork.
Importance of Proper Surface Preparation
Properly preparing your artwork surface is essential for achieving optimal results in layered resin art, ensuring adhesion between layers and maintaining the integrity of your artwork. Cleaning the surface thoroughly before adding a new layer is crucial to remove any dust, debris, or contaminants that could affect the quality of the resin layers. Additionally, sanding the surface, if necessary, creates a textured surface for the new layer to adhere to, promoting better adhesion and reducing the risk of bubbling or peeling. It is important to make sure that the previous layer is fully cured before pouring the next layer to prevent mixing, bleeding, or distortion of the layers. Following the manufacturer's recommendations and guidelines for surface preparation is vital to achieve the best results in layered resin art.
| Importance of Proper Surface Preparation | Benefits |
|---|---|
| Ensures adhesion between layers | Prevents delamination and separation of layers |
| Removes dust, debris, and contaminants | Improves the quality and clarity of each layer |
| Creates a textured surface for better adhesion | Reduces the risk of bubbling or peeling |
| Allows previous layer to fully cure before adding | Prevents mixing, bleeding, or distortion of layers |
| Follows manufacturer's recommendations and guidelines | Ensures that the artwork is created with the recommended techniques and materials for optimal results |
Mixing and Pouring the First Layer
Start by carefully planning the design and materials for each layer of your layered resin art. Consider the potential visible lines between layers and the order in which they'll be poured. This will ensure a cohesive and visually appealing final piece.
When it comes time to mix and pour the first layer, follow these steps for a successful result:
- Prepare your workspace: Lay down a protective covering, such as plastic or a drop cloth, to catch any spills or drips. Place your wood board or chosen surface on top.
- Mix the resin: Follow the instructions provided by the manufacturer to properly mix the resin and hardener. Use a clean container and stir slowly to avoid creating bubbles.
- Pour the resin: Gently pour the mixed resin onto the wood board, ensuring an even distribution. Use a spatula or brush to spread the resin evenly and cover the entire surface. Take care to avoid any potential visible lines between layers.
As you mix and pour the first layer, be mindful of any decorative elements or stickers that you may include. Place them design-side facing away from the resin, so they'll be visible once the piece is complete.
Adding Pigments and Effects
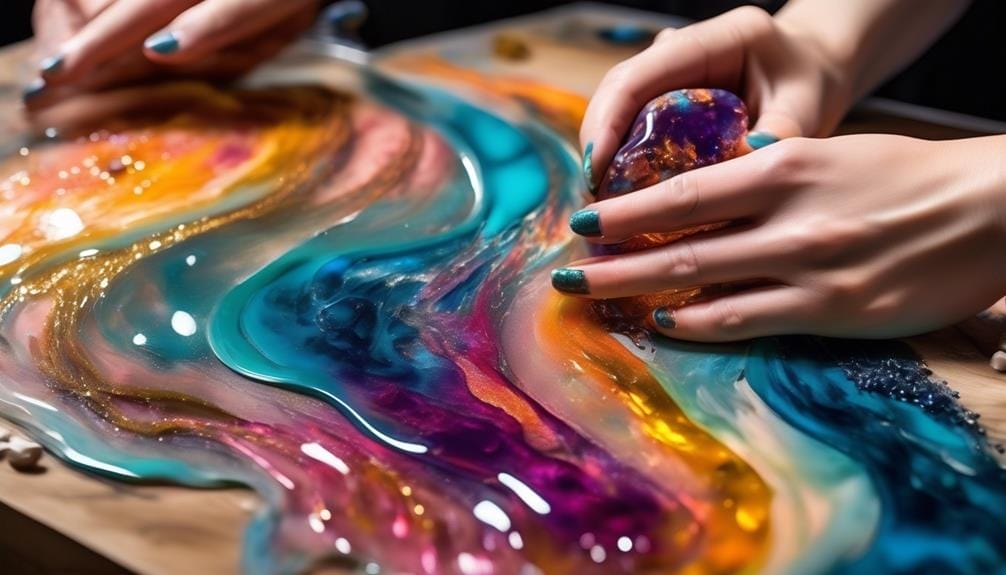
When it comes to adding pigments and effects to your layered resin art, there are a few key points to keep in mind.
First, choose your pigments wisely, considering the color palette you want to achieve and how they'll interact with each other.
Next, think about the effects you want to create, such as swirls, marbling, or shimmering effects with glitters and metallic powders.
Pigment Selection Tips
To enhance the visual appeal and create captivating effects in your layered resin art, selecting the right pigments is crucial. The pigment selection process can be overwhelming with the wide range of options available, but with these tips, you can make informed choices that will elevate your artwork to the next level:
- Consider the color scheme: Think about the overall mood and theme of your artwork. Choose pigments that complement each other and create a harmonious color palette.
- Experiment with opacity: Different pigments have varying levels of opacity. Use transparent pigments for a translucent effect, or opt for opaque pigments to create bold and solid colors.
- Play with special effects: Sparkling mica powders, shimmering metallic pigments, or even glow-in-the-dark pigments can add an extra dimension to your layered resin art. Experiment with these effects to create unique and eye-catching pieces.
Creating Captivating Effects
Enhance the visual appeal of your layered resin art by incorporating captivating effects through the careful selection and addition of pigments and special effects.
Experimenting with different pigments and effects allows you to create unique and mesmerizing designs. By adding metallic pigments, mica powders, and alcohol inks to your clear layers of resin, you can introduce shimmer, depth, and visual interest.
Techniques such as marbling, lacing effects, and color gradients further enhance the captivating effects. Layering iridescent pigments and effects can create an ethereal and mesmerizing appearance in your resin art.
Additionally, using contrasting pigments and effects adds dynamic and visually striking elements, giving your artwork depth and dimension.
With the right pigments and effects, you can create resin art that captivates and engages the viewer.
Creating Depth With Additional Layers
For a truly captivating layered resin art piece, you can achieve stunning depth by strategically adding additional layers. By carefully planning and pouring each layer, you can create a three-dimensional painting that draws the viewer in.
Here's how you can create depth with additional layers in your layered resin art:
- Determine the contents and order of layering: Before you start pouring the resin, think about the design and visible lines you want to create. Decide on the placement of items, use molds, and add decorative elements to enhance the depth in your piece.
- Timing is crucial: Make sure each layer is completely cured or semi-formed before pouring the next one. This will prevent visible lines and ensure a smooth transition between the different layers. Take the time to check for bubbles and sand if necessary.
- Experiment with different techniques: Consider using the same type of resin for all layers for consistency, but don't be afraid to experiment with different resin crafting methods. Try layering clear resin to add depth, incorporate beads for texture, or even combine UV and epoxy resin for unique effects.
Adding additional layers to your layered resin art allows you to create depth and a sense of dimension. With careful planning and experimentation, you can achieve stunning results that make your artwork truly come alive.
Resin Drying and Curing Process
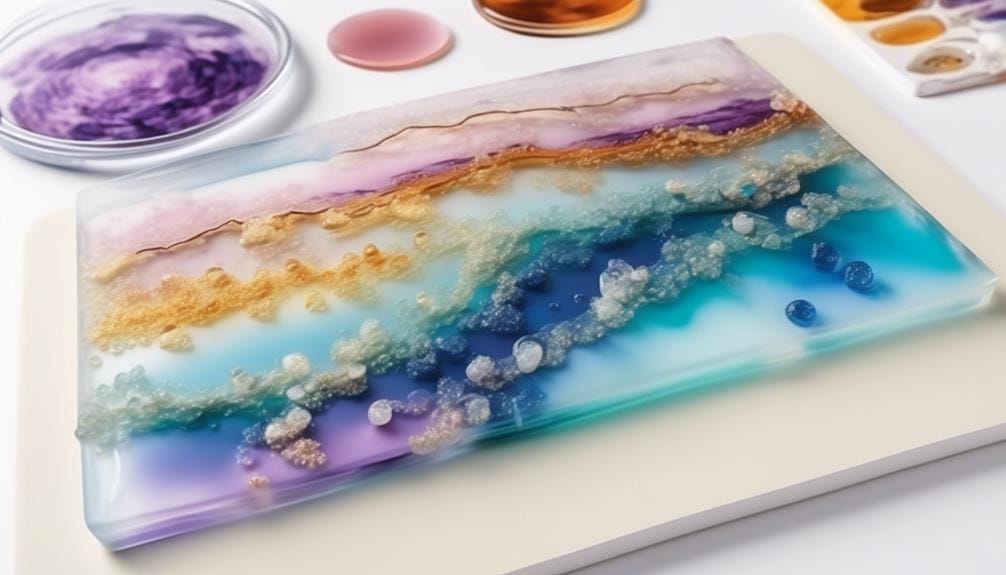
The resin drying and curing process is a critical step in creating layered resin art, ensuring each layer is properly cured before adding the next. Proper timing is crucial when layering resin, as it's important to wait until the previous layer is completely cured. This ensures that the layers bond together seamlessly and create a strong, durable final piece.
If necessary, you can sand the resin between layers. However, it's important to use a fine sandpaper to avoid a frosted appearance on the surface. Sanding also helps to ensure proper adhesion for the new layer.
Using the same resin for all layers is recommended for a consistent finish. However, if you want to experiment with different epoxy types, it's possible to do so. Just keep in mind that it may not be necessary, as using the same resin throughout will ensure a cohesive look.
Layered resin art can be used to create various crafts, such as jewelry. To understand the layering process, it's helpful to follow a step-by-step example. This will give you a clear understanding of the resin drying and curing process and help you achieve the desired results.
There are different methods you can use for the resin drying and curing process. For example, you can opt for the 24-hour method, where each layer is left to cure for a full day. Alternatively, you can use the 3 to 5-hour method, which allows for quicker layering based on your project requirements and time constraints.
Finishing and Protecting Your Resin Artwork
To ensure the longevity and preservation of your layered resin artwork, it's essential to focus on finishing and protecting the final piece. After completing the resin pouring process, there are several steps you can take to protect your masterpiece and enhance its overall appearance.
- Apply a protective layer: Once the resin has fully cured, it's crucial to apply a UV protective layer to prevent yellowing over time. This layer acts as a shield against harmful UV rays, ensuring that your artwork remains vibrant and free from discoloration.
- Consider weight and durability: When choosing materials for your layered resin art, it's important to consider the weight of the piece. Make sure the materials used can support the weight of the artwork to prevent any structural damage. Additionally, using mold-specific resin can provide durability and ensure a bubble-free curing process.
- Secure hanging mechanisms: To display your resin artwork, use eye screws and wire to securely hang the piece. This will prevent any accidental falls or damage to the artwork, giving you peace of mind knowing that your creation is safely displayed.
Frequently Asked Questions
How to Do Resin in Layers?
To do resin in layers, start by choosing resin colors and planning the order of layers. Use techniques like pouring resin at different depths to create depth. Additives like glitter or beads can create unique effects. Troubleshoot common issues like bubbles or visible lines.
How Long Should You Wait Between Layers of Resin?
You don't want to rush the process when layering resin. Give each layer about 4-5 hours to semi-cure before adding the next. This ensures smooth, seamless bonding and helps avoid visible lines in your artwork.
Can You Pour New Resin Over Old Resin?
Yes, you can pour new resin over old resin. This pouring technique allows for mixing colors, creating depth, and troubleshooting any imperfections. Just make sure to follow the proper curing and sanding guidelines between layers.
Do I Need to Let Resin Cure Between Layers?
Yes, you should let the resin cure between layers to avoid visible lines and ensure a smooth finish. Alternatives to layering resin include experimenting with different epoxy types. Common mistakes when layering resin include not checking for bubbles and not sanding imperfections. Achieving different effects with layered resin can be done by adding decorative elements. Tips for achieving a smooth finish include planning the design, using the same resin for all layers, and ensuring a clean surface before adding a new layer.
Conclusion
So, if you're looking to create stunning and unique artwork, layered resin art is definitely worth exploring.
The endless possibilities of colors, inclusions, and effects allow you to unleash your creativity and bring your ideas to life.
With careful planning and attention to detail, you can create a three-dimensional masterpiece that's sure to impress.
So why wait? Grab your resin and get ready to embark on a journey of artistic expression like no other!

