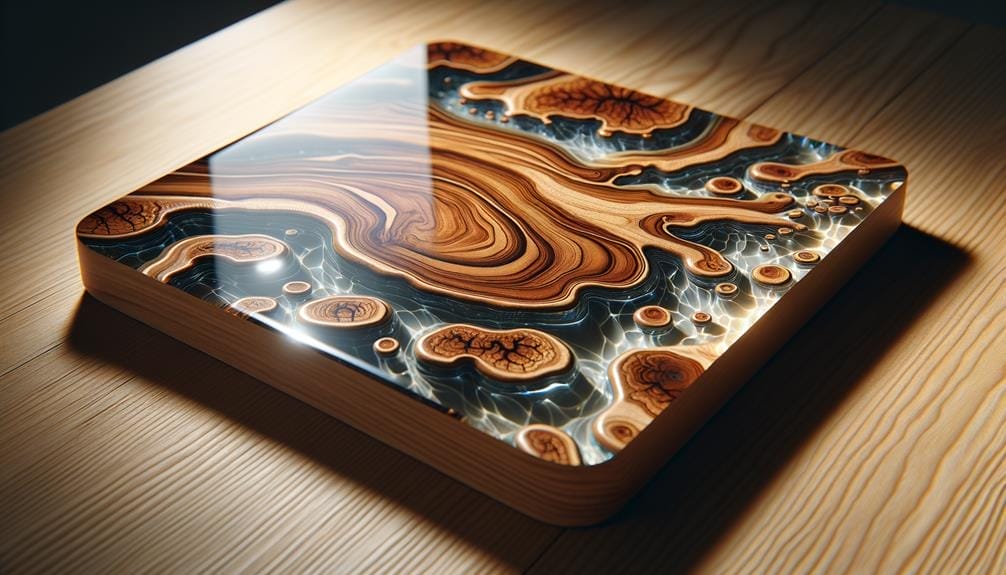
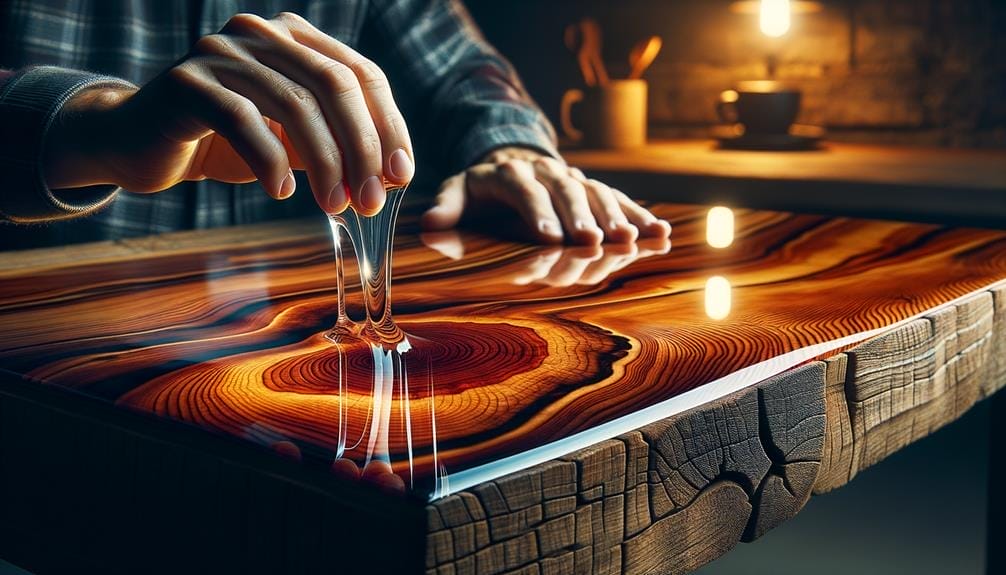
Are you tired of searching for the perfect jewelry pieces to match your outfits? Why not try creating your own unique and stunning jewelry using epoxy resin?
Whether you're a beginner or an experienced jewelry maker, epoxy resin offers endless possibilities for creating beautiful pieces that reflect your personal style. From vibrant pendants to delicate earrings, epoxy resin allows you to unleash your creativity and design one-of-a-kind accessories.
But before you dive into this exciting world of resin jewelry making, there are a few key things you need to know.
Key Takeaways
- Epoxy resin provides a clear and non-yellowing finish, making it ideal for jewelry making.
- Jewelry-grade doming resins and casting resins are recommended for creating different types of jewelry.
- Essential tools and supplies for working with epoxy resin include high-quality resin, measuring and mixing tools, and safety equipment.
- Proper preparation of the workspace, accurate mixing and pouring of the resin, and finishing techniques like polishing and applying a protective coating are essential for successful resin jewelry making.
Benefits of Using Epoxy Resin for Jewelry
Using epoxy resin for jewelry offers a multitude of benefits that ensure stunning results and ease of use for both beginners and professionals alike. Resin, specifically designed for jewelry making, provides a clear and non-yellowing finish, making it the best choice for creating beautiful and long-lasting pieces. Although it may be more expensive than other types of resin, the quality and durability it offers are unparalleled.
When it comes to creating raised and curved surfaces in bezels, jewelry-grade doming resins are the ideal choice. These resins allow for precise and intricate designs, adding depth and dimension to your jewelry creations.
For those seeking a professional finish, professional-grade resins like Resin Obsession are highly recommended. These resins provide a glossy finish with UV protection, ensuring that your jewelry remains vibrant and resistant to yellowing over time. Additionally, these resins meet high safety standards, giving you peace of mind while working on your projects.
Furthermore, the versatility of epoxy resin extends beyond jewelry making. It can also be used for coating artwork surfaces or creating resin coasters, allowing you to explore various creative possibilities.
Types of Epoxy Resin for Jewelry Making
To further enhance your jewelry-making skills, let's now explore the various types of epoxy resin available for creating stunning and durable pieces. When it comes to resin jewelry, choosing the right type of resin is crucial to achieve the desired results. There are different types of epoxy resin that are specifically formulated for jewelry making, each with its own unique properties and applications.
For molds and bezels, jewelry-grade doming resins are highly recommended. These resins are designed to create a raised and curved surface in bezels, giving your jewelry a professional and polished look. They allow for easy pouring and ensure bubble-free results.
On the other hand, casting resins are ideal for creating jewelry using molds. They've the ability to penetrate deep into the mold, allowing for greater depths and intricate designs. Casting resins also provide excellent clarity and durability.
One popular professional-grade resin for jewelry making is the Resin Obsession super clear resin. This resin is specifically formulated for molds and offers exceptional clarity and hardness. It allows bubbles to escape easily during the curing process, resulting in a flawless finish.
Essential Tools and Supplies for Working With Epoxy Resin
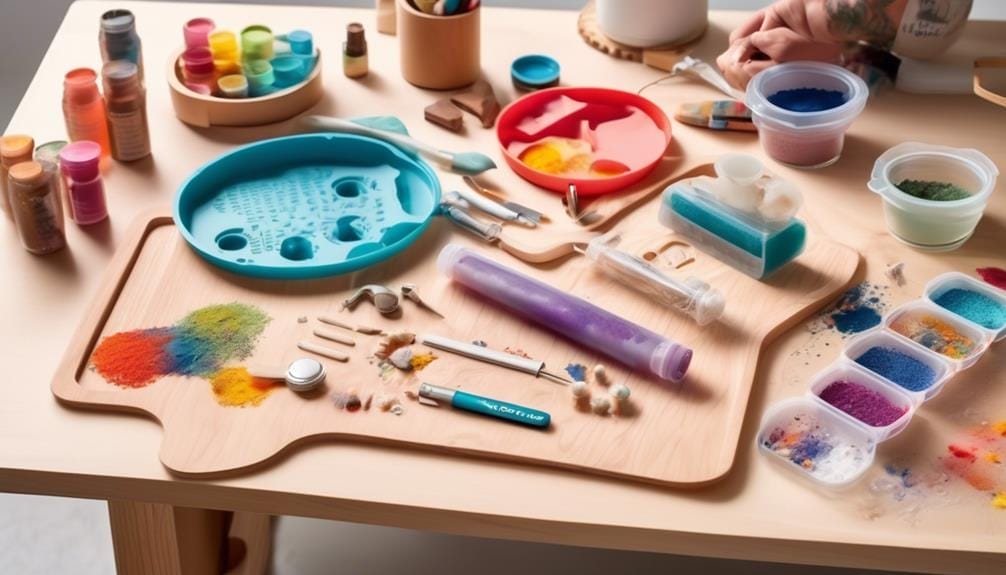
Gather the essential tools and supplies necessary for working with epoxy resin in your jewelry-making projects.
To ensure successful results, you'll need the following:
- Casting Resin: Select a high-quality casting resin that's specifically designed for jewelry making. This type of resin allows for greater depths and produces bubble-free results, ensuring the clarity and durability of your jewelry piece.
- Measuring and Mixing Tools: Accurate measurements are crucial when working with epoxy resin. Invest in a set of measuring cups or syringes with clear markings to ensure precise ratios. Additionally, have mixing sticks or stirrers on hand to thoroughly blend the resin and hardener together.
- Safety Equipment: Protect yourself while working with epoxy resin by wearing gloves, safety goggles, and a mask. Epoxy resin can be harmful if it comes into contact with your skin or eyes, so it's important to take proper precautions.
Preparing Your Workspace for Epoxy Resin Jewelry Projects
Prepare your workspace for epoxy resin jewelry projects by ensuring a protective covering is in place and having all necessary resin safety supplies readily available. Creating a clear and organized workspace is essential for a successful and enjoyable resin jewelry making experience. Here are some important steps to follow when setting up your workspace:
- Covering: Protect your workspace by covering it with a non-stick surface, such as a silicone mat or a plastic drop cloth. This will prevent any accidental spills or drips from damaging your work area.
- Ventilation: It's crucial to have adequate ventilation in your workspace when working with epoxy resin. Open windows or use a fan to ensure proper airflow and keep the area well-ventilated.
- Safety Supplies: Always have the necessary resin safety supplies within reach. These may include gloves, safety glasses, a respirator mask, and disposable mixing cups and stir sticks. These supplies will help protect you from any potential hazards during the resin mixing and casting process.
- Organization: Keep your workspace organized by arranging your resin supplies in a designated area. Use containers or dividers to separate different types of resins, pigments, and molds. This will make it easier to locate and access the materials you need while working on your jewelry projects.
Step-by-Step Guide to Mixing and Pouring Epoxy Resin
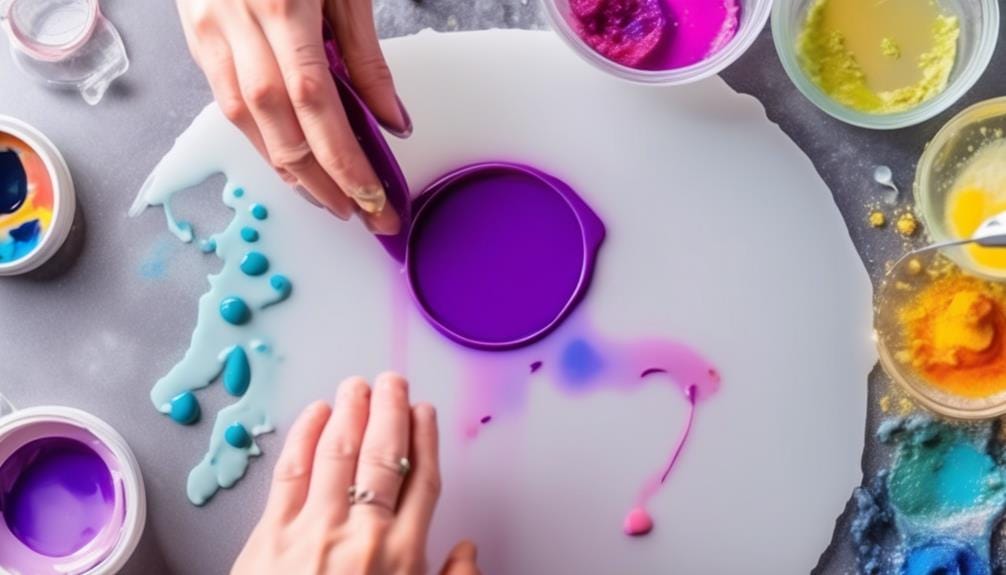
Interested in creating your own stunning resin jewelry? Let's dive into the step-by-step guide to mixing and pouring epoxy resin.
- Prepare your workspace: Set up a clean, well-ventilated area with a flat surface. Protect it with a silicone mat or wax paper to prevent any spills or stains.
- Measure the resin and hardener: Follow the manufacturer's instructions to determine the appropriate ratio of resin to hardener. Use separate measuring cups for each component to ensure accuracy.
- Mix the resin and hardener: Pour the measured amounts into a clean mixing cup. Use a stir stick to thoroughly mix the two components together. Stir slowly and gently to minimize the introduction of air bubbles.
- Let the mixture rest: Allow the resin and hardener to sit for a few minutes to let any air bubbles rise to the surface. You can use a heat gun or a small torch to carefully remove any remaining bubbles.
- Pour the resin: Slowly and steadily pour the mixed resin into your chosen mold or bezel. Fill it to the desired level, taking care not to overfill or spill.
- Remove air bubbles: Use a toothpick or a small needle tool to pop any remaining air bubbles that rise to the surface.
- Curing time: Follow the manufacturer's instructions for the recommended curing time. Place the piece in a dust-free area and allow it to cure undisturbed.
- Finishing touches: Once the resin has fully cured, remove it from the mold or bezel and sand or polish the surface to achieve the desired finish.
With this step-by-step guide, you're ready to start creating beautiful resin jewelry. Happy mixing and pouring!
Creating Stunning Effects With Epoxy Resin in Jewelry
Now it's time to explore the exciting world of creating stunning effects with epoxy resin in your jewelry.
With resin color techniques, you can add vibrant hues or create mesmerizing swirls and gradients.
Embedding objects like dried flowers, gemstones, or glitter can add depth and uniqueness to your designs.
And when it comes to finishing options, you can choose between a glossy or matte finish, or even experiment with sanding and polishing for a truly professional look.
Let your creativity shine and transform your resin jewelry into wearable works of art.
Resin Color Techniques
Create mesmerizing and unique effects in your resin jewelry by exploring the art of resin color techniques. Adding color to your epoxy resin can elevate your jewelry pieces to a whole new level.
Here are some resin color techniques to help you achieve stunning effects in your jewelry making:
- Layering: Create depth and dimension by layering different colors of resin. Pour one color, let it cure, and then add another layer on top. This technique allows you to create beautiful swirls and patterns within your jewelry.
- Marbling: Use multiple colors of resin and gently swirl them together to create a marbled effect. This technique gives your jewelry a mesmerizing and organic look.
- Alcohol Inks: Add drops of alcohol inks to your resin to achieve vibrant, translucent colors. Experiment with different color combinations to create unique and eye-catching jewelry pieces.
Embedding Objects
To create stunning effects with epoxy resin in jewelry, you can enhance your pieces by embedding various objects within the resin. This technique allows you to add depth, texture, and visual interest to your designs. By carefully selecting and arranging objects, you can create unique and eye-catching pieces that showcase your creativity. Here are some objects that you can embed in epoxy resin for jewelry making:
| Objects | Effects |
|---|---|
| Dried flowers | Adds a touch of nature and delicate beauty |
| Shells | Creates a beachy and tropical vibe |
| Glitter | Adds sparkle and glam to your jewelry |
| Beads | Provides a pop of color and dimension |
| Metal charms | Gives your pieces a unique and personalized touch |
Experiment with different objects and arrangements to find the perfect combination for your resin jewelry. Remember to securely place the objects in the resin and allow it to cure properly for a flawless finish. Happy embedding!
Resin Finishing Options
Enhance the beauty of your resin jewelry creations by exploring a wide range of resin finishing options that will captivate and amaze. When it comes to resin finishing options in jewelry making, epoxy resin offers endless possibilities. Here are three sub-lists to help you create stunning effects with epoxy resin:
- Polishing Techniques:
- Use a polishing cloth to buff and bring out the shine in your resin jewelry.
- Apply a layer of clear resin to achieve a glossy, glass-like finish.
- Experiment with different grits of sandpaper to create a smooth and polished surface.
- Adding Color:
- Mix in pigments or dyes to create vibrant and custom colors in your resin jewelry.
- Layer different colors to create depth and dimension.
- Use glitter or mica powders to add a touch of sparkle and shimmer.
- Texture and Embedding:
- Embed small objects like flowers, feathers, or beads in resin to create unique and eye-catching designs.
- Experiment with different textures by adding materials like sand, shells, or fabric.
- Use a heat gun or torch to create interesting patterns and textures in the resin.
Tips and Tricks for Curing Epoxy Resin in Jewelry Making
For optimal results in curing epoxy resin for jewelry making, consider the following tips and tricks.
- First, make sure to follow the manufacturer's instructions carefully, as different epoxy resins may have specific curing requirements.
- It's important to mix the resin and hardener together thoroughly, ensuring that no streaks or unmixed areas remain.
- To prevent bubbles from forming during the curing process, you can use a heat gun or torch to carefully remove any trapped air.
- Another trick is to cover the curing resin with a dust cover or dome to protect it from dust particles that could mar the surface.
- Additionally, placing the resin in a warm environment can help speed up the curing process, but avoid exposing it to direct sunlight as this may cause yellowing.
- Once the resin has cured, it's essential to handle the jewelry pieces with care to prevent any damage.
Finishing Touches: Adding Hardware and Finalizing Your Jewelry Pieces
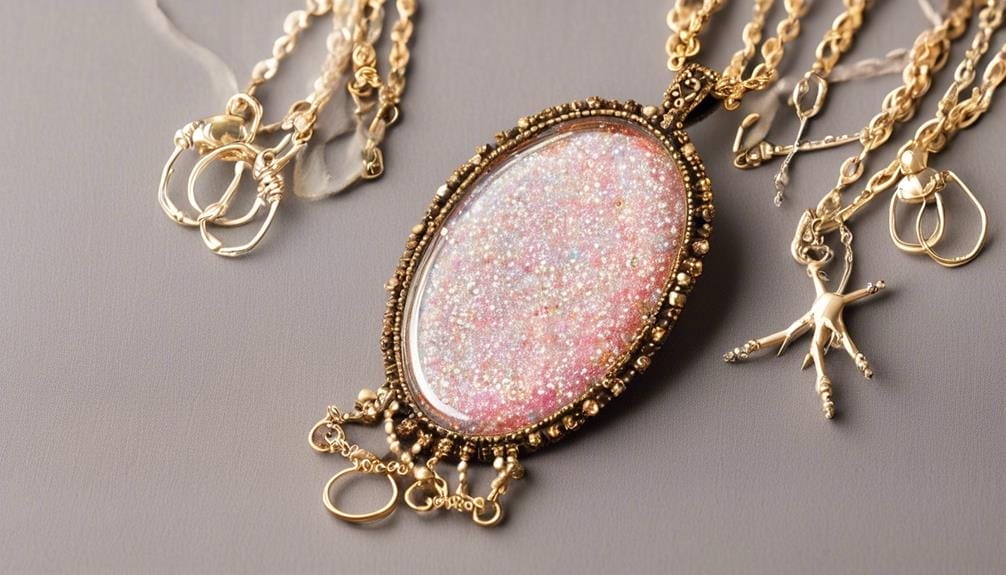
Now that you have successfully cured your epoxy resin jewelry, it's time to add the finishing touches by incorporating hardware and finalizing your pieces. Here are some steps to help you complete your resin jewelry making process:
- Choose the right hardware:
Selecting the appropriate findings, such as jump rings, clasps, earring hooks, or brooch pins, to complement your resin jewelry. Consider the type of jewelry you're making and the desired look you want to achieve.
- Attach the hardware:
Using jewelry pliers, carefully attach the chosen findings to your resin pieces. Make sure they're securely fastened to ensure durability and longevity.
- Finalize the design:
Take a step back and evaluate your resin jewelry piece. If desired, you can add additional embellishments like beads, charms, or crystals to enhance the overall aesthetic. Experiment with different arrangements until you achieve the desired look.
- Polish and protect:
Once you have added the hardware and finalized the design, gently polish the surface of your resin jewelry using a soft cloth or polishing pad. This will help remove any imperfections and bring out the shine of the resin. Additionally, consider applying a protective coating, such as resin sealant or clear nail polish, to further safeguard your finished jewelry.
Frequently Asked Questions
What Kind of Epoxy to Use for Jewelry?
You should use epoxy resin for jewelry making. It's easy to use and gives excellent results. Make sure to select the right resin for molds and bezels, and follow proper preparation and finishing steps for success.
What Is the Best Resin for Making Jewelry?
Using epoxy resin for jewelry making offers numerous benefits, such as ease of use, clear and durable results, and the ability to create unique designs. Achieve successful curing and finishing by following tips and exploring various pigments and additives.
Is Jewelry Resin the Same as Epoxy?
Jewelry resin is not the same as epoxy resin. Epoxy resin is a popular choice for jewelry making due to its ease of use and great results. It has a few pros and cons, but with some tips, you can create beautiful jewelry.
Can You Use Epoxy Resin for Jewellery?
Yes, you can use epoxy resin for jewelry making. However, there are common mistakes to avoid, like not properly curing the resin. Consider alternative materials as well.
Conclusion
In conclusion, epoxy resin is an excellent choice for jewelry making due to its ease of use and ability to produce high-quality results.
By selecting the right type of resin for your project and following the proper steps for mixing and pouring, you can create stunning effects in your jewelry pieces.
Remember the adage 'practice makes perfect' and continue to refine your skills in working with epoxy resin to create beautiful and unique jewelry.


