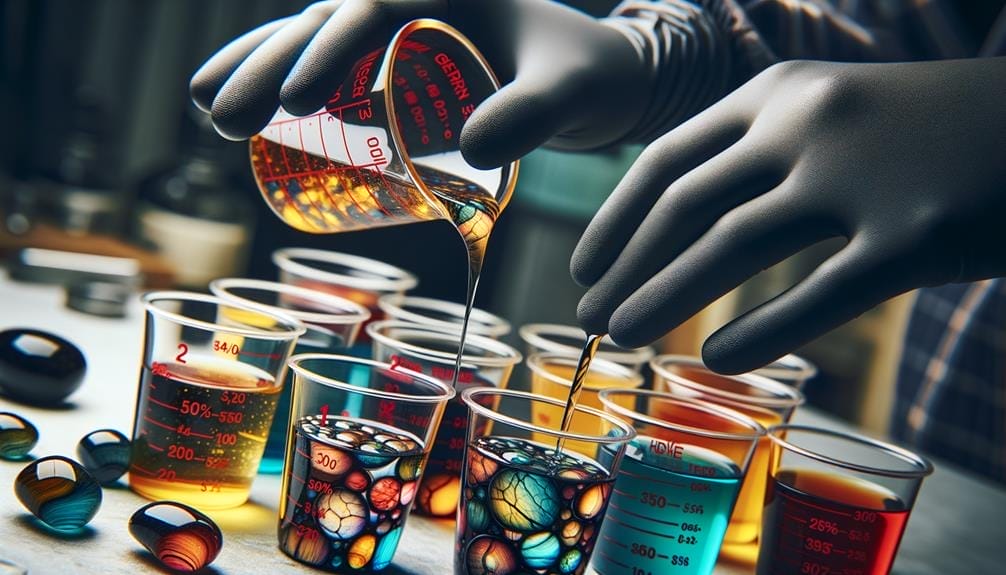
When it comes to measuring and mixing ratios for liquid glass epoxy, precision is key. Take, for instance, the Liquid Glass® epoxy resin system. It requires a mix ratio of 2 parts resin to 1 part activator for deep pour applications. But why is this ratio so important?
Well, the answer lies in achieving optimal curing and ensuring the desired results. But that's just the beginning. There's a whole world of measuring techniques, resin options, and proper mixing methods to explore.
So, if you're ready to dive into the art of epoxy mixing and learn how to create flawless finishes, get ready to uncover the secrets that will take your projects to the next level.
Key Takeaways
- Accurate ratios are crucial for curing liquid glass epoxy resin properly.
- Measuring techniques such as using a digital scale and graduated mixing cups ensure accurate measurements.
- Choosing the right resin with the correct mix ratio is important for the project's specific requirements.
- Measuring by weight provides greater accuracy and consistency compared to volume measurements.
Importance of Accurate Ratios
Accurate ratios are absolutely essential for achieving the proper curing of liquid glass epoxy resin. When mixing epoxy resin, it's crucial to pour the correct ratio of resin and hardener. The ratio refers to the proportion of resin to hardener needed for the epoxy to cure effectively. If the ratio is inaccurate, the epoxy may not cure properly, resulting in weak or brittle final products.
To ensure accurate ratios, it's vital to measure the resin and hardener precisely. Using graduated mixing cups with divided lines for different ratios can simplify the process. These cups allow you to fill up according to the desired ratio and pour up to the same number on both sides. This method guarantees accurate measurements, reducing the likelihood of wastage or shortage of epoxy resin.
Knowing and confirming the mix ratio before pouring is crucial. The two-two-one bar graph is a useful visual representation of the mix ratio. It simplifies the mixing process by providing clear indications of the resin and hardener ratios. By following the guidelines provided by the bar graph, you can achieve accurate ratios and ensure the effectiveness and strength of the epoxy resin once it cures.
Understanding Measuring Techniques
To ensure precise and accurate measurements, it's recommended to use a digital scale when measuring the resin and hardener for liquid glass epoxy. This will allow you to measure the ingredients by weight, which is crucial for achieving the correct weight ratio.
Here are some key points to understand about measuring techniques for liquid glass epoxy:
- Calculate the total amount of epoxy you need for your project. This will help you determine the appropriate amount of resin and hardener to measure.
- Measure your epoxy using a digital scale, ensuring that you accurately weigh both the resin and hardener. This will help maintain the desired weight ratio.
- Thoroughly mix the resin and hardener for 2-3 minutes. Make sure to scrape the sides, corners, and bottom of the container while mixing to ensure proper blending.
- Consider using pumps to dispense the resin and hardener. This can help you achieve the correct ratio more easily and accurately.
- Understand the curing time and temperature considerations. Following the manufacturer's instructions regarding curing time and temperature is crucial for achieving the desired results.
Choosing the Right Resin
When selecting the appropriate resin for your liquid glass epoxy project, it is crucial to consider the specific requirements and mix ratios outlined in the previous subtopic. One suitable choice for your project is the Super SAP CLR epoxy resin system from Entropy Resins. This two-part system has a mix ratio of 100:47 by weight or 2:1 by volume. To ensure accurate measurements, it is recommended to use a digital scale to weigh the resin and hardener. Thoroughly mix the two components for 2-3 minutes, making sure to scrape the sides, corners, and bottom of the container to ensure complete blending.
To aid in the application process, you can consider spreading a thin layer of mixed epoxy with a squeegee before brushing. Additionally, using pumps to dispense the resin and hardener in the correct ratio can help ensure precise measurements. It is essential to understand the mix ratio, as it directly impacts the curing process of the epoxy resin. By confirming the proper mix ratio, you can ensure a professional outcome for your project.
Here is a table summarizing the key details about the Super SAP CLR epoxy resin system:
| Resin System | Mix Ratio (by weight) | Mix Ratio (by volume) |
|---|---|---|
| Super SAP CLR | 100:47 | 2:1 |
Measuring by Weight Vs Volume
When it comes to measuring epoxy for your project, you have two options: weight or volume.
Measuring by weight offers greater accuracy and precision, ensuring a consistent mix ratio and optimal curing.
However, volume measurements may lead to variations in the mix ratio, potentially affecting the epoxy's performance and final result.
It's crucial to consider these pros and cons when deciding which method to use for measuring your liquid glass epoxy.
Weight Vs Volume: Pros
Measuring by weight offers numerous advantages over measuring by volume when working with liquid glass epoxy. Here are five pros of using weight measurements for the mix ratio of liquid glass epoxy:
- Precise and consistent results: Measuring by weight allows for accurate and consistent ratios of resin to hardener, reducing the margin for error in the mixing process.
- Reliable method: Using a digital scale to measure by weight provides a more accurate and reliable method compared to measuring by volume, ensuring the correct ratio is achieved.
- Uniform application: Weight measurement is particularly advantageous for larger projects, as it ensures a more uniform and controlled application of the epoxy, resulting in a smoother finish.
- Stronger and more durable finish: Weight-based measurements provide better control over the ratio of resin to hardener, resulting in a stronger and more durable epoxy finish.
- Predictable outcomes: Weight measurements are less susceptible to variations caused by factors such as temperature and air pressure, yielding more predictable outcomes in the curing process.
Weight Vs Volume: Cons
Now let's explore the drawbacks of measuring by weight versus volume when it comes to liquid glass epoxy. While measuring by weight can offer more precise measurements, there are several cons to consider. Firstly, weight measurements require a digital scale and specific units, which may not be readily available to all users. Additionally, the weight of the epoxy resin and hardener might affect the final product differently compared to volume measurements due to differences in density. This can result in an improper ratio and potentially impact the epoxy's performance. Moreover, beginners who are not familiar with using a digital scale or calculating ratios based on weight may find the process more challenging. Lastly, weight measurements can be less convenient for some users as they may need additional equipment, making the process less portable or accessible.
| Cons of Measuring by Weight | |
|---|---|
| Requires digital scale and specific units | Less convenient for some users |
| Weight of resin and hardener affects final product differently | More challenging for beginners |
| Additional equipment needed | Less portable or accessible |
Proper Mixing Techniques
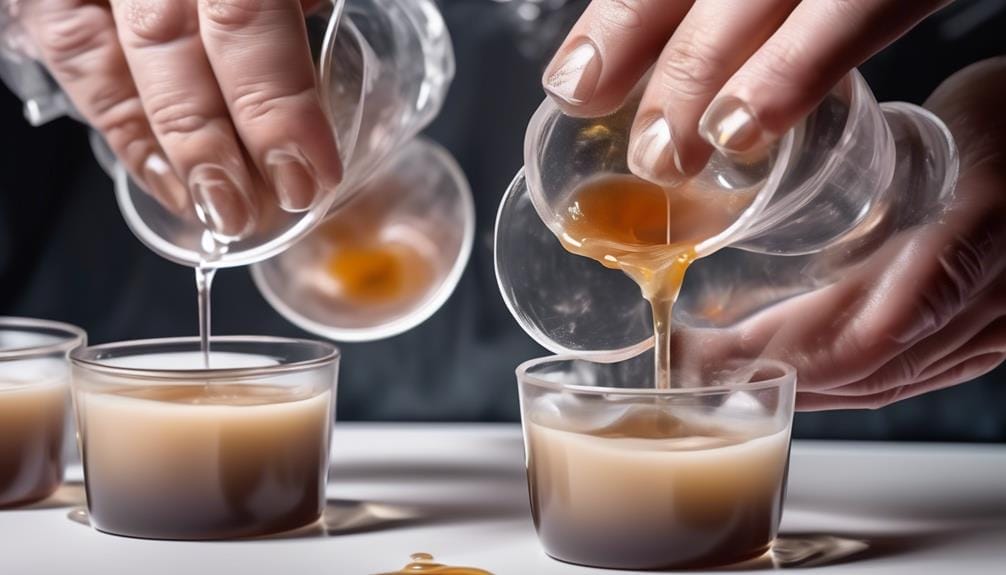
To ensure a proper mix, it's essential to follow the recommended mixing ratios for liquid glass epoxy.
Measure the resin and hardener accurately using a digital scale, as the weight-based measurement provides more precise results.
Thoroughly blend the components for 2-3 minutes, scraping all surfaces of the container to achieve a homogeneous mixture.
Mixing Ratios
For proper mixing techniques of liquid glass epoxy, ensure that you accurately measure and mix the resin and hardener using a digital scale, thoroughly incorporating them for 2-3 minutes while scraping the sides, corners, and bottom of the container. Achieving the correct mixing ratios is crucial for the epoxy to fully cure and provide optimal results.
Here are some key points to consider:
- Use pumps to dispense resin and hardener in the correct ratio.
- Confirm the mix ratio to ensure proper curing of the epoxy resin.
- Consider using ratio mixing cups or the two-two-one bar graph for accurate measurements.
- Avoid cold temperatures or high humidity when dispensing and applying the epoxy.
- Allow the epoxy to cure for up to 72 hours in a dust-free environment.
Time and Temperature
Using a clean and dry environment with a minimum temperature of 70 degrees, ensure precise measurements of the resin and hardener by weight, and thoroughly stir the mixture for 2-3 minutes, scraping the sides, corners, and bottom of the container. This step is crucial to achieving a well-mixed and homogeneous epoxy solution.
Maintaining the proper temperature is essential for the epoxy to cure correctly. Avoid applying epoxy resin in cold temperatures or high humidity, as this can negatively affect the curing process. If necessary, consider using a heat source to warm up the surface before applying the epoxy.
Once the epoxy is mixed, continue mixing periodically during the application process to prevent settling and ensure consistent results.
Following these time and temperature guidelines will help you achieve optimal results with your liquid glass epoxy.
Dispensing the Epoxy
Consider using pumps to accurately dispense the resin and hardener in the correct ratio for precise and consistent mixing of the liquid glass epoxy. Pumps provide a convenient and efficient method of dispensing the epoxy, ensuring that you achieve the desired ratio every time.
Here are some tips for dispensing the epoxy:
- Pour the epoxy directly from the pump into mixing cups. This eliminates the need to manually measure and ensures accuracy.
- Simply measure the required amount of resin and hardener by following the manufacturer's instructions. The pumps make it easy to achieve the correct ratio, eliminating the risk of miscalculations.
- Use mixing cups specifically designed for epoxy to ensure accurate measurements and easy mixing.
- Once the resin and hardener are dispensed into the mixing cups, stir them thoroughly to achieve a homogenous mixture.
- After mixing, pour the epoxy onto the desired surface or apply it using a brush or roller, depending on your project requirements.
Using pumps to dispense the epoxy simplifies the measuring process and ensures that you achieve consistent results. By following these steps, you can accurately measure and mix the liquid glass epoxy, making your project a success.
Preparing Surfaces for Adhesion

To ensure optimal adhesion for the Superclear® Epoxy, thoroughly clean and dry the surface using Isopropyl Alcohol 90% +. This step is crucial as any contaminants on the surface can hinder the epoxy from adhering properly. After cleaning, it's important to remove any amine blush that forms during the curing process. This can be done by sanding the surface lightly or scraping the sides. By eliminating the amine blush, you prevent any potential issues with subsequent bonding.
In addition to cleaning and removing amine blush, it's recommended to consider using a seal coat on certain wood surfaces. This helps to prevent air bubbles from forming during the epoxy application. It's essential to properly prepare the surface to allow for good adhesion, as certain materials can prevent the epoxy from adhering effectively.
To provide long-term durability for the epoxy coating, it's crucial to use UV protection and high-gloss finishes. These measures protect the epoxy from yellowing or degrading due to exposure to sunlight. Furthermore, it's important to ensure that the surface is properly cured before applying additional layers of epoxy.
Curing and Clean Up Process
The curing and clean up process for liquid glass epoxy involves a chemical reaction that transforms the epoxy from a liquid to a solid state. This process, known as cure time, is influenced by temperature, with warmer temperatures resulting in shorter curing time. To ensure successful curing and achieve the desired strength and durability, it's important to follow the recommended measuring and mixing ratios for the liquid glass epoxy.
Here are some key points to remember during the curing and clean up process:
- Remove amine blush: During the curing process, a byproduct called amine blush may form on the surface of the epoxy. It's important to remove this blush to prevent any issues with subsequent bonding or coatings.
- UV protection: For long-term durability of epoxy coatings, it's recommended to apply a UV-resistant topcoat or provide UV protection to prevent yellowing or degradation caused by exposure to sunlight.
- Adjustments: If necessary, adjustments can be made to the curing process by using different hardeners, mixing smaller batches, applying supplemental heat, or post-curing at elevated temperatures. These adjustments can help optimize the curing process for specific project requirements.
- Clean up: After the epoxy has cured, any excess or spilled epoxy can be cleaned up using solvents or scraping tools. It's important to follow proper safety precautions and disposal guidelines when handling and disposing of epoxy waste.
Applying Top Coats and Finishing
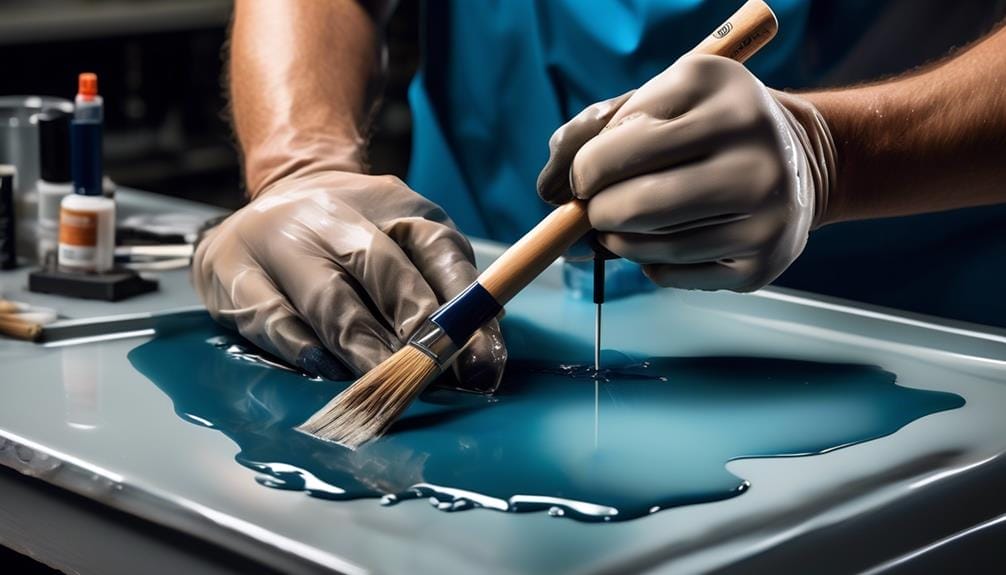
Applying a top coat and finishing is a crucial step in ensuring the long-term durability and protection of epoxy coatings. By utilizing high-gloss finishes and white coatings, you can enhance UV protection and extend the lifespan of your epoxy coatings. It is important to consider the temperature during application, as it affects the curing time. Warmer temperatures expedite the curing process, while cooler temperatures slow it down. To avoid adverse reactions, make sure the top coat or finishing product is compatible with cured epoxy, except for certain epoxy amines. UV protection is vital for the longevity of epoxy coatings, so prioritize it in your finishing process.
To provide a comprehensive understanding of applying top coats and finishing, refer to the table below:
| Key Considerations | Tips and Recommendations |
|---|---|
| Temperature | Warmer temperatures speed up curing; cooler temperatures slow it down. |
| Compatibility | Ensure top coat or finishing product is compatible with cured epoxy, except for certain epoxy amines. |
| UV Protection | Utilize high-gloss finishes and white coatings for enhanced UV protection. |
| Adjusting Curing Time | Use different hardeners, mix smaller batches, apply supplemental heat, or post-cure at elevated temperatures. |
Frequently Asked Questions
What Is the Ratio for Liquid Glass Epoxy?
The ratio for liquid glass epoxy is 2 parts resin to 1 part activator. To ensure accurate measurements, use a digital scale in grams or ounces. Mixing thoroughly for 5 minutes is a best practice.
How Do You Mix Liquid Glass Epoxy Resin?
To mix liquid glass epoxy resin, combine 2 parts resin with 1 part activator. Stir for 5 minutes, transfer to a new container, and mix for 3 more minutes. Apply directly into the mold, remove air bubbles with a heat gun, and allow up to 72 hours for curing.
What Is the Ratio for Mixing Epoxy?
The ratio for mixing epoxy is 2 parts resin to 1 part activator. Measure the components by weight using a digital scale. Mix thoroughly for 2-3 minutes. Follow proper mixing techniques for optimal epoxy curing process and application.
What's the Difference Between Liquid Glass and Epoxy Resin?
Liquid glass is like a shiny, thick coating on a painting, while epoxy resin is like a versatile tool in a toolbox. They have different applications and properties, allowing for unique advantages in various projects.
Conclusion
Congratulations! You have mastered the art of measuring and mixing liquid glass epoxy. Just like a skilled alchemist, you have learned the importance of accurate ratios, proper measuring techniques, and thorough mixing.
By following these precise steps, you can achieve flawless results in your epoxy projects.
So go forth, my fellow craftsmen, and create stunning masterpieces that will leave others in awe of your technical prowess.

