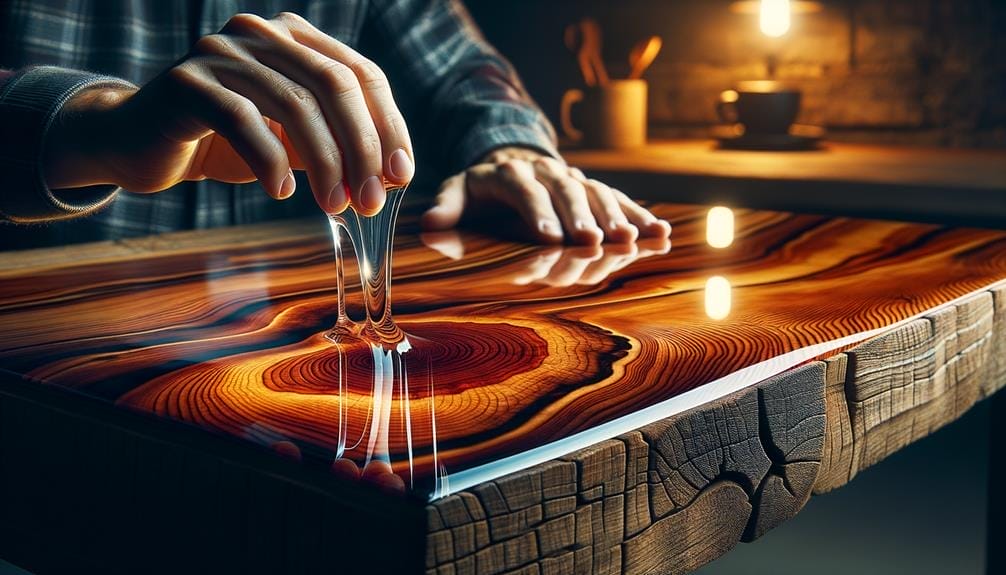
When it comes to mixing liquid glass epoxy resin, precision is key. You want to ensure that the resin and activator are mixed in the correct ratio and stirred thoroughly to achieve optimal results.
But that’s not all there is to it. There are other factors to consider, such as the right mixing container, the proper mixing time, and even troubleshooting common issues that may arise.
So, if you’re looking to achieve a flawless finish with your epoxy resin project, keep reading to discover the essential tips and techniques that will make all the difference.
Key Takeaways
- Proper measurements of epoxy resin and activator in a 2:1 ratio are crucial for optimal performance and bonding.
- Thoroughly mixing the resin and activator for at least 5 minutes ensures a uniform blend and minimizes air entrapment.
- Using a clean, dry, and appropriately sized container with straight sides and a wide opening facilitates stirring and pouring of the epoxy.
- Temperature affects the viscosity and curing time of epoxy resin, with the ideal working temperature being at least 70 degrees Fahrenheit.
Understanding Epoxy Resin Components
To understand epoxy resin components, it’s crucial to grasp the specific ratio of resin and activator that they typically consist of. The mixing process plays a significant role in achieving the desired results with liquid glass epoxy resin. It’s important to mix the resin and activator thoroughly for at least 5 minutes to ensure proper chemical bonding. This ensures that the epoxy cures properly and provides maximum strength and durability.
Additionally, understanding the coverage chart helps determine the right amount of epoxy needed for your project. This prevents wastage and ensures cost-effectiveness.
When it comes to achieving a deep pour, the resin and activator are mixed in a 2:1 ratio. This ratio is carefully calculated to ensure a successful and effective pour. It’s important to measure the components accurately to maintain this ratio and achieve the desired outcome.
Lastly, a clean and dry working environment is crucial for achieving the best results with epoxy resin components. Any contaminants or moisture can affect the curing process and lead to undesirable outcomes. Additionally, maintaining the appropriate temperature during the mixing and curing process is essential for optimal results.
Importance of Proper Measurements
Accurate measurements are crucial to ensure success in your epoxy resin mixing. Incorrect measurements can lead to a range of problems, from improper curing to insufficient material for your project.
Accurate Measurements Ensure Success
Accurate measurements are crucial for ensuring the proper resin-to-activator ratio and the successful curing of epoxy. When mixing liquid glass epoxy resin, precise measurements play a vital role in achieving the desired results.
By following the recommended 2:1 ratio of resin to activator, you ensure optimal performance and durability of the epoxy. Using the coverage chart provided, you can determine the exact amount of epoxy needed for your project, preventing wastage or shortage.
Proper measurements also ensure that the epoxy is poured at the desired depth, maintaining the structural integrity and clarity of the finished product. Additionally, accurate measurements contribute to a bubble-free and crystal-clear finish, enhancing the overall aesthetic appeal of your project.
Therefore, paying attention to accurate measurements is essential to ensure the success of your epoxy mixing process.
Incorrect Measurements Cause Problems
When measurements aren’t precise, a range of problems can arise, jeopardizing the curing process and overall performance of the epoxy resin. It’s crucial to ensure accurate measurements in order to achieve the best results with liquid glass epoxy resin.
Here are some key reasons why proper measurements are essential:
- Pour: Incorrect measurements can result in an insufficient amount of epoxy resin, making it difficult to cover the desired surface area effectively.
- Deep Pour Capability: Accurate measurements are necessary to ensure the epoxy resin has the necessary depth and strength for deep pour applications.
- Scraping: Inaccurate measurements can lead to excess epoxy resin, requiring extra scraping to remove the excess, which can be time-consuming and affect the final finish.
- Bubbles: Incorrect measurements can disrupt the resin-to-activator ratio, causing air bubbles and compromising the clarity and smoothness of the epoxy surface.
To achieve the best results, ensure precise measurements to guarantee the proper chemical reaction and optimal performance of the epoxy resin.
Selecting the Right Mixing Container
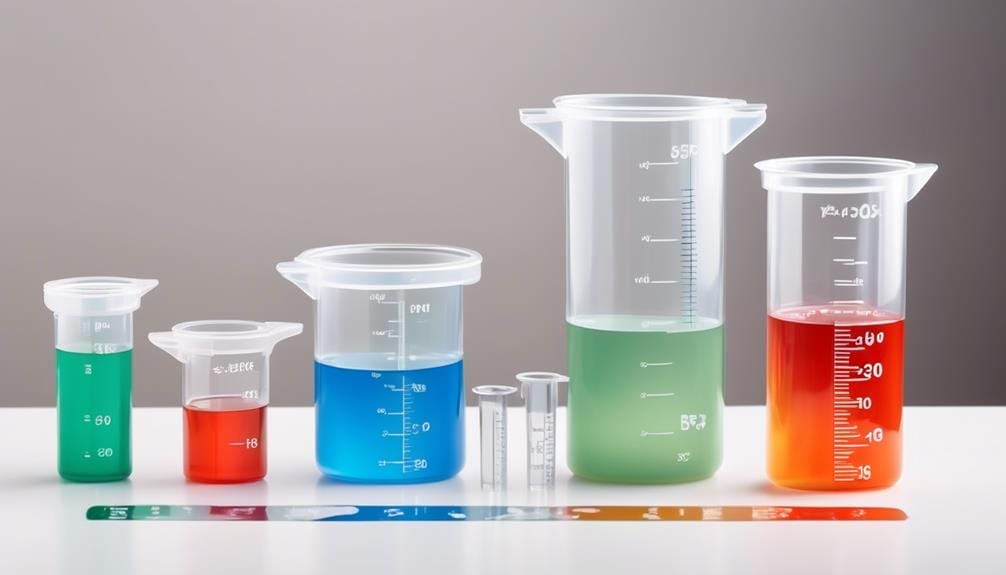
Consider using a clean, dry, and appropriately sized container with straight sides and a wide opening for easier mixing and pouring of the epoxy resin. When selecting a mixing container for deep-pour epoxy resin, it’s important to choose one that can comfortably hold the amount of epoxy needed for your project. Opt for a container with straight sides and a wide opening to facilitate stirring and pouring of the epoxy. This will help prevent the epoxy from splashing or spilling during the mixing process. Additionally, using a container with straight sides will make it easier to scrape the sides and bottom of the container, ensuring that all components are thoroughly mixed.
It is also advisable to use a disposable container for mixing the epoxy resin. This will make cleanup much easier, especially if the epoxy may be difficult to remove once cured. If you choose to reuse a container, make sure it’s completely clean and free of any residue from previous use. This is important to prevent contamination of the new epoxy mixture.
When selecting a mixing container, ensure that it’s made of a material that’s compatible with epoxy resin. Suitable options include plastic, silicone, or wax-coated paper containers. These materials won’t react with the epoxy resin and won’t affect its curing process or final results.
Preparing the Mixing Area
To prepare the mixing area, gather the necessary tools and clear and clean your workspace.
Lay down plastic sheeting in a clean, dry environment for easy cleanup.
Use sawhorses or 44s to raise the mold off the surface for convenience.
Clean the surface with Isopropyl Alcohol 90%+ before applying the seal coat to ensure the area is ready.
Use an oscillating fan to distribute heat evenly for consistent results.
Avoid over-clamping the wood substrate to allow for slight shifting during the mixing process.
Gathering Necessary Tools
To ensure a clean and organized workspace, lay down plastic sheeting before gathering the necessary tools for mixing epoxy resin.
Here are the essential tools you’ll need:
- Measuring containers: Use these to accurately measure the Superclear® Table Top Epoxy and Glass® Deep Pour Epoxy.
- Mixing sticks: These are necessary for stirring the resin and activator together thoroughly and evenly.
- Heat gun: Use a heat gun to remove any air bubbles that may form in the resin during the mixing process.
- Dry bucket or cup: It’s important to have a separate container to mix the resin and activator, ensuring a proper mixture.
Before you begin gathering your tools, make sure to clean the work surface with Isopropyl Alcohol 90%+ to remove any dirt or particles. Additionally, ensure that the working environment is clean, dry, and at least 70 degrees for optimal curing.
Now that you have the necessary tools, you’re ready to move on to the next step.
Clearing and Cleaning Workspace
To properly prepare the mixing area, ensure that the workspace is cleared and cleaned for optimal epoxy resin application. Lay down plastic sheeting to create an easy-to-clean workspace.
Before applying the seal coat, clean the surface with Isopropyl Alcohol 90%+ to ensure a dirt-free and smooth finish. It’s essential to have a clean, dry workspace that’s at least 70 degrees for the epoxy resin to perform optimally.
To achieve even pouring and curing, use sawhorses or 44s to raise the mold off a flat surface. Additionally, an oscillating fan can be used to distribute heat and assist in the curing process evenly.
Mixing Ratios for Liquid Glass Epoxy Resin
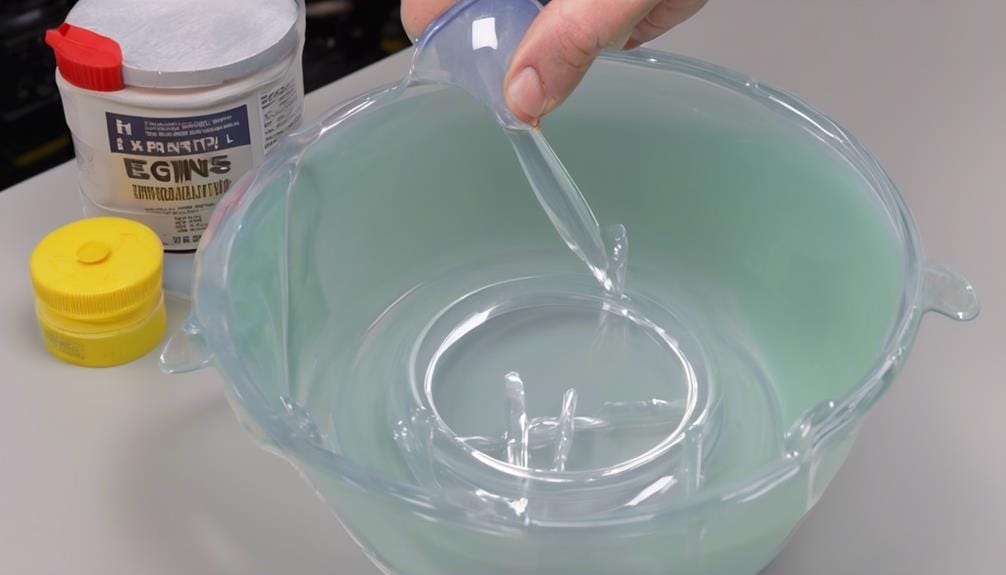
The recommended mixing ratio for deep pour Liquid Glass Epoxy Resin is 2 parts resin to 1 part activator. It’s crucial to follow this ratio precisely to ensure proper curing and optimal results.
Here are the steps to mix the Liquid Glass® Deep Pour product effectively:
- Measure 2 parts of resin and 1 part of activator using a precise scale.
- Pour the resin into a clean mixing container.
- Add the activator to the resin, scraping the sides of the container to ensure all the product is incorporated.
- Stir the mixture thoroughly for at least 5 minutes to ensure a complete blend.
- Transfer the mixture to a new container and continue stirring for an additional 3 minutes.
After mixing, allow the epoxy to rest for a few minutes to let any air bubbles rise to the surface.
To remove any remaining air bubbles, use a heat gun on low heat to gently pass over the surface.
Ensure that the ambient temperature is between 70-80°F (21-27°C) during mixing and curing for optimal results.
Mixing Techniques for a Homogeneous Blend
For a homogeneous blend of deep pour Liquid Glass Epoxy Resin, ensure that you accurately measure and mix 2 parts of resin to 1 part of activator, stirring vigorously for at least 5 minutes. This thorough mixing is crucial to achieve a uniform blend and to activate the curing process. After the initial mixing, transfer the mixture to a new container and continue stirring for an additional 3 minutes. This step helps to further homogenize the resin and activator, ensuring that no pockets of unmixed material remain.
To facilitate proper mixing and curing, it is important to work in a clean, dry environment with an ambient temperature of at least 70 degrees. Any moisture or contaminants present can negatively affect the curing process and result in an inferior final product. Additionally, make sure to properly prepare the surface where the epoxy resin will be applied. Clean the surface thoroughly and remove any dust or debris to promote adhesion and prevent any imperfections in the final cured surface.
Using a heat gun is recommended to remove any air bubbles that may form in the mixture after pouring it into the mold for deep pours. Gently apply heat to the surface to eliminate any trapped air, resulting in a smooth and bubble-free finish. Once poured, the surface should be allowed to cure for up to 72 hours in a dust-free environment to achieve optimal results. Following these mixing techniques and proper surface preparation will ensure a homogeneous blend and a high-quality finished product.
| Mixing Techniques | Tips |
|---|---|
| Measure accurately | Use precise measurements to ensure the correct ratio of resin to activator. |
| Stir vigorously | Thoroughly mix the resin and activator for at least 5 minutes to achieve a uniform blend. |
| Transfer and continue mixing | After initial stirring, transfer the mixture to a new container and continue stirring for an additional 3 minutes to homogenize the blend further. |
Avoiding Air Bubbles in the Mixture
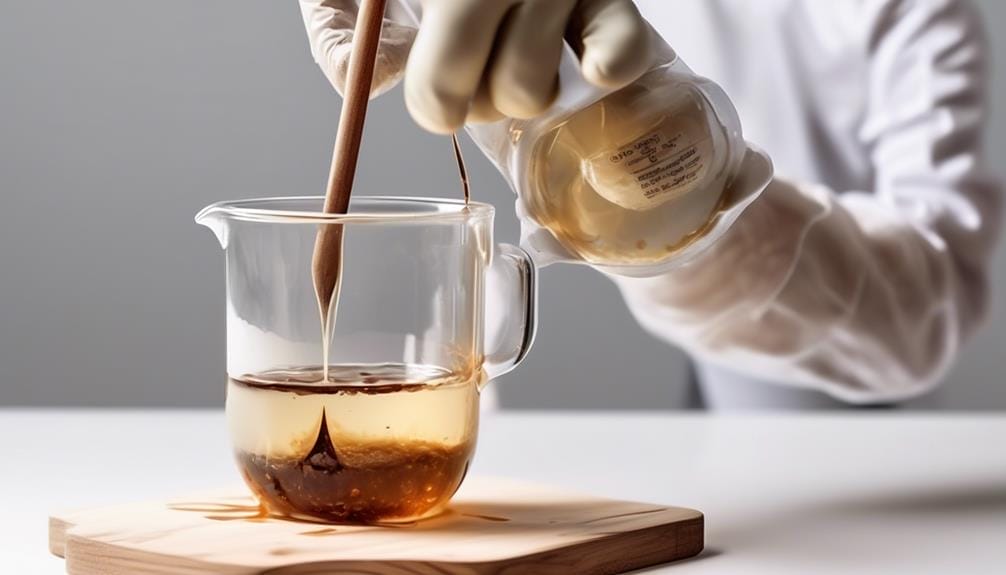
Now let’s address the crucial aspect of achieving a bubble-free mixture by focusing on the subtopic of ‘Avoiding Air Bubbles in the Mixture’. When mixing liquid glass epoxy resin, it’s important to take certain precautions to ensure a crystal clear finish without any unsightly air bubbles. Here are some key steps to follow:
- Start by creating a clean and dry working environment. Any moisture or debris can introduce air bubbles into the mixture, so make sure the surfaces and tools are free from dirt and moisture.
- Use a stir stick to mix the resin and activator in a 2:1 ratio. Stir the mixture for at least 5 minutes to minimize air entrapment. Be thorough and make sure the two components are well blended.
- Transfer the mixture to a new container and continue stirring for 3 more minutes. This step helps to eliminate any remaining air bubbles that may have clung to the sides of the initial container.
- Consider using a heat gun to remove any air bubbles from the poured mixture before allowing it to cure. Gently move the heat gun over the surface of the epoxy resin, being careful not to apply too much heat, as it can cause the resin to become tacky after 24 hours.
The Role of Temperature in Mixing Epoxy Resin
When mixing epoxy resin, temperature plays a crucial role in determining the final outcome of the mixture. It’s important to understand the ideal mixing temperature, as it directly affects the viscosity and curing time of the resin.
Temperature variations can have significant effects on the resin, such as altering its flowability and potentially compromising the strength of the cured material.
Temperature’s Impact on Resin
The temperature of the working environment significantly affects the mixing and curing process of epoxy resin. It’s crucial to consider the ambient temperature when working with epoxy resin to ensure proper results. Here are some important points to keep in mind:
- The ideal working temperature for mixing epoxy resin is at least 70 degrees Fahrenheit.
- Higher temperatures can accelerate the curing process, while lower temperatures can slow it down.
- Extreme temperatures can cause the resin to become too thick or too runny, affecting its performance.
- Depending on the ambient temperature, the curing time may vary. It’s important to follow all mixing directions and allow the resin to cure for the recommended time, usually a few minutes, to ensure proper curing.
Remember to lightly sand the surface and clean it with Isopropyl Alcohol before adding another layer. Sweep the heat gun back and forth to remove any bubbles, and pour the resin slowly and evenly, adjusting the temperature higher before adding additional layers. Make sure to seal the bottom thoroughly throughout the process, as the resin will begin to harden within minutes, creating a tacky and nearly hard surface.
Ideal Mixing Temperature
Maintaining the ideal mixing temperature is crucial for achieving optimal results when working with epoxy resin. Temperature plays a significant role in the mixing process of liquid glass epoxy resin. The ideal mixing temperature for this type of resin is at least 70 degrees Fahrenheit. This temperature ensures proper viscosity and curing, leading to the best possible outcome.
Temperature affects the flow and curing time of epoxy resin. Mixing at the recommended temperature helps to achieve proper bonding, minimize air bubbles, and achieve a clear, flawless finish. Extreme temperatures, whether too high or too low, can cause issues such as incomplete curing, cloudiness, or an uneven texture.
Therefore, it’s essential to maintain the ideal mixing temperature by working in a clean, dry environment and considering temperature control measures like warming pads or climate-controlled spaces.
Effects of Temperature Variations
To ensure optimal results when working with epoxy resin, it’s crucial to consider the effects of temperature variations on the mixing process. Temperature plays a critical role in the viscosity of the epoxy, which can impact the pouring and curing process.
Lower temperatures can cause the epoxy to thicken, making it challenging to mix and pour. It may require additional effort to scrape the resin from the container’s surface and ensure a thorough mix.
Higher temperatures can accelerate the curing process, shortening the working time. This can lead to faster onset of exothermic reactions, potentially causing bubbles or a tacky surface.
Monitoring and adjusting working conditions to account for temperature variations is essential for consistent results. Maintaining a recommended minimum temperature of 70 degrees Fahrenheit can help ensure proper mixing and curing.
Mixing Time and Pot Life Considerations
For optimal results, ensure that the epoxy resin and activator are thoroughly mixed in a 2:1 ratio for deep pour applications, stirring for a minimum of 5 minutes. This ensures that the epoxy and activator are evenly distributed, promoting proper curing and adhesion between the two components. During the mixing process, it’s important to scrape the sides of the container to ensure that all the material is incorporated.
After stirring for the initial 5 minutes, transfer the mixture to a new container and continue stirring for an additional 3 minutes. This step helps to further ensure that the epoxy resin and activator are completely mixed.
Once the mixture is thoroughly mixed, you can pour it directly into your mold at the desired depth. Use a stir stick to scrape any unmixed material from the sides and bottom of the container. To achieve a smooth surface, you can scrape the sides of the mold with Isopropyl Alcohol.
The pot life of the epoxy resin depends on the ambient temperature and the total volume and depth of the pour. In ideal conditions, you have a pot life of several hours. However, the product will begin to harden within 12-24 hours. If you need to pour your next layer, wait until the previous pour is tacky. This helps with the adhesion between the two layers.
As the epoxy begins to cure, it may start to develop bubbles. To remove these bubbles, simply wait until the pour is tacky and then use a heat gun to gently heat the surface. This will cause the bubbles to rise and pop. You can also use a stir stick to help release any trapped air by scraping the sides of the mold.
After pouring your deep pour, it’s important to let it get tacky before scraping in any unmixed material. This will prevent any unincorporated epoxy from being spread across the surface. Once the surface is completely tacky, you can scrape any unmixed material with a stir stick.
To ensure the best results, be sure to clean the surface before pouring your next layer. Clean the surface with Isopropyl Alcohol to remove any dust or debris that may have settled. This will help with the adhesion between the layers. Remember to clean the sides of the mold as well, scraping any unmixed material that has clung to the sides. This will ensure a clean and smooth finish.
If you have any questions or need further assistance, please don’t hesitate to contact us. You can reach us via email or phone, Monday through Friday. To get in touch, please enter your details and click the ‘Contact Us’ button before placing your order.
Once the epoxy resin is mixed, it’s important to lay down a plastic sheet or tarp to protect your work surface. This will prevent any accidental spills or messes. It’s also important to let the epoxy cure undisturbed for 72 hours. Avoid touching or moving the project during this time to allow for proper curing.
Tips for Mixing Small and Large Batches
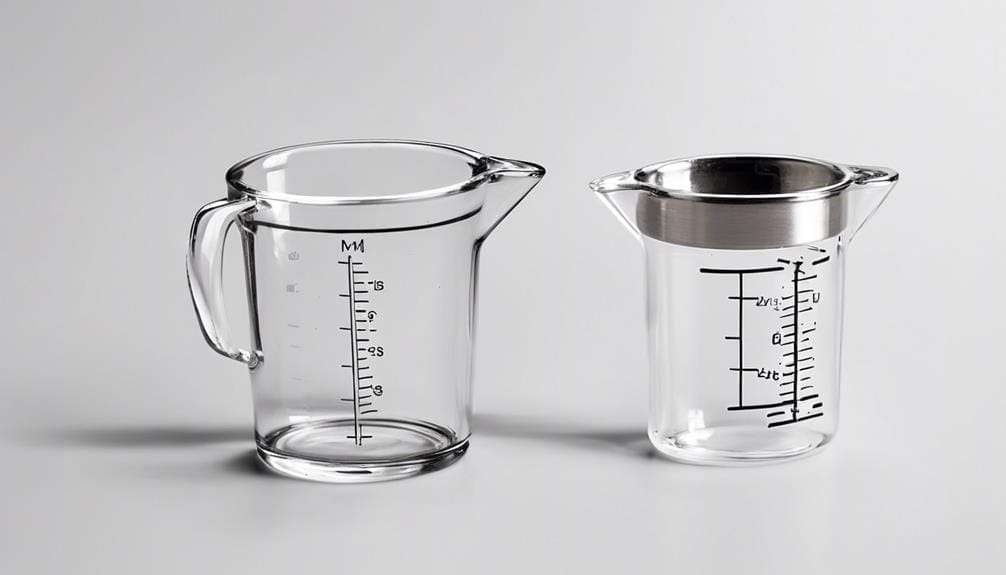
When mixing small and large batches of epoxy resin, it’s important to ensure precise measurements for accurate ratios and to use smaller containers for small batches to avoid wastage. Here are some tips to help you achieve successful results:
- For small batches, use measuring tools with clear markings to ensure precise measurements. Accurate ratios are crucial for the epoxy resin to cure properly.
- Use smaller containers for small batches to minimize wastage. This will also make it easier to mix the resin thoroughly.
- Stir small batches thoroughly for at least the recommended time to ensure proper curing. Pay attention to the sides and bottom of the container to make sure all the resin is well mixed.
- For large batches, consider using a drill attachment with a mixing paddle. This will help to mix the resin more efficiently and ensure a consistent blend throughout the batch.
- When mixing large batches, work quickly to pour and distribute the mixture before it begins to cure. The curing process can be accelerated in larger volumes, so it’s important to be efficient in your work.
Cleaning and Storing Mixing Tools
After using epoxy resin, it’s crucial to properly clean and store your mixing tools to maintain their quality and prevent any contamination in future resin mixes.
To begin the cleaning process, scrape off any excess resin from your mixing tools using a plastic scraper or a putty knife. Be careful not to damage the tools while scraping.
Next, use Isopropyl Alcohol 90%+ to clean the tools. This high percentage of alcohol is effective in removing epoxy residue. Wet a clean cloth or paper towel with the alcohol and wipe down the tools thoroughly. Make sure to clean all surfaces, including the handles and any crevices.
After cleaning, it’s important to allow the tools to dry completely before storing them. Moisture can affect future resin mixes, so ensure that there’s no residual moisture on the tools.
Once dry, store the mixing tools in a dust-free environment to prevent any particles from contaminating future resin mixes. Consider dedicating specific mixing tools solely for epoxy resin use to avoid cross-contamination with other materials.
Lastly, it’s recommended to store the mixing tools in airtight containers to prevent hardening or curing of any leftover resin on the tools.
Troubleshooting Common Mixing Issues
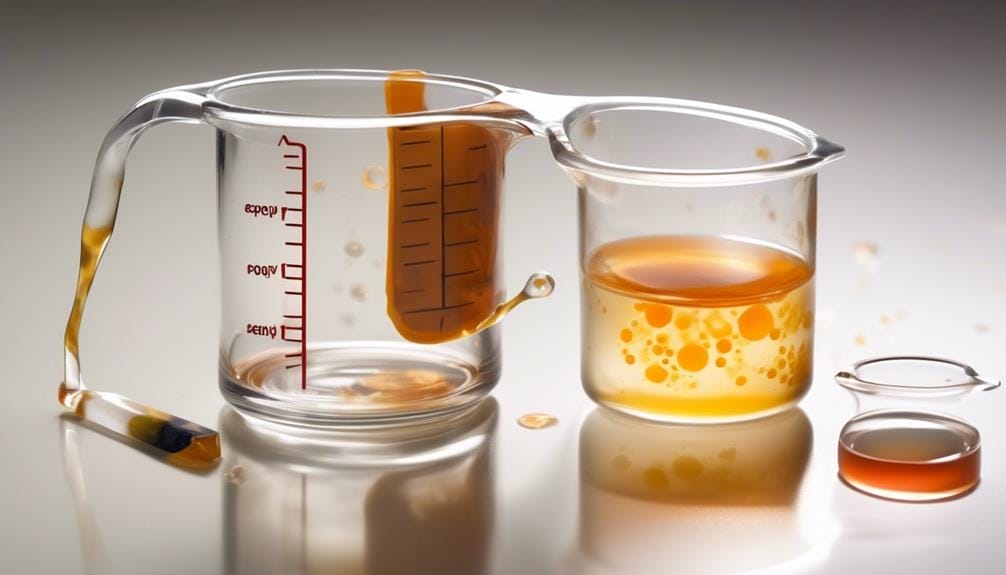
To troubleshoot common mixing issues when working with epoxy resin, carefully analyze the following factors:
- Environment: Ensure that your working environment is clean, dry, and at least 70 degrees Fahrenheit. Any moisture or dust particles can affect the quality of the poured mixture.
- Mixing Ratio: The ratio of epoxy resin to activator is crucial for proper curing. Make sure you’re mixing in a 2:1 ratio, following the manufacturer’s instructions. Use a precise measuring tool to ensure accuracy.
- Mixing Time: Thoroughly mix the epoxy resin and activator for at least 5 minutes. Scrape the sides and bottom of the container to ensure all components are evenly combined. Afterward, transfer the mixture to a new container and continue mixing for an additional 3 minutes. This step is especially important for deep pours.
- Air Bubbles: To eliminate air bubbles in the poured mixture, use a heat gun or torch. Gently pass the heat source over the surface of the epoxy resin, being careful not to overheat or scorch it.
Frequently Asked Questions
How Do You Mix Liquid Glass Epoxy?
To mix liquid glass epoxy, properly measure 2 parts resin to 1 part activator. Stir for 5 minutes, transfer to a new container, and continue mixing for 3 more minutes. Pour into the mold at the desired depth.
How Long Does Liquid Glass Epoxy Take to Harden?
Liquid glass epoxy typically takes 12-24 hours to harden, with full curing occurring in 48-72 hours. Factors like temperature and humidity can affect hardening time. Proper ventilation is important, and testing hardness can be done by applying light pressure.
What’s the Difference Between Liquid Glass and Epoxy Resin?
The difference between liquid glass and epoxy resin is that liquid glass is a type of epoxy resin specifically designed for deep pours, offering a crystal-clear finish and shorter cure time. Epoxy resin has various uses and is versatile in creating unique designs.
Can You Use Glass to Mix Epoxy Resin?
Yes, you can use glass to mix epoxy resin. Glass is compatible with epoxy resin and offers the benefit of easy cleanup. However, be cautious of potential chemical reactions and use proper safety precautions.
Conclusion
In conclusion, mastering the art of mixing liquid glass epoxy resin is crucial for achieving flawless results. By carefully following the recommended ratios and stirring times, you can ensure a smooth and bubble-free surface.
Remember to create a dust-free environment for optimal curing. Like a skilled alchemist, the precise combination of resin and activator will transform your project into a brilliant masterpiece.
So, grab your tools and embark on a resin mixing adventure, where precision and creativity intertwine.


