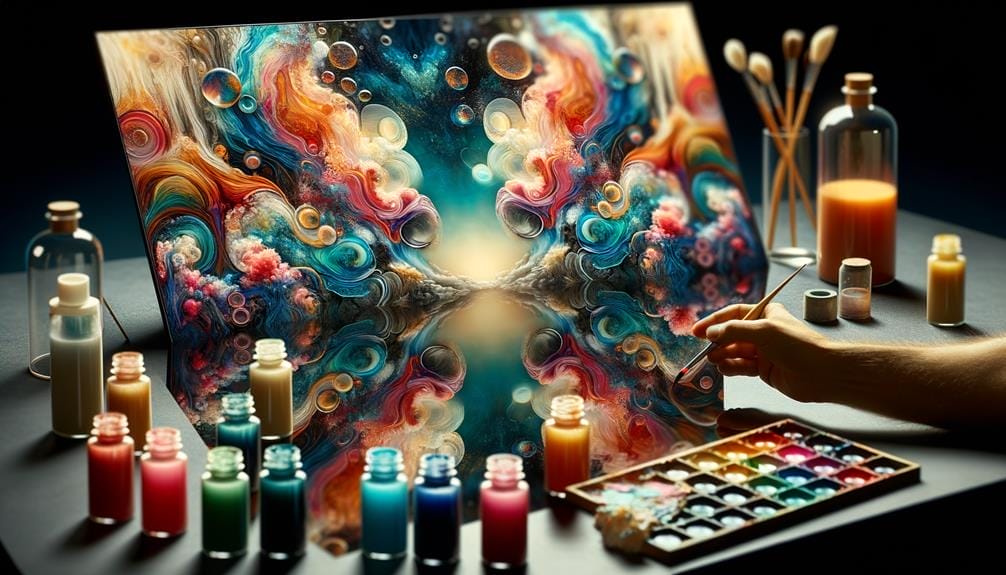
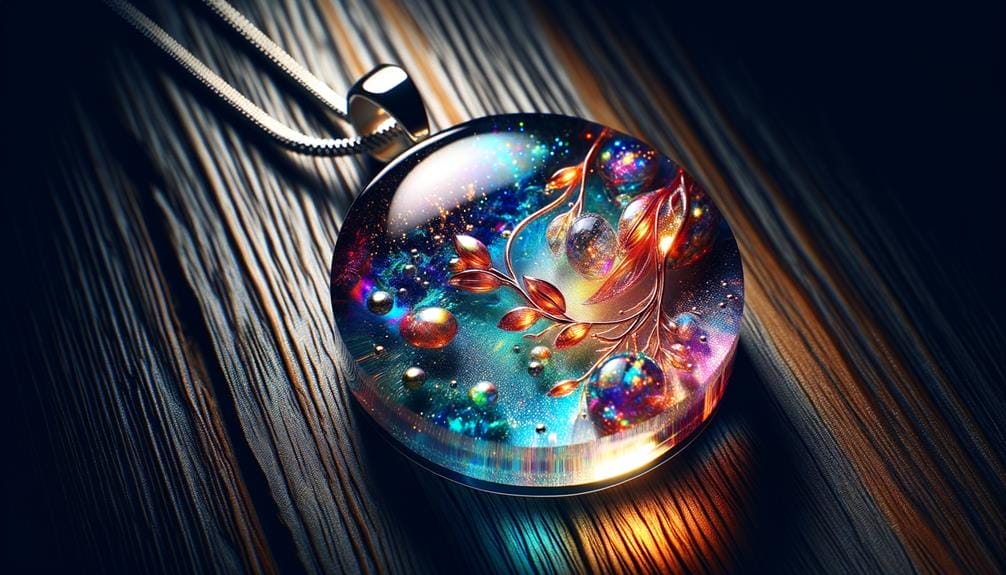
Are you looking to add a touch of elegance and uniqueness to your art projects? Look no further than Liquid Glass Epoxy Art Projects.
Imagine creating stunning jewelry pieces that look like they were encased in crystal clear glass or designing furniture with a glossy, mirror-like finish. Liquid Glass Epoxy resin allows you to bring your artistic visions to life.
But that's just the beginning. In this discussion, we will explore the benefits of using Liquid Glass Epoxy, popular techniques, essential supplies, step-by-step guides, and much more.
So, get ready to discover the fascinating world of Liquid Glass Epoxy Art Projects and unlock your creativity like never before.
Key Takeaways
- Liquid glass epoxy provides a high-quality, crystal clear finish that enhances the beauty of any project.
- It is highly durable and resistant to scratches and stains, making it a long-lasting choice for art projects.
- Popular techniques for liquid glass epoxy art include creating river tables, making three-dimensional artwork, and incorporating objects and materials into projects.
- Essential supplies for liquid glass epoxy projects include epoxy resin and hardener, mixing containers, a flat and level working surface, and a heat gun for removing air bubbles.
Benefits of Liquid Glass Epoxy
Liquid glass epoxy resin offers a multitude of benefits that make it a top choice for anyone looking to achieve a glossy and flawless finish on their surfaces. This epoxy resin is specially formulated to provide a crystal clear finish, resembling glass, that enhances the beauty of any project. Whether you're creating stunning pour paintings, designing a river-like effect on a table, or making jewelry with embedded mica flakes, liquid glass epoxy resin can give your creations a professional and high-end look.
One of the key advantages of using liquid glass epoxy resin is its ability to create a deep and glossy finish. This resin has a low viscosity, allowing it to flow smoothly and self-level, resulting in a smooth and even surface. Additionally, this resin is highly durable and resistant to scratches and stains, ensuring that your creations will maintain their beauty over time.
Another benefit of liquid glass epoxy resin is its ease of use. The mixing process is straightforward and can be easily done by anyone, even those new to epoxy resin art. Once mixed, this resin has a long working time, giving you ample time to pour and manipulate it to achieve your desired design.
Popular Liquid Glass Epoxy Art Techniques
With its ability to create a deep and glossy finish, liquid glass epoxy resin opens up a world of possibilities for artists seeking to elevate their creations to a new level of sophistication and beauty. When it comes to liquid glass epoxy art projects, there are several popular techniques that artists can explore.
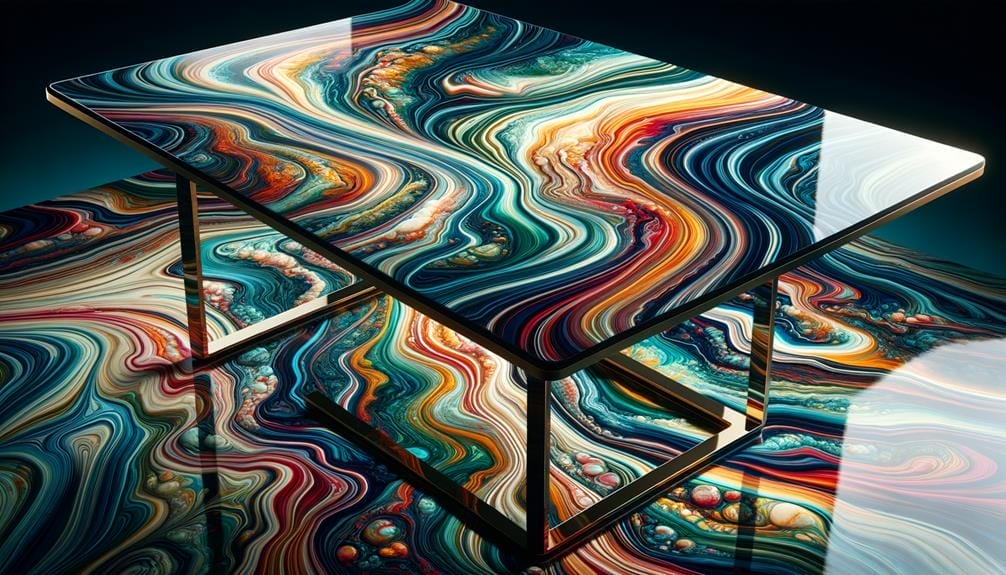
One popular technique is the creation of river tables. By pouring layers of liquid glass epoxy resin in between two pieces of wood, artists can create the illusion of a flowing river within the tabletop. This technique allows for unique and stunning pieces of furniture that are both functional and visually captivating.
Another technique involves using liquid glass epoxy resin to create three-dimensional artwork. Artists can pour layers of resin onto a canvas or other surface, and then manipulate it using various tools and techniques. This results in a textured and visually dynamic piece of art that can be further enhanced with the use of colors and pigments.
Additionally, artists can incorporate objects and materials into their liquid glass epoxy art projects. By embedding items such as shells, stones, or even photographs into the resin, artists can create personalized and meaningful artworks that showcase their creativity and storytelling abilities.
Essential Supplies for Liquid Glass Epoxy Projects

To successfully complete your liquid glass epoxy project, you'll need a range of essential supplies.
The first and most important supply is the liquid glass epoxy itself, which consists of epoxy resin and hardener. These two components need to be mixed in the correct ratio to ensure a proper chemical reaction and a strong final result.
You'll also need mixing containers and stirring sticks to thoroughly combine the epoxy components.
A clean and dry working environment is crucial for a successful project, so make sure to have a flat and level surface for your art piece. If you're working with wood, it's important to seal the surface with a high-gloss and durable epoxy like Superclear® Table Top Epoxy before pouring the liquid glass epoxy. This will create a smooth and glossy finish.
When pouring the epoxy, it's essential to follow the recommended mixing ratio and duration for the best results. Additionally, using a heat gun to remove any air bubbles that may have formed during the pouring process is crucial.
Step-by-Step Guide to Creating Liquid Glass Epoxy Art
After gathering all the essential supplies for your liquid glass epoxy project, it's time to dive into the step-by-step guide to creating stunning epoxy art.
- Prepare your working area: Ensure you have a clean and level surface to work on. Place a drop cloth or plastic sheet to protect your surroundings from any spills or drips. Keep a dry bucket or cup nearby to collect excess epoxy.
- Mix the epoxy: Follow the instructions provided by the manufacturer to mix the Liquid Glass Deep Pour Epoxy. Use a clean and dry container, and measure the epoxy and hardener in the correct ratio. Stir the mixture thoroughly for at least three minutes, making sure there are no lumps or streaks.
- Pour and spread the epoxy: Pour the mixed epoxy onto your desired surface and use a spreader or brush to evenly distribute it. If you're creating a resin table or artwork, you can pour multiple layers to achieve the desired thickness. To eliminate any air bubbles, use a heat gun to remove them or lightly sweep back and forth with a brush.
Working with Liquid Glass Clear Epoxy is absolutely rewarding, as it provides a crystal clear finish and a glass-like appearance. By following these steps, you can create beautiful epoxy art pieces that will impress everyone with their depth and shine.
Inspiration for Liquid Glass Epoxy Art Projects
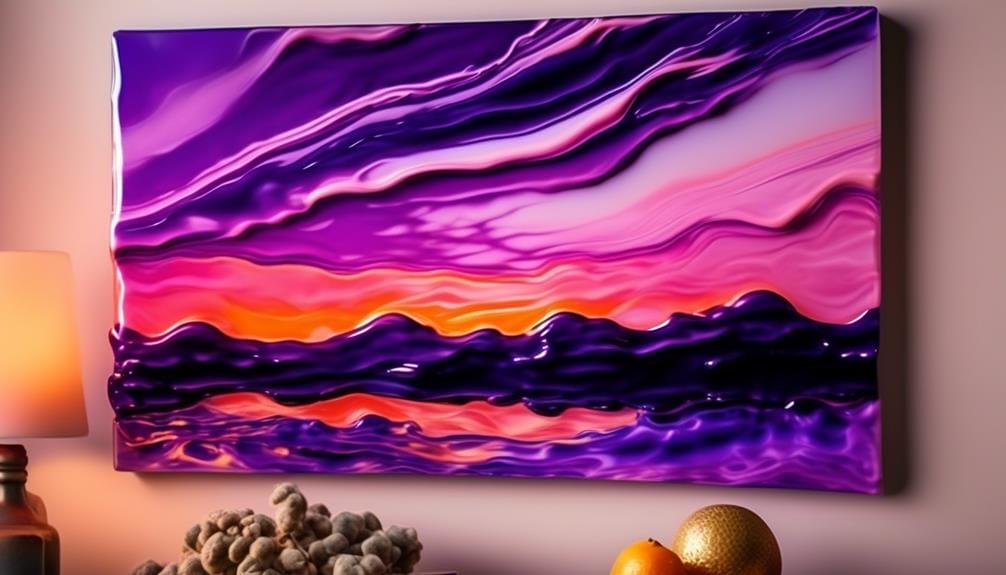
Get ready to be inspired by the endless possibilities of creating stunning epoxy art using Liquid Glass Epoxy Resin. Whether you're a seasoned artist or just starting out, the versatility and durability of Liquid Glass Epoxy Resin make it a perfect medium for your artistic endeavors.
To give you an idea of the amazing projects you can create, here are some inspirations:
| Project | Description | Materials Needed |
|---|---|---|
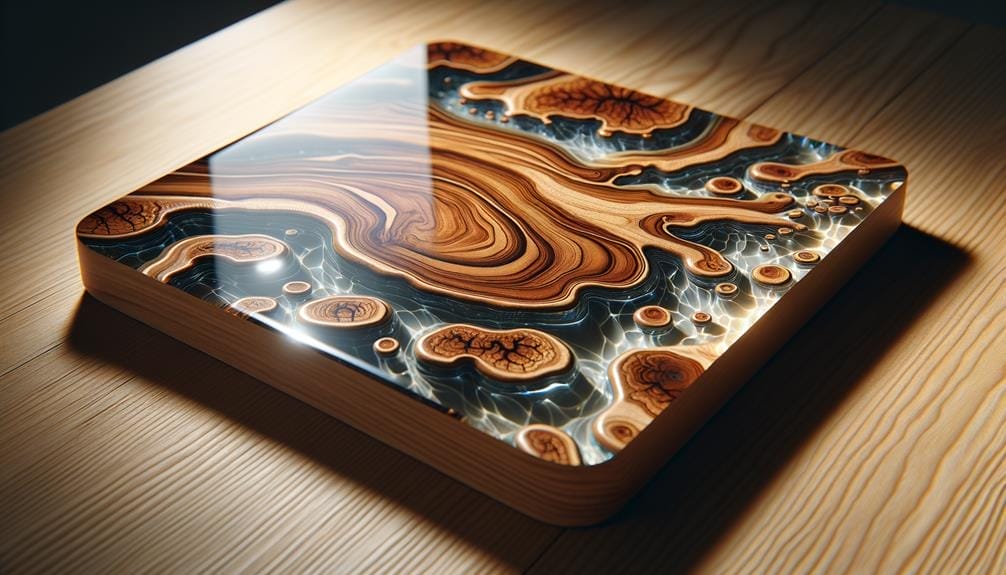
| Live Edge Epoxy | Combine the natural beauty of wood with the glossy finish of epoxy by creating a live edge epoxy table or wall art. | Live edge wood slab, Liquid Glass Deep Pour Epoxy Resin, Pigments, Heat gun, Sandpaper |
| River Table | Create a mesmerizing river-like design by pouring different colored epoxy layers between two pieces of wood. | Wood slabs, Liquid Glass Epoxy Resin, Pigments, Heat gun, Sandpaper |
| Epoxy Art Painting | Use Liquid Glass Epoxy Resin as a canvas to create stunning abstract art pieces. Experiment with colors, textures, and techniques to achieve unique effects. | Canvas or wooden panel, Liquid Glass Epoxy Resin, Pigments, Mixing cups, Stirring sticks |
| Jewelry Making | Design and create one-of-a-kind epoxy resin jewelry pieces, such as pendants, earrings, and rings. Embed colorful elements like dried flowers or glitter for added visual interest. | Epoxy resin, Jewelry molds, Pigments, Dried flowers, Glitter |
| Coating and Sealing | Enhance the beauty and durability of surfaces by applying a clear coat of Liquid Glass Epoxy Resin. This can be used on tabletops, countertops, and other furniture pieces. | Clean and dry surface, Liquid Glass Epoxy Resin, Mixing cups, Stirring sticks, Foam brush |
With Liquid Glass Epoxy Resin, the possibilities are truly endless. Let your creativity flow and explore the fascinating world of epoxy art. Remember to follow the instructions carefully, ensure proper mixing, and create your projects in a clean and level working environment. Happy creating!
Tips and Tricks for Working With Liquid Glass Epoxy
Now that you're feeling inspired by the endless possibilities of epoxy art projects using Liquid Glass Epoxy Resin, let's dive into some helpful tips and tricks for working with this versatile medium.
- Mix Thoroughly: When using Liquid Glass Deep, it's crucial to mix the resin and hardener thoroughly for at least 5 minutes. Use a drill mixer set on a low speed to achieve a uniform consistency, making sure to scrape the sides and bottom of the mixing cup. This step is essential to avoid the risk of scraping in unmixed parts later on.
- Work in a Warm Environment: To achieve an absolutely unparalleled, bubble-free, and crystal-clear finish, it's best to work in a warm environment of at least 70 degrees Fahrenheit. This temperature helps the epoxy flow better and prevents the formation of air bubbles. Additionally, use a heat gun to gently remove any remaining bubbles after pouring the epoxy onto your project.
- Choose Compatible Pigments: When mixing colors with liquid glass resin, opt for glossy pigments to achieve an overall glossy finish. Avoid using high-viscosity paints and those containing PVAs, as they can lead to issues like cracking and crazing.
Frequently Asked Questions
What Can I Make With Liquid Glass?
With liquid glass epoxy, you can create unique jewelry, stunning coasters, vibrant paperweights, colorful abstract paintings, eye-catching phone cases, decorative candle holders, mesmerizing keychains, personalized photo frames, beautifully crafted bookmarks, and artistic bottle stoppers. Let your creativity shine!
Is Epoxy Resin the Same as Liquid Glass?
Epoxy resin and liquid glass are not the same. Liquid glass refers to a type of epoxy resin that provides a deep pour and clear finish. The main difference lies in their capabilities and application possibilities.
How Do You Use Liquid Glass Epoxy?
To use liquid glass epoxy, start by pouring and spreading it in a well-ventilated area. Follow a step-by-step guide, incorporating tips for achieving a smooth finish and adding depth with different color effects and abstract designs. Incorporate natural elements and create unique jewelry pieces. Enhance durability through proper cleaning and maintenance.
How Long Does It Take for Liquid Glass Epoxy to Dry?
Liquid glass epoxy typically takes 24-72 hours to dry completely. To speed up the process, use a heat gun or torch to remove air bubbles. Avoid common mistakes and achieve a glossy finish by following instructions carefully.
Conclusion
In conclusion, liquid glass epoxy art projects offer a unique and versatile medium for creating stunning and durable artwork.
The benefits of using this resin include its transparent and glossy finish, as well as its resistance to scratches and stains.
With the right supplies and techniques, artists can create intricate and creative designs in jewelry making, furniture manufacturing, and other art and craft applications.
So why wait? Dive into the world of liquid glass epoxy art and let your creativity shine like never before.

