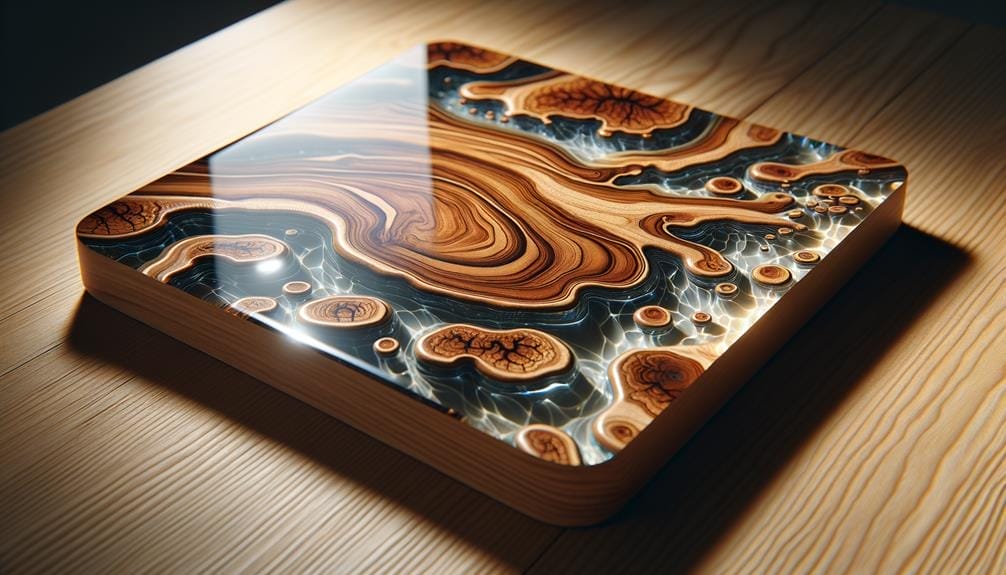
Have you ever tried to create a stunning river table using deep pour epoxy, only to end up with a messy and disappointing result? Don't fret, because with the right tips and techniques, you can achieve professional-looking epoxy projects that will leave everyone in awe.
In this discussion, we will explore the essential tips for working with deep pour epoxy, from choosing the right resin to preventing bubbles and achieving flawless finishes.
So, if you're ready to take your epoxy projects to the next level, keep reading to discover the secrets of successful deep pour epoxy work.
Key Takeaways
- Choose epoxy with low viscosity for deep pours.
- Proper surface preparation is essential for better adhesion.
- Control temperature during the curing process to prevent issues like bubbling.
- Follow proper mixing techniques to ensure a strong and durable finish.
Choosing the Right Epoxy
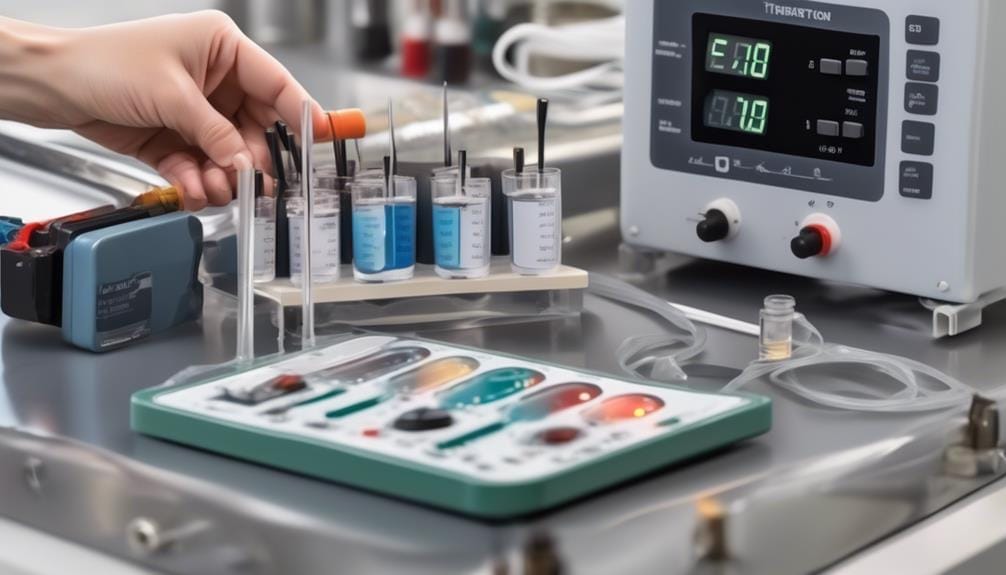
To choose the right epoxy for your deep pour project, carefully consider the project requirements and research different high-quality brands that are best suited for your specific needs. When selecting a deep pour epoxy, it's important to take into account the viscosity and curing time that align with your project requirements.
The viscosity of the epoxy determines its thickness and flow, and it should be chosen based on the depth of the pour. If your project requires a deep pour, opt for an epoxy with a low viscosity that will allow it to flow easily and penetrate into the desired areas.
In addition to viscosity, it's crucial to research and compare different epoxy brands to find the one that's of high-quality and best suited for your specific project. Look for epoxy products that have a good reputation and positive reviews from experienced users. Keep in mind the compatibility of the epoxy with the materials or objects you plan to embed or preserve. Some epoxies may react negatively with certain materials, so it's important to ensure compatibility before starting your project.
Consider the surface tension of the epoxy as well. A low surface tension will allow the epoxy to spread evenly and eliminate the formation of bubbles on the surface. This is crucial for achieving a smooth and professional finish.
Furthermore, pay attention to the curing process of the epoxy. Some epoxies require a specific curing temperature range, so it's important to follow the explicit directions provided by the manufacturer. Maintaining a warm temperature range during the curing process will ensure proper curing and optimal results.
Lastly, select a deep pour epoxy that provides a long working time. This will allow you to take your time during the pouring process and ensure that you achieve the desired results. Look for an epoxy that's easy to work with and allows for the easy removal of bubbles. This will help you achieve a flawless finish without any imperfections.
Surface Preparation
To ensure a successful deep pour epoxy application, it's crucial to start with a clean and dry surface. Remove any dirt, dust, or debris that may interfere with the final finish.
Additionally, proper sanding techniques should be employed to create a rough texture that allows for better adhesion of the epoxy resin.
Clean and Dry Surface
Ensure the surface is thoroughly cleaned and dried before applying deep pour epoxy to achieve optimal adhesion and prevent any potential contamination. Proper surface preparation is crucial for a successful epoxy pour, so take the time to ensure the surface is clean and dry before proceeding with the application. Use a lint-free cloth and a mild detergent to clean the surface, removing any dirt, dust, or debris that could affect the epoxy bond. Allow the surface to dry completely to prevent moisture from becoming trapped under the resin. Consider using a degreaser to remove any grease or oil residue, as these can interfere with the epoxy's ability to adhere properly. By following these tips and ensuring a clean and dry surface, you can help guarantee the best results for your deep pour epoxy project.
| Tips for Cleaning and Drying Surface |
|---|
| 1. Use a lint-free cloth and mild detergent to clean the surface. |
| 2. Remove any dirt, dust, or debris that could affect adhesion. |
| 3. Allow the surface to dry completely before applying epoxy. |
| 4. Consider using a degreaser for removing grease or oil residue. |
| 5. Ensure a clean and dry surface for optimal epoxy adhesion. |
Proper Sanding Techniques
Properly sanding the surface is essential for achieving a smooth and flawless finish in deep pour epoxy projects.
To begin, use coarse sandpaper to remove any imperfections or rough spots on the surface. This initial sanding will create a more even surface for the epoxy to adhere to.
Once the rough spots have been smoothed out, gradually transition to finer grit sandpaper to further refine the surface. This will ensure that the epoxy will lay flat and create a seamless finish.
After sanding, use a tack cloth to wipe away any dust or debris left from the sanding process. It's important to have a clean and contaminant-free surface before applying the epoxy.
Following these proper sanding techniques will greatly enhance the overall result of your deep pour epoxy project.
Controlling the Temperature

For optimal results, it's recommended to maintain a warm temperature range throughout the curing process of deep pour epoxy. Controlling the temperature is crucial to ensure proper curing and avoid potential issues such as surface tension, bubbling, and incomplete curing. To achieve this, it's suggested to use a space heater or resin hot box to create a controlled curing environment. These tools help to maintain a consistent temperature throughout the curing process, providing the ideal conditions for the epoxy resin to cure effectively.
Before mixing the epoxy resin and hardener components, it's important to warm them to an appropriate temperature. This helps to reduce the formation of bubbles in the mixture, ensuring a smoother outcome. By warming the components, the viscosity of the epoxy resin decreases, making it easier to mix and reducing the likelihood of trapped air bubbles.
In addition to warming the resin and hardener components, it's also recommended to heat the project surface or mold. Temperature differences between the epoxy mixture and the project surface can cause surface tension and bubbling, leading to undesirable results. By heating the project surface or mold, you can minimize these temperature differences and create a more favorable environment for the epoxy resin to cure.
Controlling the temperature is a key aspect of achieving successful deep pour epoxy projects. By following these tips and maintaining a warm temperature range throughout the curing process, you can ensure optimal results and a high-quality epoxy cure.
Proper Mixing Techniques
To ensure a successful deep pour epoxy project, you need to master proper mixing techniques. This involves accurately measuring and maintaining the correct two-to-one ratio by volume of resin and hardener components.
Thoroughly stir the mixture for a sufficient amount of time, typically 3 to 5 minutes, to ensure a homogenous blend and eliminate any bubbles that may hinder the final result.
Mixing Ratios
When mixing deep pour epoxy, ensure the components are thoroughly blended by following the recommended mixing ratios and techniques.
The correct mixing ratio of epoxy resin and hardener is crucial for achieving optimal results. It's important to carefully measure and mix the components in the specified proportions to initiate the curing process and ensure a strong, durable finish.
For example, a common mixing ratio for deep pour epoxy is 1:1, meaning equal parts resin and hardener. Take into account the working time and cure overnight properties of the epoxy resin being used.
Following the recommended mixing ratios and techniques will help prevent issues such as incomplete curing or weak bonds, ensuring a successful application of deep pour epoxy, such as in table top epoxy projects.
Thorough Stirring
Thoroughly stir the resin and hardener components together for 3 to 5 minutes to ensure complete and proper mixing, allowing any bubbles to rise to the surface. This step is crucial in achieving a smooth, bubble-free surface when working with deep pour epoxy. Here are three tips to ensure thorough stirring:
- Use a mixing stick or paddle: A mixing stick or paddle specifically designed for epoxy resin is ideal for stirring. It helps in evenly distributing the resin and hardener, ensuring a consistent and effective mix.
- Scraping the sides and bottom: While stirring, make sure to scrape the sides and bottom of the mixing container. This ensures that all the resin and hardener are mixed thoroughly, leaving no unmixed portions.
- Alternate directions: To achieve an even mix, alternate stirring directions. Start stirring in one direction, then switch to the opposite direction. This helps in breaking up any potential clumps and ensures thorough blending of the two components.
Following these tips will ensure that the resin and hardener are properly mixed, resulting in a beautiful and flawless deep pour epoxy surface.
Preventing Bubbles

For optimal results in preventing bubbles during a deep pour epoxy project, ensure that the components are mixed slowly and deliberately, allowing any trapped air to rise to the surface. This is an essential step in the resin pouring process.
When the epoxy resin and hardener are combined, a chemical reaction occurs, creating heat and causing the mixture to become viscous. Mixing too quickly can introduce air bubbles into the mixture, which can lead to an uneven surface finish.
Maintaining a warm temperature in the room during the curing process is crucial. If the temperature is too cold, the solvents in the epoxy resin can evaporate rapidly, resulting in the formation of bubbles. It's recommended to keep the room temperature between 70-80 degrees Fahrenheit to prevent this issue.
Choosing the right epoxy resin is also essential in preventing bubbles. Thinner viscosity resins are ideal for casting into molds, as they flow more easily and reduce the chances of trapping air. On the other hand, thicker resins are commonly used for doming projects but tend to hold bubbles. It's important to select the appropriate resin for your specific project to minimize the occurrence of bubbles.
To further reduce the chances of bubbles, warm the resin and hardener components before mixing them. This will help to lower the viscosity and enable a smoother application. Simply place the containers in warm water for a few minutes before use.
Using Heat to Remove Bubbles
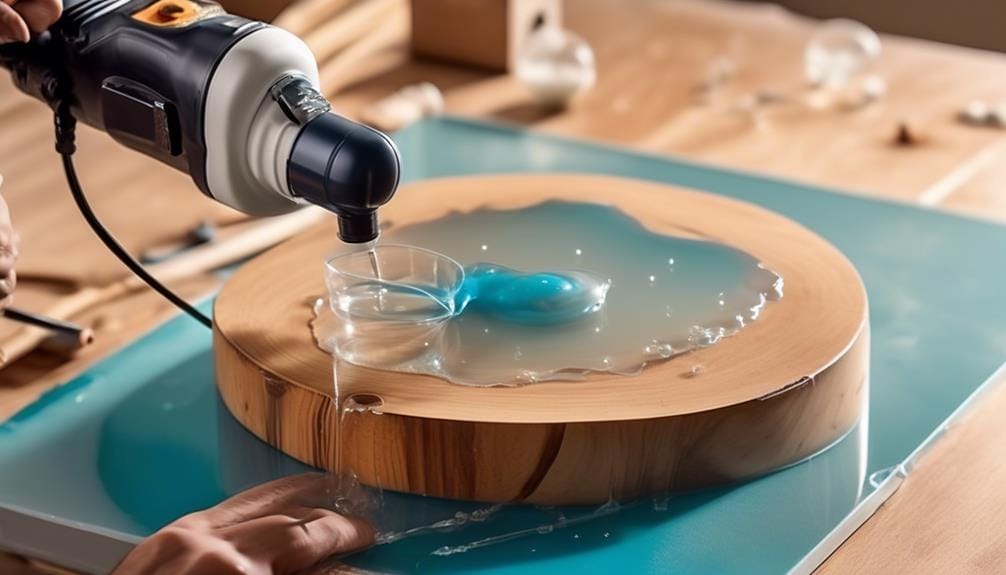
To effectively remove bubbles from deep pour epoxy resin, utilize heat from a heat gun, butane torch, or barbecue lighter, while taking necessary precautions to ensure safety. Here are three tips for using heat to remove bubbles from epoxy resin:
- Apply heat from a distance: When using a heat gun, butane torch, or barbecue lighter, it's important to maintain a safe distance from the resin surface. This prevents overheating and potential damage to the resin or surrounding materials.
- Move the heat source continuously: To evenly distribute the heat and prevent concentrated heat in one area, continuously move the heat source in a sweeping motion over the resin surface. This helps bring the bubbles to the surface without causing excessive heat buildup.
- Watch for warping: Excess heat can cause plastic molds to warp. To avoid this, be mindful of the duration and intensity of the heat applied. It's recommended to periodically check the resin and mold for any signs of warping during the bubble removal process.
Remember to have a fire extinguisher nearby as a safety precaution when working with heat.
Additionally, keep in mind that there are alternative methods to remove bubbles, such as using a toothpick or blowing on the surface to dislodge them. It's crucial to address any bubbles within the first one to two hours after pouring the resin to ensure a smooth and bubble-free finish.
Placing Objects Without Creating Bubbles

To prevent the formation of bubbles while placing objects in deep pour epoxy resin, ensure that the objects are free of air pockets. Bubbles can form when air becomes trapped between the object and the resin, resulting in an uneven and unprofessional finish. Before placing the objects into the resin, thoroughly inspect them to ensure they are clean and dry. Any moisture or debris can also lead to the formation of bubbles.
To illustrate the importance of placing objects without creating bubbles, consider the following table:
| Object Preparation | Bubble Formation | Resulting Finish |
|---|---|---|
| Objects not checked for air pockets | High | Uneven surface with visible bubbles |
| Objects cleaned and dried | Low | Smooth and professional finish |
As you can see, taking the time to properly prepare your objects can greatly impact the final result of your deep pour epoxy project.
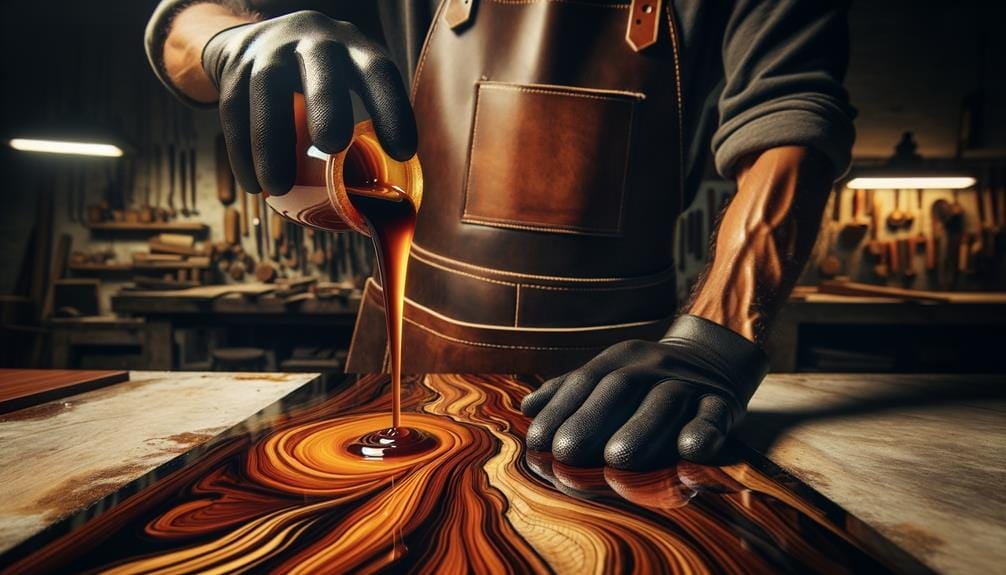
Once your objects are ready, slowly pour the epoxy over them to minimize bubble formation. Using a thinner viscosity resin can also make it easier to remove any bubbles that do form during the embedding process. After pouring, allow the epoxy to rest and cure. This will give any air bubbles a chance to rise and dissipate, resulting in a more flawless finish.
Frequently Asked Questions
What Is the Deepest You Can Pour Epoxy?
The maximum depth for pouring epoxy is up to two inches. Factors such as temperature, brand quality, and curing time affect the pouring depth. Achieving a smooth finish requires following explicit directions.
Can You Pour Epoxy 2 Inches Thick?
Yes, you can pour epoxy 2 inches thick. However, it requires proper pouring techniques, following the epoxy curing process, heat resistance, color options, surface preparation, and adhering to epoxy thickness guidelines.
How Long Does It Take Deep Pour Epoxy to Harden?
Deep pour epoxy takes approximately three days to harden, reaching peak strength in two weeks. Proper temperature during the curing process, accurate mixing ratios, surface preparation, and drying time variations are crucial for successful curing. Potential curing issues should be addressed promptly.
How Do You Get Bubbles Out of Deep Pour Epoxy?
To get bubbles out of deep pour epoxy, warm the components before mixing and heat the project surface. Then, use a heat gun or torch to bring bubbles to the surface and remove them. It's like magic!
Conclusion
In conclusion, mastering the art of deep pour epoxy requires careful attention to detail and a commitment to learning and practicing the proper techniques.
By choosing the right epoxy, preparing surfaces meticulously, controlling temperatures, and using precise mixing techniques, you can achieve stunning results.
Remember to take precautions to prevent bubbles and use heat if necessary.
With dedication and knowledge, you can create beautiful and professional-looking epoxy projects that will leave a lasting impression.


