Did you know that epoxy resin is becoming increasingly popular among woodworkers? In fact, a recent survey showed that 70% of woodworkers are now using epoxy resin in their projects.
But what makes epoxy resin so appealing in woodworking? How does it enhance the durability and beauty of wood?
In this discussion, we will explore the benefits of epoxy resin, the different types available for woodworking, and the techniques to achieve a smooth and glossy finish.
So, if you're looking to elevate your woodworking projects to the next level, keep reading to discover the wonders of epoxy resin.
Key Takeaways
- Epoxy resin provides a strong and durable finish for wood.
- It enhances the natural beauty of wood while offering exceptional resistance to moisture and heat.
- Epoxy resin forms a protective layer that seals the wood, adding a glossy and smooth finish to the surface.
- Proper preparation of the wood surface, including sanding and applying a sealant, is crucial for successful epoxy resin application.
Benefits of Epoxy Resin
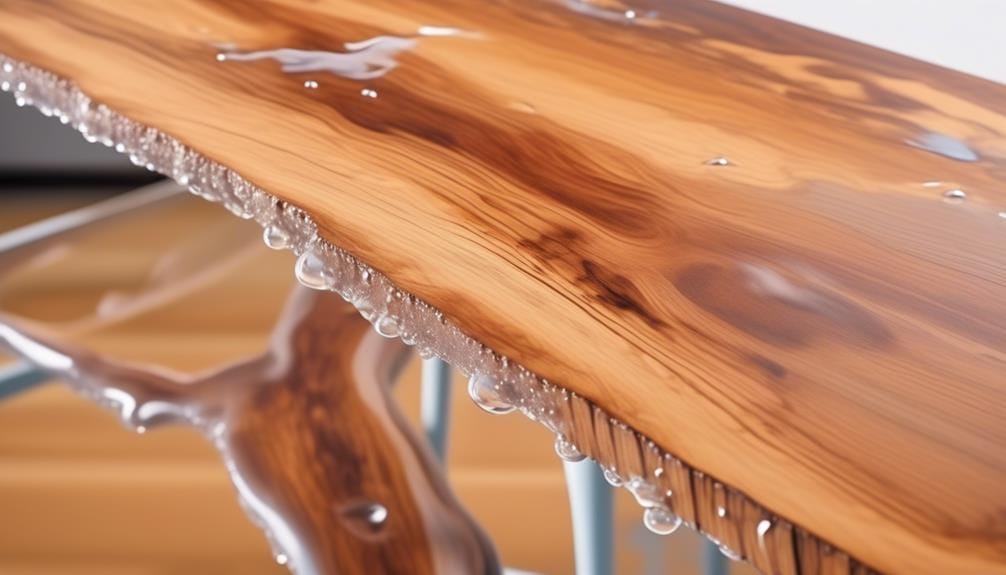
Epoxy resin offers numerous benefits in woodworking. It provides a strong and durable finish that enhances the natural beauty of wood while offering exceptional resistance to moisture and heat. When applied to a wood surface, epoxy resin forms a protective layer that seals the wood, preventing moisture from seeping in and causing damage. This is especially important for projects like epoxy river tables, where the wood is exposed to water and other liquids.
In addition to its protective qualities, epoxy resin also adds a glossy and smooth finish to the wood surface, giving it a professional and polished look. It can be tinted with various pigments, allowing for endless creative possibilities in woodworking projects. MakerPoxy Crystal Clear Artists Resin, for example, is a highly recommended epoxy resin for woodworking, as it offers a glass-like, scratch-resistant finish that can be customized with different colors.
Another advantage of epoxy resin is its ability to fill cracks and imperfections in the wood, creating a seamless and flawless surface. This is particularly useful when working with reclaimed or damaged wood, as it can restore the wood's integrity and make it usable again. Properly sealing the wood surface and applying a thin coat or coats of clear epoxy also prevents bubbles from forming, ensuring a smooth and professional finish.
When choosing the best epoxy resin for your woodworking project, consider factors such as the amount needed, drying time, number of coats required, and specific properties like faster hardening or the ability to be colored with pigments. Cutting epoxy resin properly is essential for preventing damage, so be sure to use appropriate tools like a circular saw, jigsaw, or bandsaw, and wear the necessary safety gear to achieve the desired outcomes.
Types of Epoxy Resin for Woodworking
There are various types of epoxy resin available for woodworking, each specifically designed to cater to different applications and project requirements. When choosing the right epoxy resin for your woodworking projects, consider the following options:
- Coating and Sealing Resin: This type of epoxy resin is perfect for creating a smooth and glossy finish on tabletops, countertops, and other wooden surfaces. It provides excellent adhesion, durability, and resistance to scratches and stains.
- Deep Pour Resin: If you're planning to create river tables or other projects that require pouring a thick layer of epoxy resin, deep pour resin is the way to go. It has a longer working time and can be poured in layers up to several inches thick without overheating or cracking.
- Colored Resin: If you want to add a pop of color to your woodworking projects, colored epoxy resin is the ideal choice. It comes in a wide range of vibrant hues and can be used to create stunning artistic effects on wooden surfaces.
How to Prepare Wood for Epoxy Resin Application

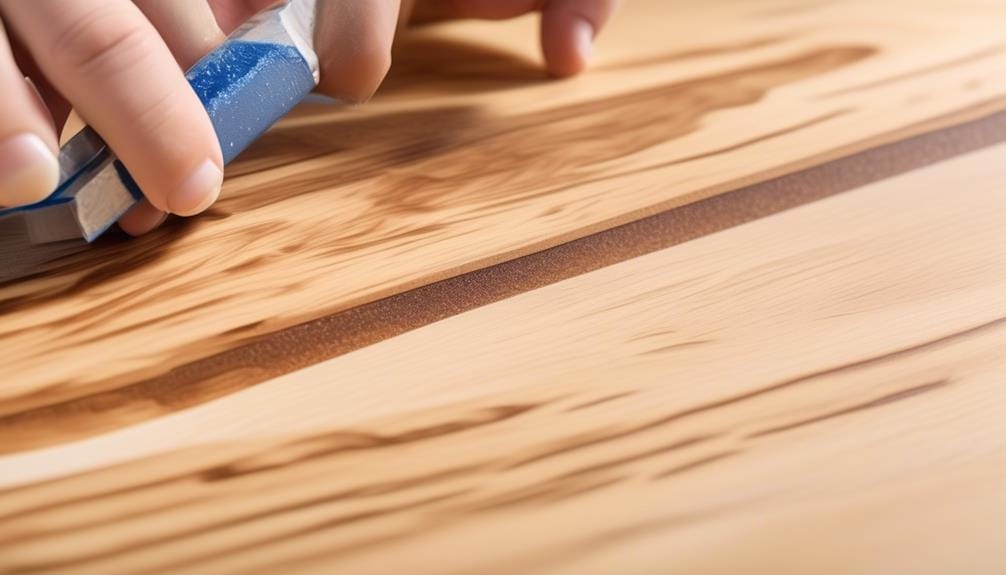
To prepare wood for epoxy resin application, start by sanding the surface to create a smooth and even finish. This will ensure better adhesion and eliminate any imperfections.
Next, apply a sealant to the wood to prevent the epoxy from being absorbed and to promote a stronger bond.
Sanding the Surface
After thoroughly inspecting the wood surface for imperfections, it's essential to prepare it for epoxy resin application by sanding the entire surface to achieve a smooth and even texture. Follow these steps to properly sand the surface for epoxy resin application:
- Use sandpaper with a grit appropriate for the wood's condition. Start with a coarser grit to remove any existing finish or coatings, then gradually move to a finer grit for a smoother finish.
- Pay close attention to sanding the edges and corners of the wood to ensure uniformity and consistency in the epoxy resin application. This will prevent any uneven areas or rough spots.
- After sanding, check the wood surface for any remaining dust or particles. Use a clean cloth or a brush to remove them, ensuring a clean and debris-free surface for optimal adhesion of the epoxy resin.
Applying a Sealant
To properly prepare the wood for epoxy resin application, remove any bark and sand the surface before applying a seal coat. This step is crucial in ensuring a smooth and even finish. After sanding, it is important to apply a sealant to the wood to prevent any air bubbles or imperfections from appearing in the final epoxy coating. By sealing the wood, you create a barrier that allows the epoxy to adhere properly and provides a smooth surface for pouring epoxy. Here is a table to help you understand the process of applying a sealant for making a river table:
| Step | Action |
|---|---|
| 1 | Remove bark from the wood surface |
| 2 | Sand the surface to a smooth finish |
| 3 | Apply a seal coat of epoxy resin using a brush or gloved hand |
| 4 | Allow the seal coat to cure before proceeding with pouring epoxy |
Removing Moisture
To prepare the wood for epoxy resin application, it's essential to remove any moisture from the surface. Moisture can interfere with the curing time of the epoxy resin, leading to a weak bond and potential surface defects. Here are three steps to effectively remove moisture from the wood:
- Dehumidify the environment: Before starting the epoxy resin application, ensure that the surrounding environment has low humidity. High humidity can introduce moisture to the wood surface, affecting the resin's ability to adhere properly.
- Use a moisture meter: Measure the moisture content of the wood using a moisture meter. This tool will help you identify any areas with excessive moisture and allow you to address them before applying the epoxy resin.
- Apply heat: If the wood has high moisture content, use heat to remove it. You can use a heat gun or place the wood in a heated drying chamber to gradually remove moisture from both the surface and edges.
Techniques for Applying Epoxy Resin to Wood

Now that you have prepared the wood surface, it's time to discuss the techniques for applying epoxy resin.
To ensure a successful application, there are several surface preparation techniques you should consider. These include sanding the wood, removing any dust or debris, and applying a sealant if necessary.
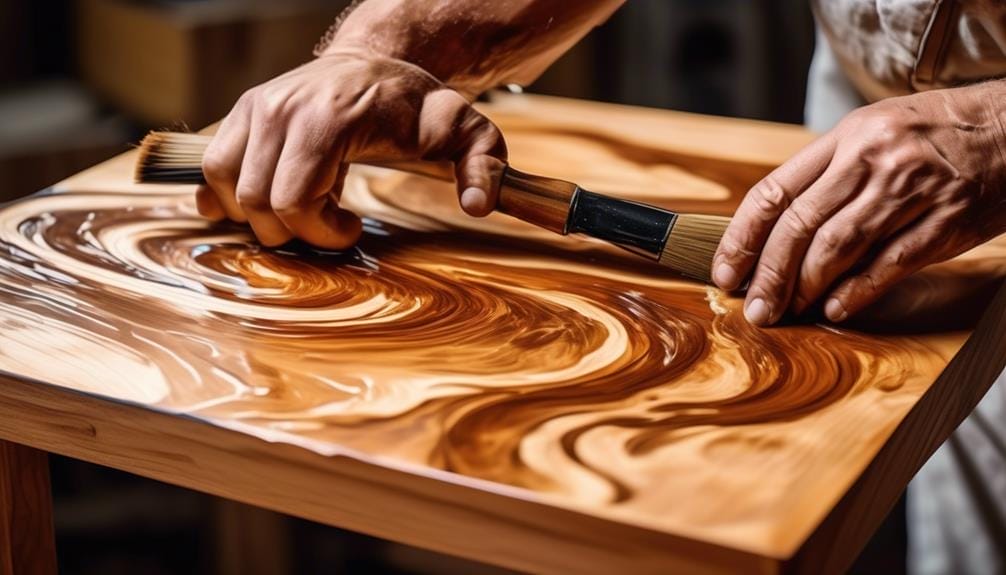
When it comes to the actual application, there are different methods you can use. These include pouring, brushing, or spraying the epoxy resin onto the wood. Each method has its own advantages and considerations.
Surface Preparation Techniques
For optimal results when applying epoxy resin to wood, it's essential to properly prepare the surface through the removal of bark and thorough sanding. Follow these surface preparation techniques to achieve a smooth and flawless finish:
- Remove Bark: Use a circular saw or chisel to carefully remove any bark from the wood surface. This ensures a clean and even application of epoxy resin.
- Sanding: Begin with coarse-grit sandpaper to remove any imperfections or rough spots on the wood. Gradually switch to finer grits for a smooth finish. Remember to sand in the direction of the wood grain.
- Clean and Dust: Before applying epoxy resin, make sure to clean the surface thoroughly and remove any dust or debris. This will prevent any unwanted particles from getting trapped in the resin.
Different Epoxy Application Methods
After properly preparing the wood surface through bark removal and sanding, it is crucial to understand the different epoxy application methods for achieving the desired finish. There are several techniques you can use when working with epoxy resin for woodworking. One method is to use Quick Coat to seal the wooden surface before applying the epoxy resin. Another method involves building a form using MDF (Medium-Density Fiberboard) to create a mold for pouring epoxy resin. You can also apply a Flood Coat using Countertop Epoxy to create a smooth, glossy finish. By understanding these different epoxy application methods, you can create stunning epoxy resin projects such as epoxy river tables.
| Epoxy Application Method | Description |
|---|---|
| Quick Coat | Seals wooden surface before applying epoxy resin. |
| MDF Form Building | Creates a mold for pouring epoxy resin. |
| Flood Coat | Applies a smooth, glossy finish using Countertop Epoxy. |
These techniques will help you achieve professional-looking results in your woodworking projects.
Tips for Achieving a Smooth and Glossy Finish With Epoxy Resin
To achieve a smooth and glossy finish with epoxy resin in your woodworking projects, it's essential to properly prepare the wood surface by removing bark, sanding, and building a form using MDF.
Here are some tips to help you achieve the desired results:
- Use the right epoxy resin: Different epoxy resins are designed for various project types and thicknesses. Choose the appropriate epoxy resin based on your project and the thickness of the epoxy you need. This will ensure optimal results and prevent any issues during the curing process.
- Mix the epoxy properly: Follow the manufacturer's instructions to mix the epoxy resin correctly. Use the recommended ratios to avoid any issues with air bubbles or inconsistencies in the finish. A well-mixed epoxy will result in a smooth and even surface.
- Apply the epoxy carefully: When pouring epoxy resin for river tables or other woodworking projects, use a propane torch to remove any air bubbles that may have formed during the pouring process. This will help create a glossy finish and ensure a smooth surface.
Common Mistakes to Avoid When Using Epoxy Resin in Woodworking

One crucial aspect to keep in mind when using epoxy resin in woodworking is avoiding common mistakes that can compromise the quality of your finished project.
To prevent air bubbles from forming in the epoxy resin, it's essential to properly seal the wood surface before application. This involves sanding the wood and using a sealant to create a smooth and even surface.
Additionally, it's important to choose the correct type of epoxy resin for your project. Consider factors such as project type, thickness, and work area temperature to avoid compatibility issues and ensure optimal results.
Another common mistake to avoid isn't accurately calculating the required amount of epoxy resin. This can result in wastage or insufficient coverage.
To achieve a smooth and glossy finish, it's recommended to use a torch to remove any air bubbles that may have formed during the pouring and spreading process.
Lastly, it's crucial to follow the manufacturer's instructions for cutting epoxy resin. This will prevent any damage to the resin and help you achieve the desired outcomes in your woodworking projects.
If you're unsure about any step, there are various video tutorials available that can provide guidance and tips to avoid these common mistakes in woodworking with epoxy resin.
Frequently Asked Questions
Which Epoxy Is Best for Woodworking?
The best epoxy for woodworking is MakerPoxy Crystal Clear Artists Resin. It provides a scratch-resistant finish and can be used on various wood projects. Properly sealing the wood surface and applying thin coats help achieve a glossy finish.
Can Epoxy Resin Be Used on Wood?
Yes, epoxy resin can be used on wood surfaces. It provides a durable and glossy finish, unlike traditional wood finishes. To achieve a glossy finish, apply thin coats and avoid bubbles. Properly prepare the wood surface and explore different color options. Avoid common mistakes for successful results.
What Kind of Epoxy Do You Use for Wood Turning?
For wood turning, use epoxy resin specifically designed for turning applications. Avoid common mistakes like not properly mixing the epoxy or applying too much at once. Enhance the grain of wood by carefully applying epoxy resin, creating stunning finishes and unique inlay designs.
What Is the Best Epoxy Resin for Wood Repair?
The best epoxy resin for wood repair is subjective and depends on factors like the extent of damage and personal preference. Research popular epoxy brands, learn how to apply epoxy resin on wood, consider epoxy resin vs wood glue, avoid common epoxy resin mistakes, and explore epoxy resin color options.
Conclusion
In conclusion, epoxy resin is a versatile and essential tool for woodworking projects. Its benefits include durability, protection, and enhancing the natural beauty of wood. By properly preparing the wood and using the right techniques, you can achieve a smooth and glossy finish.
Just like a skilled artist wielding a brush, epoxy resin allows you to create a masterpiece that will stand the test of time. So, grab your tools and unleash your creativity with epoxy resin in your woodworking endeavors.


