Imagine transforming a dull and ordinary piece of furniture into a captivating work of art that gleams like a crystal-clear lake. That’s the magic of DIY projects featuring liquid glass epoxy.
The possibilities are endless, from coating tables and countertops to creating intricate jewelry and stunning home accessories. But what exactly is liquid glass epoxy, and how can it elevate your DIY creations to the next level?
In this discussion, we will explore the fascinating world of liquid glass epoxy and its incredible potential for transforming your ordinary projects into extraordinary masterpieces. Get ready to discover the secrets behind this versatile material and unlock your inner artist.
Key Takeaways
- Liquid glass epoxy is a versatile material that can be used for a variety of DIY projects, including resin-coated furniture, epoxy artwork, customized jewelry, countertop refinishing, epoxy flooring, stylish epoxy jewelry, and decorative home accessories.
- When using Liquid Glass Epoxy for resin-coated furniture or epoxy artwork, it is important to prepare the surface properly, construct molds if needed, apply a release agent, and seal the wood before pouring the epoxy resin.
- Liquid Glass Epoxy can be used to create customized jewelry by embedding flowers, photos, or small trinkets, using silicone molds or bezels, incorporating pigments or dyes for vibrant colors, and adding decorative elements like metallic leaves or glitter.
- For DIY countertop refinishing, the existing coatings, stains, or sealants should be removed, the surface should be smoothed and cleaned, and Superclear® Table Top Epoxy should be mixed and poured for a durable and glossy finish. A finishing coat can also be applied for added protection and shine.
Resin Coated Furniture
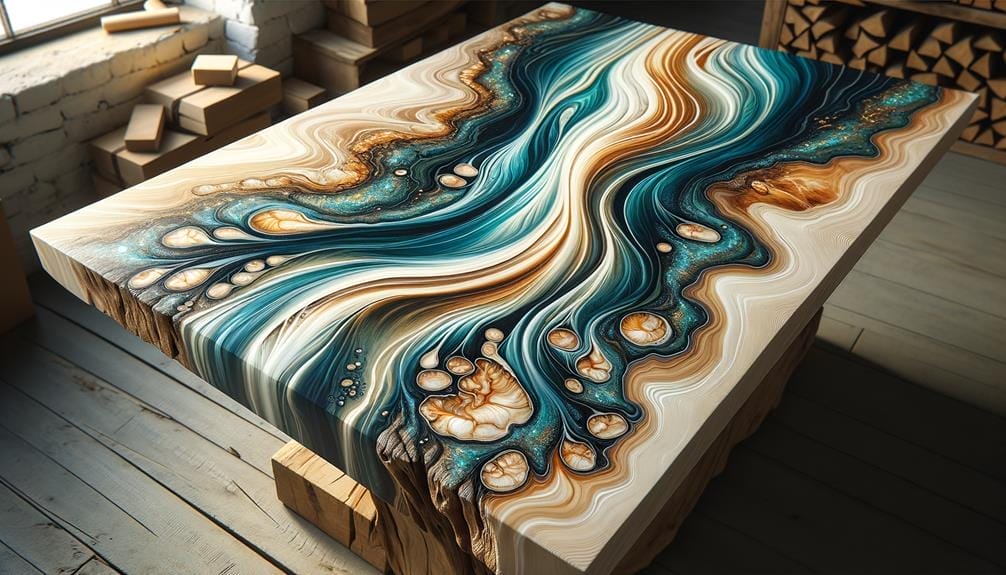
To create stunning resin-coated furniture, there are several steps you need to follow. First, prepare your wood slabs by ensuring they are flat, level, and clean. You should also mark the centerline for the river channel if desired. This step is crucial to achieving a professional-looking result.
Once your wood slabs are ready, you can proceed with constructing the form or mold for the river table. You have a few options when it comes to molds – you can either use pre-made molds made of high-density polyethylene (HDPE) or silicone or create DIY molds using materials like MDF, melamine, or plywood. Just make sure to apply a release agent to prevent the epoxy from sticking.
Before pouring the epoxy resin, it’s recommended to seal your wood slabs with a product like Superclear® Table Top Epoxy. This not only enhances the clarity of the finished piece but also provides added protection. Once your slabs are sealed, you can mix and pour the epoxy. It’s essential to work in a clean and dry environment and mix the epoxy thoroughly to ensure proper curing. After pouring, you may need to use a heat gun to remove any air bubbles that may have formed.
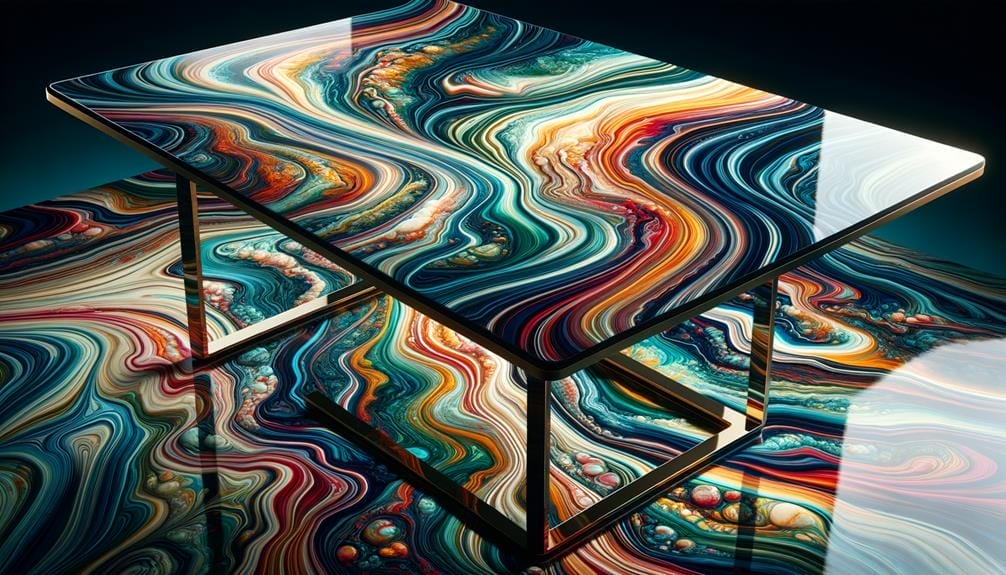
After allowing the epoxy to cure for at least 72 hours, you can achieve a clear and crystal-clear finish by using Better Boat tabletop epoxy. This product is specifically designed for self-leveling, ensuring a smooth and flawless surface. To achieve the desired result, you can lightly scuff the surface with 320-grit sandpaper.
Epoxy Artwork
Now, let’s explore the world of epoxy artwork, where you can unleash your creativity on wood planks or live edge slabs using Liquid Glass® Deep Pour Epoxy or Superclear® Table Top Epoxy.
Here are three exciting aspects of epoxy artwork that you can dive into:
- Crafting Crystal Clear Masterpieces: With epoxy, you can achieve a flawless, glass-like finish on your artwork. Whether you’re creating stunning resin coasters, enhancing photo frames, or refinishing tables, the crystal clarity of epoxy will elevate your creations to a whole new level.
- Bar Top Delight: Epoxy artwork is an excellent choice for designing eye-catching bar tops. By pouring epoxy over a counter or tabletop, you can create a smooth, glossy surface that’s resistant to scratches, stains, and heat. The deep pour capability of Liquid Glass® Deep Pour Epoxy allows you to create thick, luxurious bar tops that will impress your guests.
- Illuminating Art: Imagine adding a touch of magic to your epoxy artwork with LED epoxy. By embedding LED lights within the epoxy, you can create mesmerizing, glowing effects that bring your art to life. LED epoxy is perfect for creating unique and captivating pieces that will leave a lasting impression.
When it comes to epoxy artwork, the possibilities are endless. So grab your Liquid Glass® Deep Pour Epoxy or Superclear® Table Top Epoxy and let your imagination run wild. Get ready to create stunning, one-of-a-kind masterpieces that will leave everyone amazed.
Customized Jewelry

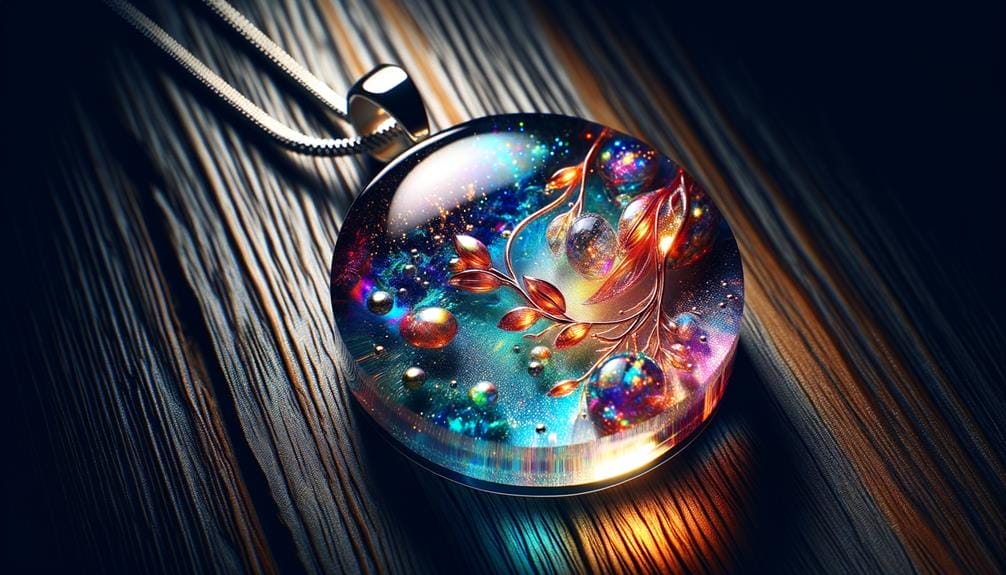
Create personalized and unique jewelry pieces by embedding various items such as flowers, photos, or small trinkets in liquid glass epoxy resin. With the use of silicone molds or bezels, you can pour and shape the liquid glass epoxy resin, allowing for endless designs and styles for your customized jewelry pieces.
To add a pop of color, incorporate pigments, dyes, or alcohol inks into the liquid glass epoxy resin. This will give your jewelry vibrant colors and eye-catching patterns. If you want to enhance the visual appeal and individuality of your customized jewelry pieces, consider adding metallic leaf, glitter, or other decorative elements into the liquid glass epoxy resin.
By using different techniques such as layering, embedding, and mixing materials, you can achieve intricate and one-of-a-kind designs with liquid glass epoxy resin. This allows you to create jewelry pieces that truly reflect your style and taste. Whether you prefer a delicate pendant or a statement ring, the possibilities are endless.
When crafting your customized jewelry, it’s important to choose the right epoxy system for your project. Consider using high-quality products such as Live Edge Epoxy Bar or Glass® Deep Pour Epoxy. These epoxy systems are specifically designed for jewelry making and will ensure a durable and long-lasting finish.
DIY Countertop Refinishing
When refinishing your countertops, ensure that the surface is properly prepared and flat, as mentioned in the previous subtopic of customized jewelry. Here are some important steps to follow for DIY countertop refinishing using Superclear® Table Top Epoxy:
- Prepare the surface:
- Start by removing any existing coatings, stains, or sealants from your countertop.
- Use sandpaper or a sander to create a smooth and even surface.
- Clean the countertop thoroughly to remove any dust or debris.
- Apply the epoxy:
- Mix the Superclear® Table Top Epoxy according to the manufacturer’s instructions.
- Pour the epoxy onto the countertop in a steady and even manner.
- Use a brush or roller to spread the epoxy and ensure full coverage.
- This epoxy cures crystal clear and creates a durable bar top that’s resistant to stains and scratches.
- Finishing touches:
- After the epoxy has cured, sand the countertop lightly to remove any imperfections or rough spots.
- Apply a finishing coat to protect the epoxy and enhance its shine.
- This will make your countertop look professional and polished.
Epoxy Flooring
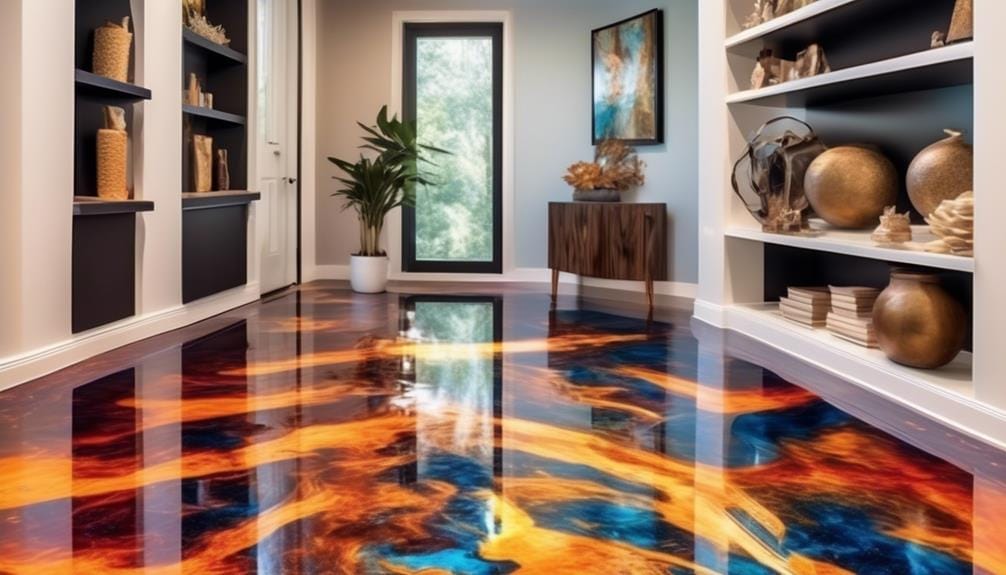
To achieve a stunning and durable flooring option, consider using epoxy for a seamless and high-gloss finish. Epoxy flooring is one of the best choices when it comes to withstanding wear and tear. Its high-volume solids make it incredibly strong and resistant to abrasion, making it ideal for high-traffic areas.
Creating epoxy flooring requires a dust-free environment to ensure a smooth application. Before starting, make sure the surface is clean and free of any debris or contaminants. Epoxy is also known for its excellent UV resistance, protecting your floor from fading and yellowing over time. This is particularly important if your flooring is exposed to direct sunlight.
When considering the cost factor, epoxy flooring is a cost-effective solution in the long run. Its durability and low maintenance requirements make it a wise investment. Additionally, epoxy flooring can be customized to your preferences, allowing you to choose from a wide range of colors and finishes.
Decorative Home Accessories
Are you looking to add a touch of uniqueness to your home decor? Liquid Glass Epoxy allows you to create stunning and one-of-a-kind decorative pieces.
From eye-catching epoxy coasters that showcase vibrant colors and intricate designs to stylish epoxy jewelry that adds a modern twist to your accessories, the possibilities are endless.
With a few simple steps and the right materials, you can easily bring a touch of elegance and creativity to your living space.
Unique Epoxy Coasters
For a unique touch to your home decor, create stunning epoxy coasters by pouring liquid glass epoxy into molds with a variety of shapes and sizes.
Here are the top three reasons why epoxy coasters are the perfect addition to your bar or table project:
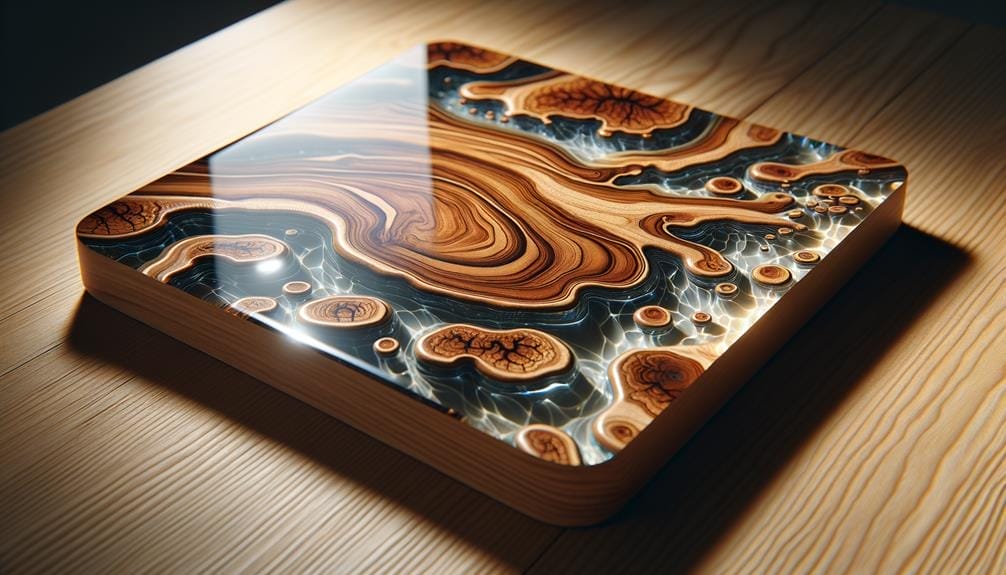
- Perfect for river tables: Epoxy coasters can be designed to mimic the mesmerizing look of flowing rivers, adding a touch of elegance to your furniture. The glossy finish of the epoxy enhances the natural beauty of the wood.
- Protect your surfaces: Investing in an epoxy for your needs ensures that your coasters will provide a durable and protective barrier. Say goodbye to unsightly water rings and stains on your furniture or tiles.
- Customizable and versatile: Epoxy coasters can be customized to match your style. Add decorative elements such as glitter or other embellishments to create a unique and eye-catching design. Seal the coasters with a finishing coat of epoxy for added protection and a glossy finish.
Choose the best bar epoxy for your project and elevate your home decor with these unique epoxy coasters.
Stylish Epoxy Jewelry
Are you interested in creating stylish and unique epoxy jewelry and decorative home accessories? Liquid Glass epoxy is the perfect medium for crafting these stunning pieces. Its glossy and smooth finish adds a touch of elegance to any design. Resin, the main component of Liquid Glass epoxy, is known for its durability and long-lasting properties. It is resistant to scratches and stains, ensuring that your jewelry will maintain its beauty over time.
Additionally, if any damage occurs, resin can be easily repaired. With Liquid Glass epoxy, you have the freedom to pour it in varying thicknesses, allowing for endless creative possibilities. Take a look at the table below for some inspiration on how to create stylish epoxy jewelry and decorative home accessories.
| Jewelry | Home Accessories |
|---|---|
| Epoxy rings | Coasters |
| Epoxy necklaces | Trays |
| Epoxy bracelets | Bowls |
Frequently Asked Questions
What Can You Do With Liquid Glass?
You can do a lot with liquid glass! Get creative with unique designs, explore artistic possibilities, and discover functional uses. From decorative projects to crafting ideas, liquid glass epoxy offers endless DIY gift options.
Can You Sand Liquid Glass Epoxy Resin?
Yes, you can sand liquid glass epoxy resin to achieve a smooth finish. Use coarse grit sandpaper and progress to finer grits for a polished look. It’s a crucial step in surface preparation for epoxy resin art, resin jewelry, and other DIY projects.
How Long Does It Take for Liquid Glass Epoxy to Cure?
Liquid glass epoxy can take up to 72 hours to fully cure. Factors like volume, temperature, and product type affect curing time. To speed up curing, create a dust-free environment and use a self-leveling epoxy finish. Avoid common mistakes like introducing dust or disturbing the epoxy. Compared to other resins, liquid glass epoxy offers long-term durability.
How Do You Use Liquid Glass Epoxy?
To use liquid glass epoxy, start by determining the amount needed and mix 2 parts Resin to 1 part Activator. Pour the mixture into the mold, remove air bubbles with a heat gun, and let it cure.
Conclusion
In conclusion, liquid glass epoxy opens up a world of possibilities for DIY enthusiasts. With its glossy and durable finish, it can be used to create stunning resin-coated furniture, epoxy artwork, customized jewelry, and even refinish countertops.
While some may anticipate the complexity of working with epoxy, its availability in different types, such as Superclear® 2.0 Liquid Glass® Deep Pour Epoxy and Superclear® Table Top Epoxy, caters to both beginners and experienced craftsmen.
So unleash your creativity and achieve professional-quality results with liquid glass epoxy.

