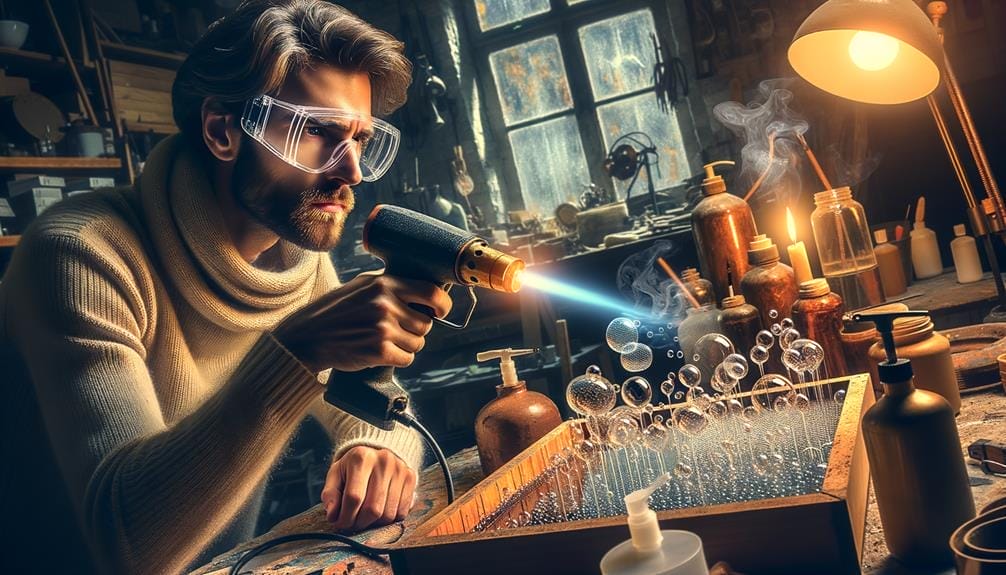
As you gaze upon the smooth, glossy surface of your epoxy resin masterpiece, your eyes catch a glimmer of imperfection—a tiny air bubble breaking the seamless perfection.
You wonder how to banish these unwanted intruders and achieve the flawless finish you desire. Fear not, for in this discussion, we will explore the art of bubble removal in epoxy resin.
From understanding the reasons behind bubble formation to mastering advanced techniques, we will guide you towards a world of smooth, professional finishes that will leave you eager to uncover the secrets of epoxy bubble removal.
Key Takeaways
- Proper substrate preparation and cleaning is essential to prevent bubbles in epoxy resin.
- Accurate measuring and mixing of epoxy components using recommended ratios is crucial to avoid trapped air bubbles.
- Utilizing techniques such as using a vacuum chamber or applying heat with a torch or heat gun can help remove bubbles during the epoxy process.
- Mastering the correct mixing technique and following recommended ratios is important for bubble removal and prevention.
Reasons for Bubble Formation
Porous substrate materials and improper mixing can cause the formation of air bubbles in epoxy resin, leading to surface imperfections. When you apply epoxy resin to a surface, it's crucial to ensure that the material you're working with isn't porous. Porous materials such as wood or concrete can trap air, which then gets released as bubbles during the curing process. To prevent this, it's recommended to apply a seal coat to the surface beforehand. This seal coat helps push out any trapped air from the pores, creating a smooth and bubble-free surface.
Another factor that contributes to the formation of air bubbles is improper mixing of epoxy components. It's important to follow the recommended mixing ratios and use graduated mixing containers to ensure accurate measurements. Inadequate mixing can result in air being trapped within the mixture, leading to bubbles in the cured resin.
To remove air bubbles during the epoxy process, you can use a propane torch or a heat gun. Gently moving the flame across the surface will help eliminate any trapped air bubbles. However, it's crucial to avoid lingering in one spot or letting the flame directly touch the epoxy, as this can cause damage or discoloration.
In the case of cured epoxy with surface imperfections, there's a way to fix it. Lightly sand the surface to create a smooth foundation, then wipe it with acetone to remove any debris or contaminants. Apply a new seal coat, followed by a new flood coat to achieve a flawless finish.
Understanding the reasons for bubble formation in epoxy resin is essential to ensure a successful and aesthetically pleasing outcome. By addressing issues such as porous substrates and improper mixing techniques, you can significantly reduce the occurrence of air bubbles and achieve a smooth, flawless surface.
Preventing Air Bubbles
To prevent air bubbles in your epoxy resin, there are several techniques you can employ.
First, ensure that you accurately measure and mix the epoxy components using recommended ratios and proper containers.
When stirring, scrape the sides and bottom of the container to minimize residue.
Additionally, consider using a vacuum chamber to remove any trapped air before pouring the epoxy.
Mixing Techniques
To achieve a flawless epoxy finish without the annoyance of air bubbles, employ proper mixing techniques that guarantee a smooth and professional result. Follow these steps to ensure successful mixing:
- Utilize graduated mixing containers and follow recommended mixing ratios. This will help prevent air bubbles from forming during the mixing process.
- Stir the epoxy manually for small batches and use an electric drill for larger batches. Make sure to mix thoroughly to ensure all components are well combined.
- Remove air bubbles during the epoxy process using a propane torch or heat gun. Move the torch or gun back and forth over the resin surface to eliminate any trapped air.
Vacuum Chamber
Using a vacuum chamber is an effective method to prevent air bubbles in epoxy resin during the curing process. When epoxy resin is mixed, air bubbles can become trapped within the mixture. These bubbles can mar the final finish of your project, leaving unsightly imperfections.
However, by placing the mixed epoxy resin in a vacuum chamber, you can remove these air bubbles before they've a chance to ruin your work. The vacuum chamber creates a controlled environment with reduced air pressure, allowing any trapped air bubbles in the epoxy resin to expand and escape.
This technique is particularly useful for larger resin casting projects, ensuring thorough bubble removal throughout the entire resin volume. By employing a vacuum chamber, you can achieve a clear and flawless resin finish, free from the blemishes caused by air bubbles.
Heat Gun
Using a heat gun is an effective technique for preventing air bubbles in epoxy resin during the curing process. Here are three important things to keep in mind when using a heat gun to remove air bubbles from epoxy resin:
- Move the heat gun back and forth: When applying the heat gun to a flood coat, make sure to move it back and forth over the epoxy surface. This helps to evenly distribute the heat and prevent the formation of air bubbles.
- Avoid lingering or touching the epoxy: It's crucial to avoid lingering in one spot or letting the flame touch the epoxy when using a heat gun. This can lead to overheating and damage to the resin and hardener.
- Repeat the process: After ten minutes, repeat the heat gun process to ensure that all air bubbles are removed from the epoxy. This extra step helps to guarantee a smooth and bubble-free finish.
Proper Substrate Preparation
Before you start working with epoxy resin, it's crucial to properly prepare the substrate to minimize the risk of air bubbles.
Surface cleaning techniques, such as wiping the surface with acetone, ensure that there are no contaminants that could interfere with the resin's adhesion.
Additionally, degassing the resin before pouring it onto the substrate helps eliminate trapped air, reducing the likelihood of bubble formation.
Surface Cleaning Techniques
To ensure a smooth and bubble-free epoxy resin surface, proper substrate preparation is essential. Here are three surface cleaning techniques that you can employ to achieve the desired result:
- Apply a seal coat: Before pouring the epoxy resin, apply a seal coat to push out any air from porous materials such as wood or concrete. This will prevent the formation of big bubbles during the curing process.
- Use a torch or heat gun: After pouring the epoxy resin, use a propane torch or heat gun to remove any remaining air bubbles from the flood coat. Gently move the heat source over the surface, being careful not to overheat the resin.
- Vacuum and plastic bag method: For small pieces or intricate molds, place the epoxy-filled mold inside a vacuum chamber. The vacuum will help to remove any trapped air bubbles. Alternatively, you can place the filled mold inside a plastic bag and use a vacuum sealer to remove the air.
Importance of Degassing
Properly preparing the substrate is vital for achieving a flawlessly smooth and bubble-free epoxy resin surface, ensuring optimal results for your project.
One important step in substrate preparation is degassing, which involves removing any trapped air bubbles from the cured epoxy.
To do this, you'll need a propane torch and a new flood coat of epoxy resin.
First, make sure the surface is clean and dry. Then, wait for the epoxy to cure completely before proceeding with degassing.
Once cured, use the propane torch to remove any remaining air bubbles. Hold the torch about 6 inches away from the surface and move it in a sweeping motion, heating the epoxy until the bubbles rise to the surface and pop.
Be cautious not to overheat the epoxy or hold the torch too close to avoid unnecessary damage. Always perform this process at room temperature to ensure optimal results.
Proper degassing will help you achieve a flawless epoxy resin surface, free from any pesky air bubbles.
Correct Mixing Technique
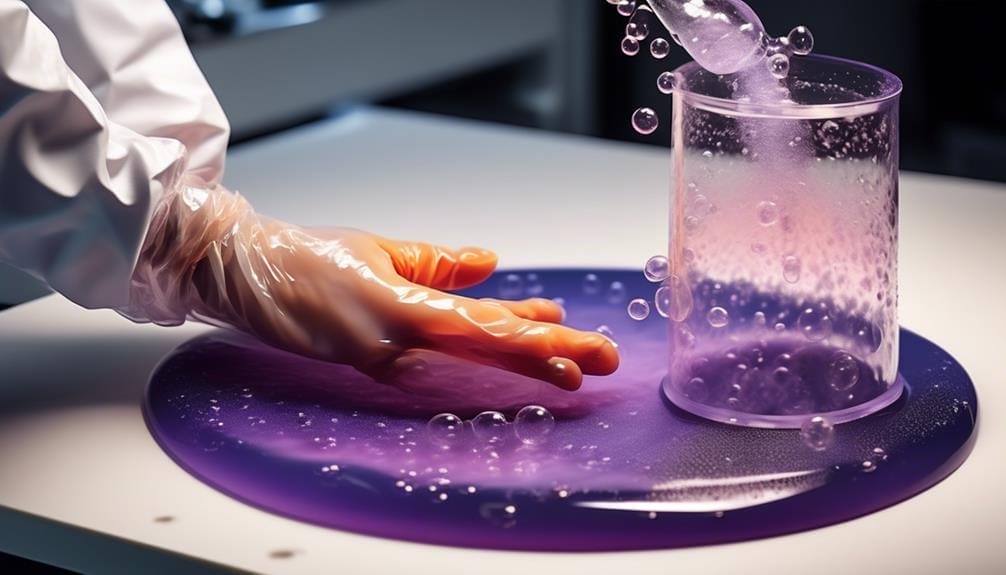
For optimal results in bubble removal, master the art of the correct mixing technique when working with epoxy resin. The way you measure and mix the epoxy can greatly affect the presence of bubbles in your final product. Here are three key steps to ensure a bubble-free mixture:
- Gradually mix the epoxy components: Adding the components slowly and gradually prevents the introduction of air bubbles. Pouring the resin and hardener together all at once can trap air and lead to bubble formation. Take your time and add the components in small increments, allowing for thorough blending.
- Scrape the sides and bottom of the mixing container: As you mix the epoxy, use a spatula or scraper to scrape the sides and bottom of the container. This helps to incorporate any unmixed material and ensures a complete and homogeneous mixture. Neglecting this step can result in uneven curing and the presence of bubbles.
- Use an electric drill for larger batches: For larger quantities of epoxy, consider using an electric drill with a mixing attachment. This will help achieve a more uniform and well-blended mixture. The drill's rotational speed assists in breaking down any clumps or air pockets that may be present.
Removing Air Bubbles From Uncured Epoxy Resin
When removing air bubbles from uncured epoxy resin, it's crucial to address any potential issues that may have contributed to their presence during the mixing process. To start, ensure that you have mixed the epoxy components thoroughly and accurately, using graduated mixing containers to measure the proportions precisely. If the air bubbles are appearing on a porous substrate, consider applying a seal coat before the flood coat to push out any trapped air.
To remove air bubbles from the fresh coat of epoxy resin, you can use a butane torch or a heat gun. Hold the torch or heat gun at a distance and move it in a sweeping motion across the resin layer. Be careful not to linger in one spot or let the flame touch the epoxy, as this can cause damage. The heat will help the air bubbles rise to the surface and pop, leaving you with a smooth finish.
For surface-level air bubbles that have already cured, lightly sand the area to remove them. After sanding, wipe the surface with acetone to clean it thoroughly. Then, apply a new seal coat before proceeding with the flood coat. This will ensure a flawless final result.
If you notice any small bubbles remaining after using heat, you can carefully pick them out with a toothpick. Gently pierce the bubbles and remove them from the resin. Remember to be gentle and avoid scratching the surface.
Using Heat for Bubble Removal
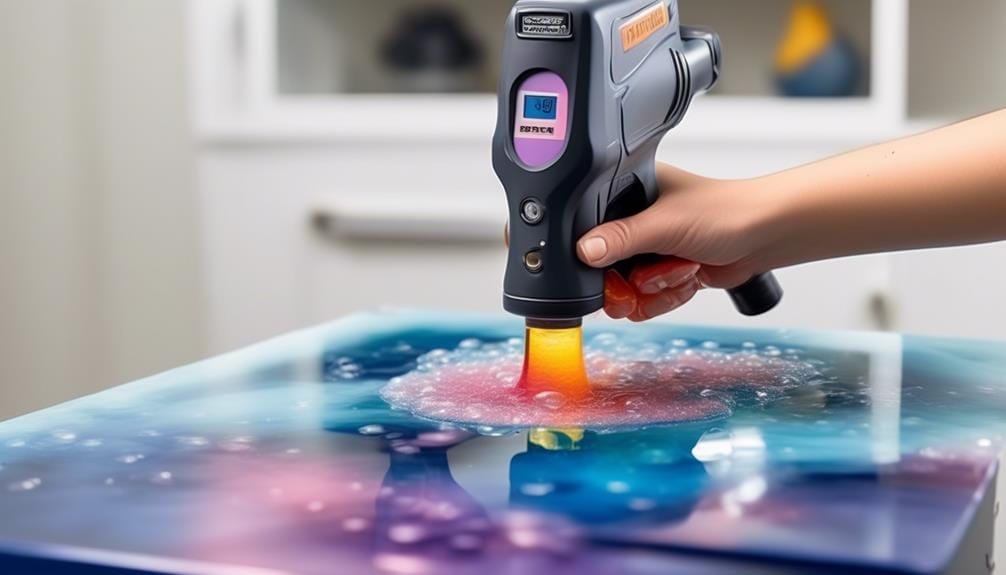
To effectively eliminate air bubbles in epoxy resin, utilize the power of heat from a propane torch or heat gun. Heat is a useful tool in the fight against bubbles, helping to create an absolutely clear and bubble-free epoxy surface. Here's how you can use heat to remove bubbles from epoxy resin:
- Thin out the resin: Apply heat for 1-4 seconds at a time, moving the torch or heat gun in a small river-like motion across the resin surface. This helps to thin out the resin and release any trapped air bubbles.
- Be cautious: When using a torch, be mindful of overheating the resin or blowing dust onto the surface. Keep the torch moving at all times and maintain a safe distance to avoid any unwanted consequences.
- Control the temperature: Heating the resin to a temperature of 70-85°F can help reduce the formation of bubbles during the mixing process. This temperature range ensures that the epoxy components blend properly and any air bubbles are minimized.
Using heat for bubble removal can be a game-changer in your epoxy projects. It speeds up the process, allowing you to achieve an absolutely clear and professional finish.
Sanding and Acetone Method for Cured Epoxy
Utilize the sanding and acetone method to effectively eliminate surface-level air bubbles in cured epoxy resin. When it comes to achieving a flawless finish on your bar tops or table tops, it's essential to address any imperfections caused by the formation of air bubbles during the epoxy curing process. The sanding and acetone method offers a straightforward solution to this problem.
To begin, lightly sand the cured epoxy surface using fine-grit sandpaper. This step helps to smooth out the surface and remove any shallow air bubbles that may be present. Be careful not to sand too aggressively, as this may damage the epoxy or create new blemishes.
After sanding, wipe the surface clean with acetone using a lint-free cloth. Acetone helps to remove any residual dust or debris left from the sanding process. Allow the acetone to fully evaporate before proceeding to the next step.
Next, apply a new seal coat to the sanded and cleaned surface. This seal coat will fill in any remaining blemishes and provide a smooth base for the final flood coat. Allow the seal coat to cure according to the manufacturer's instructions.
Finally, apply a new flood coat to the entire surface for a flawless finish. This flood coat will create a thick, self-leveling layer that covers any remaining imperfections. Ensure that the surface is level and free from dust or debris before applying the flood coat.
For deep air bubbles that can't be eliminated with surface sanding alone, a more extensive approach is required. In these cases, sand the affected area more heavily and apply multiple seal coats before proceeding with the final flood coat. This method will help to fill in the deep air bubbles and create a smooth, bubble-free surface.
Advanced Techniques for Bubble Prevention and Removal
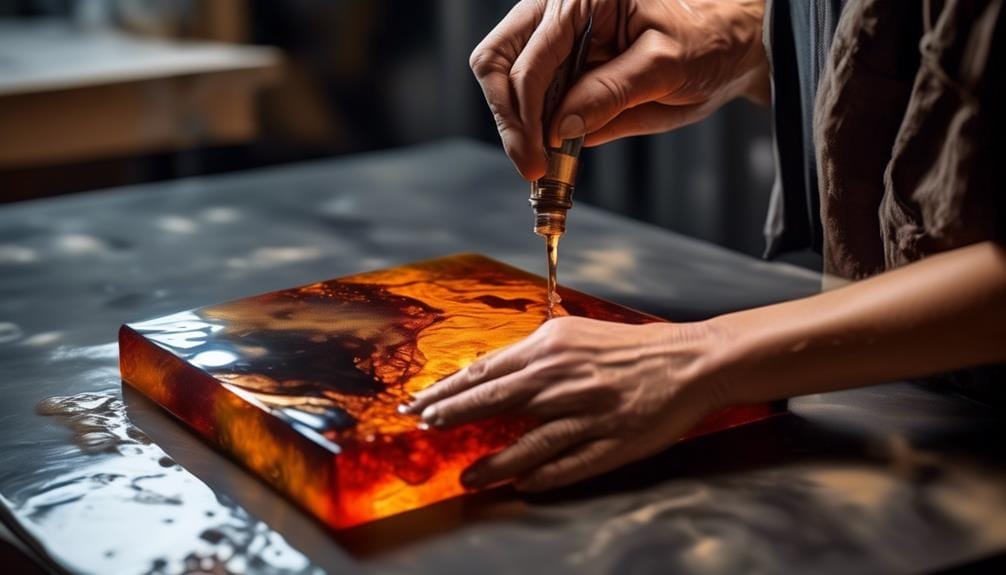
Enhance your epoxy resin projects with advanced techniques for preventing and removing bubbles. These techniques are designed to ensure that your final piece of art is free from imperfections and showcases the true beauty of your craftsmanship.
To achieve bubble-free results, try these advanced techniques:
- New Flood Technique: This innovative approach involves pouring a thin layer of epoxy resin over your artwork, allowing it to spread evenly and fill any crevices. This process is called the 'new flood' technique because it replaces the traditional method of pouring a large amount of resin all at once. By gradually adding resin and allowing it to self-level, you can minimize the formation of bubbles.
- Brands Need to Decrease Surface Tension: Some epoxy resin brands are specifically formulated to decrease the surface tension of the resin, making it easier for bubbles to escape. Look for brands that advertise this feature, as it can greatly improve your results.
- Work to Stop Bubbles at the Source: Prevention is key when it comes to bubbles. One effective way to stop bubbles from forming is to decrease the tension of your mold. This can be done by applying a mold release agent or using a silicone mold, which has inherently lower tension.
Frequently Asked Questions
How Do You Get Rid of Bubbles in Epoxy Resin?
To get rid of bubbles in epoxy resin, make sure to use proper mixing techniques and avoid common mistakes that cause bubbles. Consider using a vacuum chamber or a torch to eliminate bubbles. Follow these tips for a smooth, bubble-free resin finish.
What Tool Removes Bubbles From Resin?
To remove bubbles from resin, use a heat gun or torch for effective bubble elimination. Ensure proper mixing and consider the role of temperature in bubble formation. Prevent bubbles by using a vacuum chamber and following best practices for bubble-free epoxy resin projects.
Can You Use a Hair Dryer to Remove Bubbles From Resin?
Yes, you can use a hair dryer to remove bubbles from resin, but it may not be the most effective method. Common mistakes include overheating the resin and interfering with the curing process. It's better to use a heat gun or explore other heat sources for bubble removal.
Can You Use a Heat Gun to Get Bubbles Out of Resin?
Yes, you can use a heat gun to remove bubbles from resin. It's a popular technique for bubble prevention. Remember to warm up the surface and pour resin in thin layers. Using a torch is another method for bubble removal.
Conclusion
Congratulations! You've unlocked the secret to achieving a flawlessly smooth epoxy resin finish. By following the recommended techniques, you can banish those pesky air bubbles once and for all.
Say goodbye to rough surfaces and hello to professional perfection. With a little heat and some sanding magic, you'll have a finish so smooth it'll make your heart skip a beat.
So go forth, my epoxy warriors, and conquer those bubbles!

