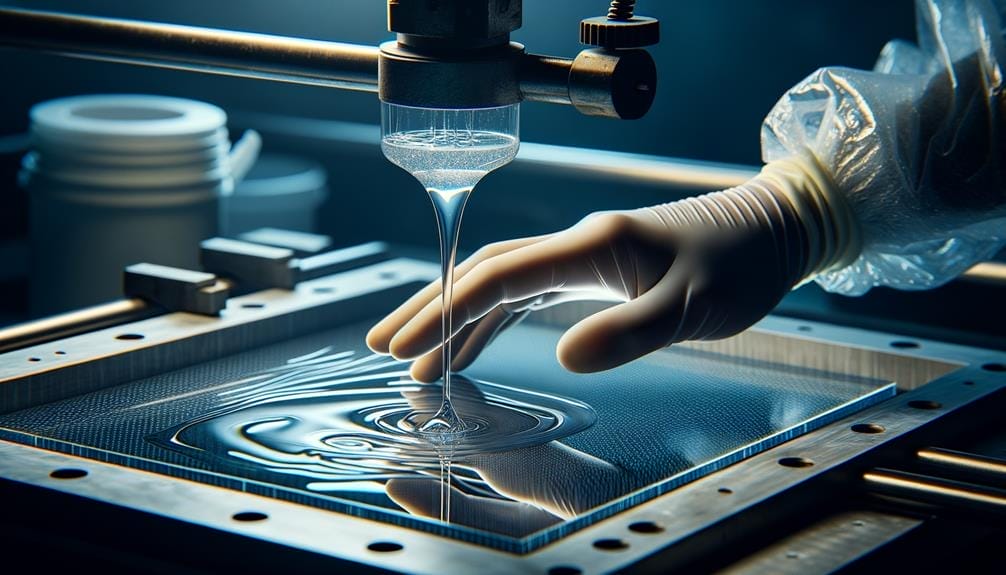
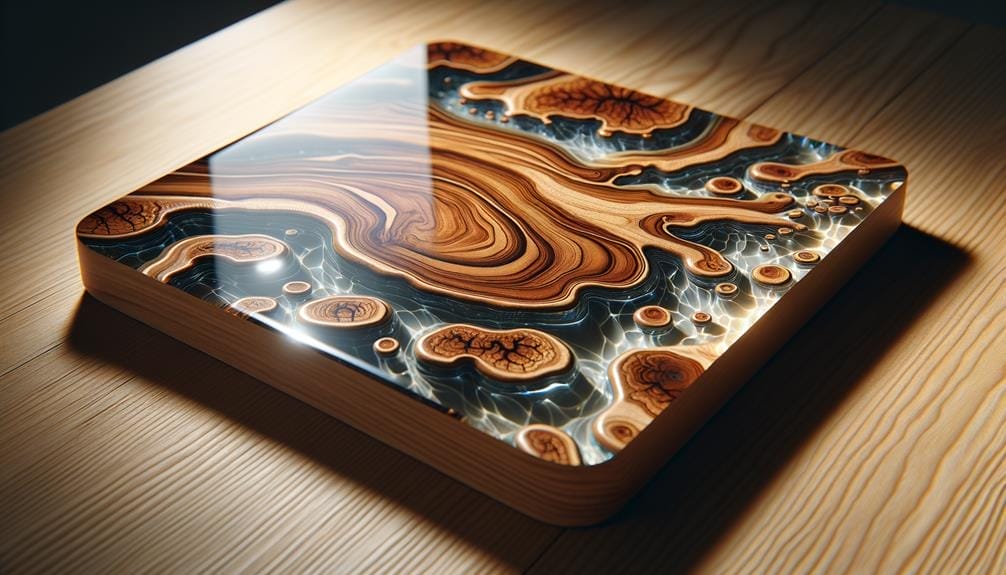
Did you know that liquid glass epoxy can be a versatile and durable solution for a variety of projects? Whether you’re looking to create a stunning glossy finish on a countertop or seal a beautiful piece of artwork, liquid glass epoxy provides a smooth and clear surface that is sure to impress.
But how exactly do you use it? In this discussion, we will guide you through the steps of using liquid glass epoxy, from surface preparation to curing and finishing.
So, if you’re ready to unlock the secrets of this amazing material and take your projects to the next level, let’s dive in!
Key Takeaways
- Proper surface preparation is essential for achieving good adhesion when using liquid glass epoxy. This includes cleaning the surface, sanding it with 320-grit sandpaper, and following mixing directions in a clean environment.
- The recommended ratio for mixing liquid glass epoxy is 2 parts resin to 1 part activator. It is important to measure and mix the components accordingly and stir for at least 5 minutes to avoid bubbles.
- A dust-free environment is crucial during the curing process, which can take up to 72 hours. It is recommended to clean the surface thoroughly before applying the first coat and to work in a well-ventilated area to avoid bubble formation.
- Removing bubbles and troubleshooting can be done by using a heat gun, creating a dust-free environment, and using effective bubble prevention techniques. Elevating the mold and using an oscillating fan for heat distribution can also help prevent bubble formation.
Materials and Tools Needed
To begin your liquid glass epoxy project, gather the necessary materials and tools. You’ll need liquid glass epoxy, plastic sheeting to protect your work surface, Isopropyl Alcohol 90% or higher for cleaning, a heat gun to remove any air bubbles, and an oscillating fan for heat distribution.
It’s important to ensure proper mixing of the epoxy, so be sure to stir the mixture for at least 5 minutes. This will help prevent soft spots and bubbles in your finished project.
Before pouring your deep pour, make sure the previous layer is fully cured to avoid any issues with adhesion between layers. Use Alcohol 90% or higher to clean the surface and remove any dust or debris. It’s recommended to work in a dust-free environment to achieve the best results.
When adding additional layers, be sure to scrape the sides and bottom of the mixing cup to ensure proper mixing and avoid any unmixed material that may have clung to the container. Use a heat gun to remove any remaining air bubbles by sweeping it back and forth until no bubbles remain.
Clean the surface with Isopropyl Alcohol again, and lightly sand it if necessary. Make sure the surface is dry and at least 72 hours have passed since the epoxy was poured before applying any additional coats.
Remember to leave the heat gun running during the curing process to prevent any surface imperfections.
Surface Preparation
Before you can apply the liquid glass epoxy, it’s crucial to properly prepare the surface for optimal adhesion and a flawless finish. Surface preparation plays a vital role in ensuring that the epoxy bonds are securely fixed and cured properly.
The first step is to ensure that the surface is clean and free from dust or dirt. Use a spray cleaner to remove any grime or contaminants, and allow the surface to dry completely before proceeding with the epoxy application.
To achieve a smooth finish, it’s recommended to use a tack cloth to remove any remaining dust or particles. Additionally, sanding the surface with 320-grit sandpaper can enhance adhesion for the epoxy.
It’s important to follow the mixing directions provided by the manufacturer and to work in a clean environment to avoid any unwanted debris from contaminating the epoxy. When applying the epoxy, make sure to scrape the sides of the container to ensure a thorough mix.
Consider using weights to prevent the epoxy from flowing off the edges during the curing time. By properly preparing the surface, you can ensure that the liquid glass epoxy adheres well and provides a durable and beautiful finish.
Mixing the Liquid Glass Epoxy
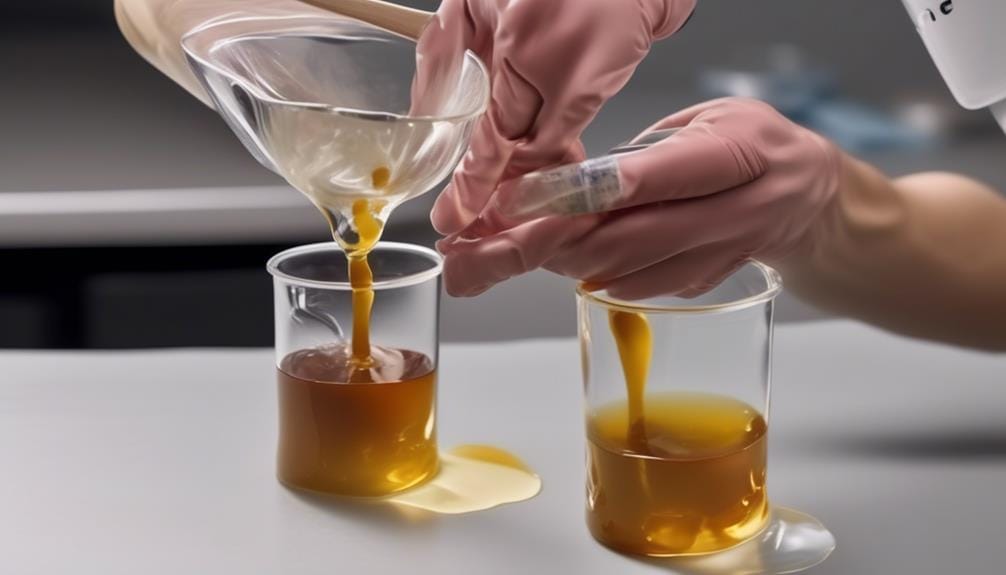
When mixing the liquid glass epoxy, be sure to follow the recommended ratio of 2 parts resin to 1 part activator for deep pour applications. To ensure a proper mix, start by measuring 2 parts of resin and 1 part of activator. The amount you need to mix will depend on the size of your project, so determine the amount accordingly.
Pour the measured resin and activator into a clean container, preferably one with a high side or bottom. Start mixing with a stir stick, scraping the sides and bottom to ensure all the material is incorporated. It’s important to mix the mixture for at least 5 minutes to achieve a thorough blend. Whipping air into the mixture can cause bubbles, so avoid vigorous stirring.
After 5 minutes of mixing, transfer the mixture to a new container and continue mixing for an additional 3 minutes. This step ensures that any unmixed material from the sides or bottom is incorporated.
For larger projects, C-clamps or light pressure can be used to hold the mold together while the epoxy cures. Depending upon conditions such as temperature and total mass, the curing time may vary. It’s recommended to allow the surface to cure for up to 72 hours in a dust-free environment.
Once the epoxy has cured, any excess material can be trimmed away for easy cleanup.
Applying the First Coat
To start applying the first coat of liquid glass epoxy, identify any problem areas on the surface and fill cracks or dents with a small amount of epoxy. This ensures that the surface is smooth and even before proceeding with the application process.
Once the surface is prepared, you’re ready to apply the first coat of liquid glass epoxy. Here are the steps to follow:
- Clean the surface thoroughly to remove any dirt, dust, or debris. A clean surface ensures proper adhesion and a smooth finish.
- Mix the liquid glass epoxy according to the manufacturer’s instructions. Make sure to mix it well to achieve a consistent mixture.
- Pour the epoxy onto the surface in a pattern, such as a zigzag or a back-and-forth motion, to evenly distribute it across the surface.
- Use a foam brush to spread the epoxy thinly and evenly. This helps to ensure that the epoxy is applied at the correct thickness and covers the entire surface.
Remember to pour the epoxy at the surface level and avoid deep pours, as this can lead to uneven curing and potential issues with the final result. Additionally, it’s important to work in a well-ventilated area and create a dust-free environment to achieve optimal results.
Following these steps will help you apply the first coat of liquid glass epoxy effectively.
Removing Bubbles
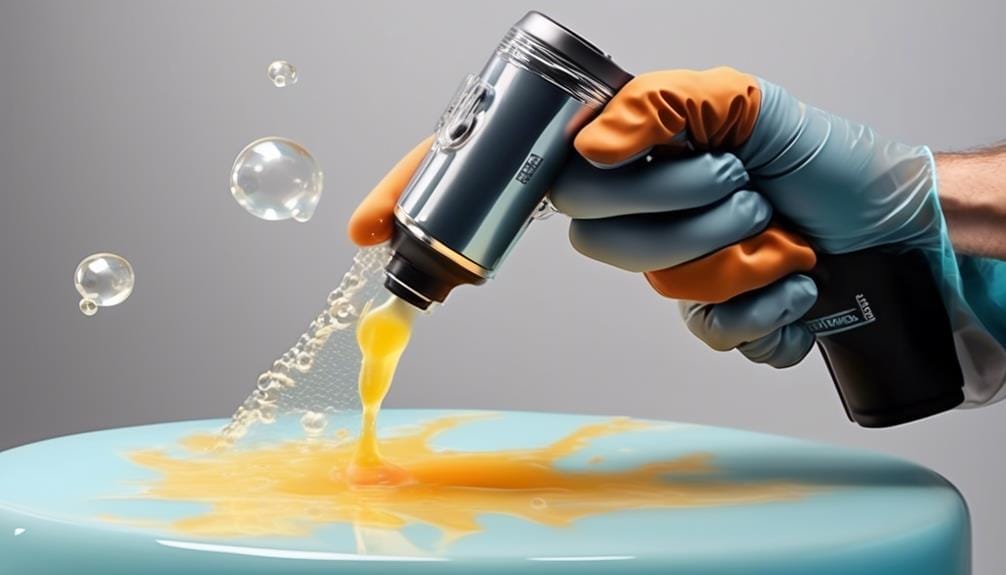
To ensure a bubble-free finish, it’s crucial to employ effective bubble prevention techniques and address any existing bubbles. By using a heat gun during the pouring process, you can remove air bubbles. Heat the surface until no more bubbles appear, and allow the coat to harden undisturbed.
Creating a dust-free environment and roughing up the thin coat before applying the flood coat can also help achieve optimal results.
Bubble Prevention Techniques
For effective bubble prevention techniques when using liquid glass epoxy, it’s recommended to use a heat gun to remove any air bubbles from the epoxy mixture prior to pouring it into the mold. This ensures that the epoxy is properly mixed and any trapped air is eliminated.
To further prevent bubbles, it’s important to ensure that the working environment is clean and the surface is completely level. Following all mixing directions, including the need to stir the epoxy thoroughly, is crucial.
Additionally, maintaining the ambient temperature and total coat thickness within the recommended range will ensure the best results. Applying a seal coat to some wood surfaces can also help prevent air bubbles from forming during the curing process.
Elevating the mold off a flat surface and using an oscillating fan to distribute heat evenly can aid in bubble prevention as well. Finally, avoid over-clamping wood substrates to allow for slight shifting and prevent air bubble formation.
Removing Bubbles Effectively
To effectively remove bubbles when working with liquid glass epoxy, follow these steps:
- Prepare a clean and dry bucket or cup to hold the epoxy mixture.
- Lay down a plastic sheeting to protect your work surface.
- Mix the epoxy according to the manufacturer’s instructions.
- Use a heat gun on a low setting to gently eliminate any trapped air from the epoxy mixture.
- Move the heat gun slowly back and forth over the surface of the epoxy mixture.
- Do this for a few minutes, ensuring that the heat is evenly distributed.
- Be careful not to overheat the mixture and cause it to cure too quickly.
- Once the bubbles have been removed, pour the epoxy mixture directly into the mold.
- Allow it to cure undisturbed for the recommended time.
- To further ensure a smooth finish, lightly sand the cured epoxy with 320-grit sandpaper.
- Wipe away any dust before proceeding with the next steps.
Troubleshooting Bubble Issues
If you’re experiencing bubble issues while working with liquid glass epoxy, one effective troubleshooting technique is to use a heat gun. Applying gentle heat may be necessary for thick areas or filled cracks to remove bubbles. Stop heating once no bubbles appear when using a torch to remove bubbles in the final flood coat.
Another important step is to allow the thin coat to sit undisturbed to harden and create a dust-free environment for optimal results.
Additionally, make sure to pour the epoxy at an ambient temperature to minimize the formation of bubbles. Deep pour applications may require additional measures, such as using a vacuum chamber or applying heat intermittently to encourage bubble release.
Proper surface preparation and ensuring good adhesion can also help prevent bubble issues.
Applying Additional Coats
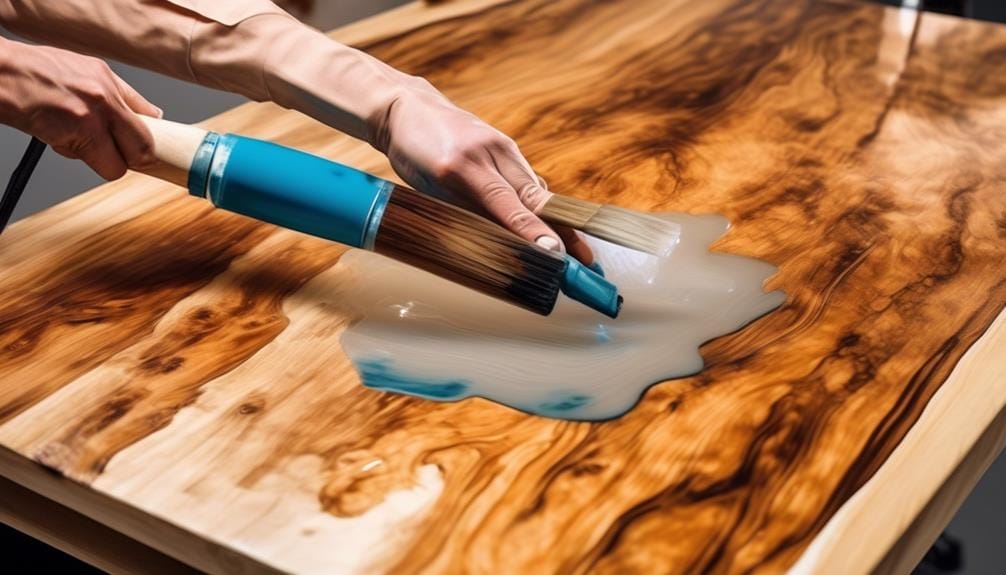
When the previous pour is tacky but not fully cured, you can proceed to apply additional coats of Liquid Glass epoxy. Before doing so, make sure your surface is clean and free of any dust or debris. It’s important to note that the ideal temperature for applying additional coats is between 70-80°F (21-27°C) with low humidity.
To begin, mix the Liquid Glass epoxy according to the manufacturer’s instructions. The recommended ratio is 2 parts Resin to 1 part Activator. Mix thoroughly for approximately 3-5 minutes, making sure to scrape the sides and bottom of the container to ensure a proper mix.
Using a foam brush or roller, apply an even flood coat over the tacky and nearly hard previous pour. If you notice that the epoxy is clung to the sides of the container, gently stir it back in to maintain an even consistency. It’s recommended to rough up the thin coat with 320-grit sandpaper before applying the flood coat to ensure proper adhesion.
After applying the flood coat, use a torch to remove any remaining air bubbles. Move the torch back and forth in a sweeping motion about 6-8 inches above the surface. Be careful not to hold the torch too close to the epoxy to avoid scorching or burning it.
Allow the epoxy to cure for a minimum of 24 hours in a level and undisturbed area. This curing time will ensure that the epoxy fully hardens and achieves its maximum clarity and durability.
Curing and Drying Time
The curing and drying time of Liquid Glass epoxy is a crucial factor in achieving optimal results for your project. To ensure the best outcome, it’s important to follow the recommended guidelines for curing and drying. Here are some key points to keep in mind:
- Epoxy begins to harden within 12-24 hours and fully cures in 48-72 hours. This means that you shouldn’t disturb or move your project during this time to allow the epoxy to set properly.
- When applying multiple layers, it’s important to add another coat when the previous pour is tacky. This ensures proper adhesion between layers and prevents any delamination issues.
- Maintaining a temperature above 75 degrees Fahrenheit during the curing process is essential. Lower temperatures can slow down the curing process and may result in a sticky or soft surface.
- It’s recommended to allow the resin to cure for a minimum of 24 hours in a level and undisturbed area. This will give the epoxy enough time to harden and achieve its maximum strength.
Remember to create a dust-free environment for your project. Dust particles can easily get trapped in the epoxy and ruin the final finish. By following these guidelines and taking necessary precautions, you can ensure a safe and successful epoxy project using Superclear® Table Top Epoxy.
Sanding and Finishing
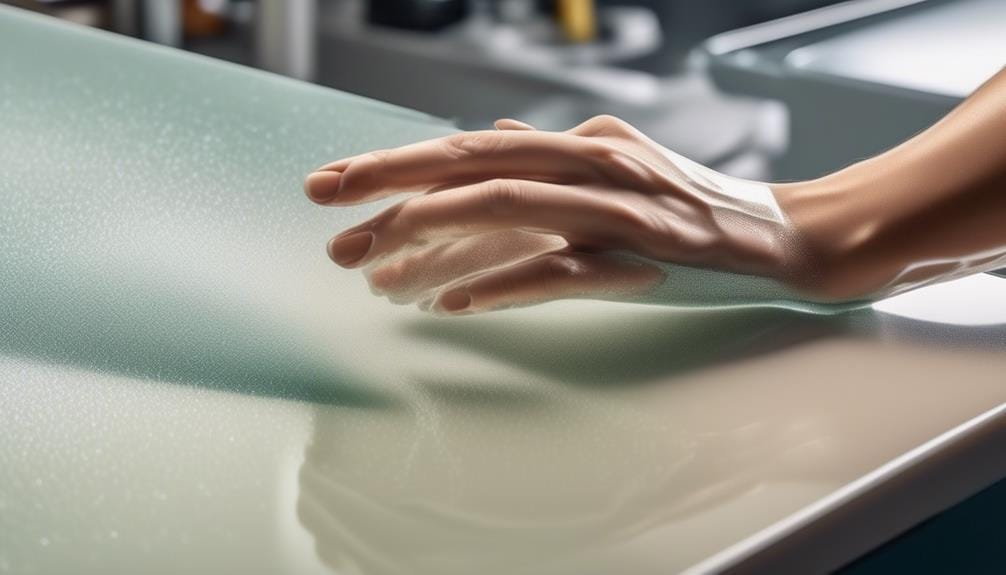
Proper sanding and finishing techniques are crucial to achieving a smooth and flawless finish on your epoxy project. After allowing the epoxy to cure for the recommended time, it’s time to sand and finish the surface.
Start by using 320-grit sandpaper to prepare the surface for adhesion and smoothness. Once the surface is sanded, clean it thoroughly with acetone to remove any dust or debris.
To ensure an even and professional-looking finish, it’s recommended to apply a seal coat to the epoxy surface. This helps to fill in any small imperfections and provides a smooth base for the final flood coat. Apply the seal coat using a foam brush, making sure to fill any cracks or dents. Let it get tacky before moving on to the next step.
Next, apply the flood coat evenly using a foam brush or roller. Use enough weights to keep the surface level throughout the curing process. The curing time varies depending on ambient temperature, but it’s important to maintain a temperature above 75 degrees Fahrenheit during curing. Allow the resin to cure for at least 24 hours in a dust-free environment.
After the epoxy has cured, use a torch to remove any air bubbles in the final flood coat. Apply gentle heat if necessary for thick areas or filled cracks. Once the epoxy has hardened, rough up the surface with 320-grit sandpaper and clean it with acetone. This will prepare the surface for any additional coats or finishes you may want to apply.
Maintenance and Care Tips
To ensure the longevity and pristine appearance of your liquid glass epoxy surface, it’s important to follow proper maintenance and care tips.
Regularly clean the surface with a mild soap and water solution to maintain its glossy finish.
Avoid using abrasive cleaners or scrubbers that could potentially scratch the epoxy surface.
Cleaning and Polishing
Regular maintenance and care of your liquid glass epoxy surface is essential to preserve its glossy finish and prevent any damage or wear. Here are some important cleaning and polishing tips to keep your surface looking its best:
- Clean the surface regularly with a mild soap and water solution to remove dust and dirt. Use a soft cloth or sponge to wipe the surface gently, avoiding any abrasive materials that can scratch the epoxy.
- Use a non-abrasive polish specifically designed for epoxy surfaces to maintain the glossy finish and remove any minor scratches. Apply the polish in a circular motion using a soft cloth, then buff it off for a smooth and shiny surface.
- Avoid using harsh chemicals or abrasive cleaners that can damage the epoxy surface. Stick to mild, non-abrasive cleaning agents to ensure the longevity of your liquid glass epoxy.
- Wipe spills immediately to prevent any staining or damage to the epoxy finish. Promptly clean up any spills with a soft cloth or paper towel, ensuring that no liquid seeps into the epoxy.
Preventing Scratches
To maintain the glossy finish and prevent scratches on your liquid glass epoxy surface, proper maintenance and care are crucial. Here are some tips to help you prevent scratches and keep your surface looking pristine.
- When cleaning the surface, always use a soft cloth or microfiber towel to wipe away any dirt or debris gently. Avoid using abrasive materials that can cause scratches.
- Applying a furniture wax or polish can also create a protective barrier against scratches and maintain the glossy finish.
- When placing objects on the surface, use felt or rubber pads to prevent scratches and protect the epoxy. Avoid dragging heavy or sharp objects across the surface, as this can cause damage.
- Regularly inspect the surface for scratches and apply a touch-up layer of epoxy as needed to maintain a flawless finish.
Frequently Asked Questions
How Do You Use Liquid Glass Epoxy Resin?
To use liquid glass epoxy resin, start by preparing the surface thoroughly. Mix the resin and activator according to the instructions. Apply the mixture evenly using a foam brush or roller, avoiding common mistakes. Cure the epoxy in a dust-free environment for up to 72 hours.
Is Liquid Glass the Same as Epoxy?
Yes, liquid glass is a type of epoxy. It offers benefits like durability and UV resistance. It’s commonly used for various applications. To achieve a smooth finish, ensure clean and dry surfaces and follow the curing process.
How Do You Mix Liquid Glass Deep Pour Epoxy?
To mix liquid glass deeply, pour epoxy and measure 2 parts of resin to 1 part of the activator. Stir for 5 mins, then transfer and mix for 3 more mins. Pour directly into the mold and cure for up to 72 hours.
How Do You Use Liquid Glass?
To use liquid glass epoxy, prepare the surface by cleaning it with isopropyl alcohol. Mix the resin and activator, then apply it using application techniques. Allow it to cure for up to 72 hours. Use safety precautions and create a smooth finish.
Conclusion
In conclusion, using liquid glass epoxy allows you to create a smooth, glossy surface that adds a touch of elegance to your projects.
By following the proper steps, such as preparing the surface, mixing the epoxy correctly, and removing air bubbles, you can achieve a professional and durable finish.
With a dust-free environment and sufficient curing time, your epoxy-coated surface will be ready to impress.
Remember to maintain and care for your epoxy-coated surface to ensure its longevity and beauty.

