Did you know that the use of liquid glass epoxy has been steadily increasing in the world of crafting and DIY projects? With its versatility and ability to create stunning finishes, it's no wonder that more and more people are exploring advanced techniques with this remarkable material.
From geode-inspired designs to resin jewelry making, there is a whole world of possibilities waiting to be discovered. So, if you're ready to take your epoxy resin projects to the next level and unleash your creativity, stick around because we're about to dive into some exciting techniques that will leave you in awe.
Key Takeaways
- Geode-inspired designs using vibrant colors and crystal-like formations can be achieved with liquid glass epoxy.
- Incorporating pigments and metallic powders can create stunning epoxy pigment effects.
- Proper resin and wood combination can result in unique color patterns and enhanced wood grain.
- Working within the recommended temperature range and ensuring proper adhesion between layers of resin are crucial for successful curing and hardening.
Geode-Inspired Designs
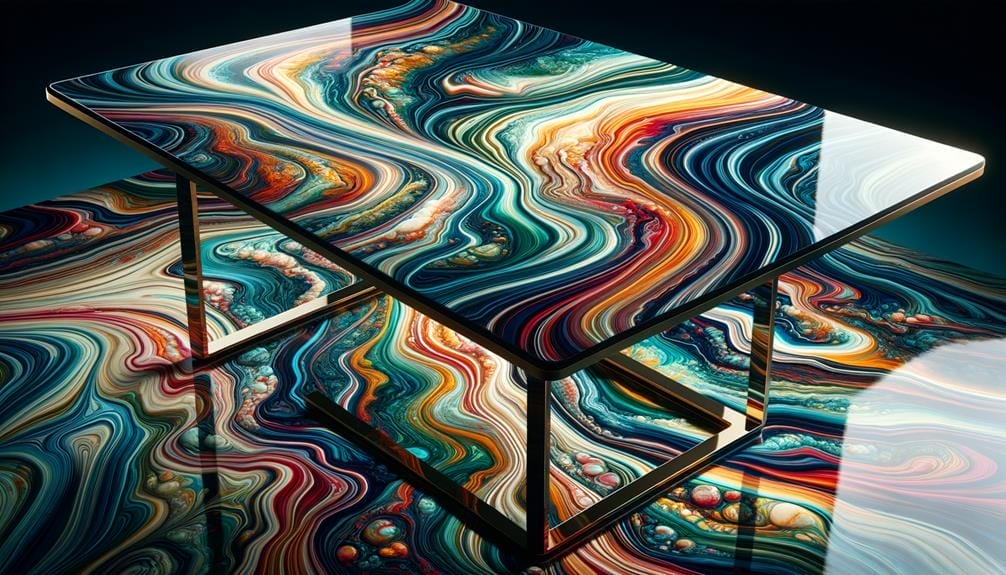
Geode-inspired designs incorporate vibrant colors and crystal-like formations to accurately replicate the appearance of natural geodes. These designs are achieved using a combination of epoxy resin, liquid pouring, mixing techniques, and deep pour epoxy. To create the desired effect, a variety of vibrant pigments and metallic powders are added to the epoxy resin, allowing for the creation of intricate patterns and textures reminiscent of geodes.
When working with epoxy resin for geode-inspired designs, it's crucial to ensure a smooth and bubble-free surface finish. To achieve this, the resin should be poured slowly and evenly onto the desired surface. Additionally, using a deep pour epoxy can help prevent the formation of bubbles during the curing process.
Geode-inspired designs aren't limited to certain materials and can be applied to various projects such as artwork, tabletops, coasters, and jewelry. The versatility of epoxy resin allows for creative and customizable applications on different surfaces like glass and wood.
To enhance the visual appeal of geode-inspired designs, the use of metallic pigments and glitter is common. These additives create depth and shimmer, mimicking the natural beauty of geodes.
Epoxy Pigment Effects
Epoxy pigment effects can be achieved by incorporating various colorants and additives into the epoxy resin, resulting in vibrant and visually captivating finishes. To ensure proper mixing, start by cleaning the surface with Isopropyl Alcohol to remove any contaminants. Once the surface is clean, you can begin applying your seal coat to ensure a smooth and even finish.
Here are some steps to follow when working with epoxy pigment effects:
- Prepare the epoxy mixture: Mix the epoxy resin and hardener according to the manufacturer's instructions, ensuring thorough blending. Scrape the sides of the container to incorporate any unmixed material.
- Apply the seal coat: Pour a thin layer of the mixed epoxy onto the surface and use a brush or roller to evenly spread it. This seal coat will help prevent air bubbles from forming during the subsequent layers.
- Remove air bubbles: Use a heat gun to remove any air bubbles that may have formed on the surface. Sweep the heat gun back and forth over the epoxy, keeping it at a safe distance to avoid overheating.
- Add colorants: Once the surface is completely cured, you can add your desired colorants and additives to the epoxy. Mix them thoroughly to achieve the desired color and effect.
- Apply additional layers: Apply additional layers of epoxy, if desired, to enhance the pigment effects. Make sure each layer is fully cured before adding the next.
Remember to clean the surface before each application to ensure optimal adhesion and a flawless finish. With these techniques, you can create stunning epoxy pigment effects that will elevate your projects to a new level of artistic expression.
Resin and Wood Combinations

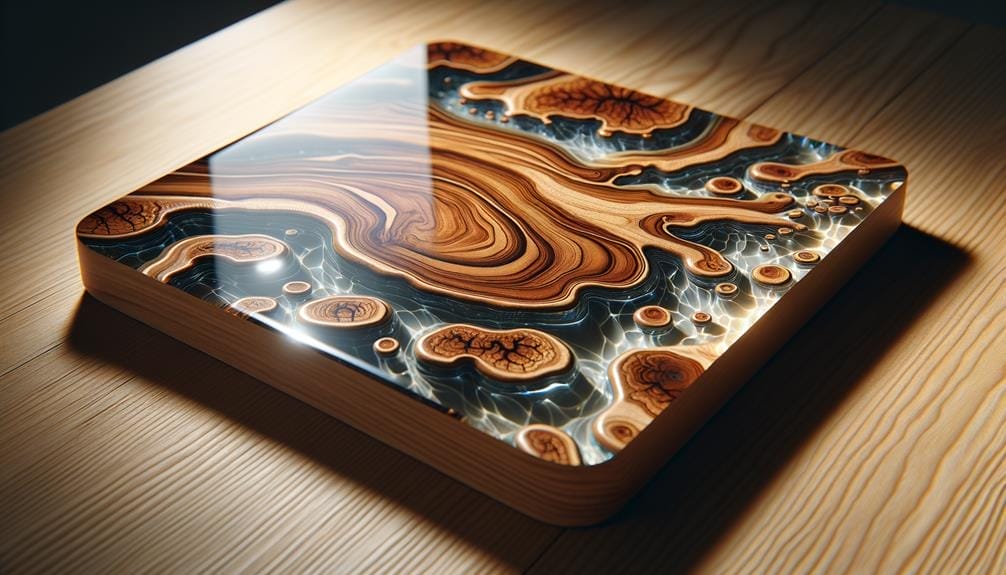
When combining resin and wood, you can achieve unique color patterns that enhance the natural grain of the wood. This technique creates a durable and long-lasting finish that not only protects the wood but also adds a beautiful aesthetic to your project.
Unique Color Patterns
Experimenting with different wood types and resin pigments can yield a diverse array of visually appealing color patterns and textures. When working with epoxy resin, it's important to create a deep pour to achieve a clear finish. To avoid air bubbles, mix the resin thoroughly and pour it slowly onto the surface.
Layering resin and wood can create unique effects, with the resin penetrating the wood grain and enhancing its natural beauty. Sanding the surface between layers ensures proper adhesion and a smooth finish. When curing, ambient temperature and thickness of the epoxy layer play a crucial role.
To prevent movement during the hardening process, clamp down the wood or use a mold. By following these proper techniques, you can achieve stunning and dynamic color patterns in your epoxy resin and wood combinations.
Enhancing Wood Grain
To enhance the natural wood grain, one must master the art of working with resin and wood combinations. Epoxy resin provides a glossy and durable finish that enhances the depth and beauty of the wood.
When working with resin, it's crucial to ensure that you have fully read and understood the mixing directions. This will help prevent air bubbles and ensure a smooth and flawless finish. Before pouring the resin, lightly sand the surface of the wood to create a better bond.
When mixing the resin, use a cup and continue mixing until there are no streaks or unmixed material left. Scrape the sides of the cup to make sure everything is incorporated. Once the resin is mixed, pour it onto the wood, making sure to coat all the sides and bottom thoroughly.
The amount of resin you pour varies depending on your artistic vision and the size of the project. If you want to add another layer, wait until the first layer is nearly hard and pour the second layer. To achieve the best results, follow all mixing directions and recommendations, and don't forget to scrape the sides to avoid any unmixed material.
Durable and Long-Lasting
To achieve a durable and long-lasting finish, mastering the combination of resin and wood is essential for creating structurally resilient surfaces. When using Liquid Glass® Deep Pour Epoxy, you can achieve a crystal clear finish that not only enhances the natural beauty of the wood but also provides unparalleled durability.
Here are some key steps to ensure a successful resin and wood combination:
- Prepare the wood: Sand the wood surface with grit sandpaper and wipe it clean to remove any dust or debris.
- Mix the epoxy: Follow the mixing directions provided with the product, using a dry bucket or cup to ensure accurate measurements.
- Pour the epoxy: Pour the epoxy slowly, starting from the bottom and working your way up, to ensure that the resin penetrates the wood thoroughly throughout.
- Use light enough weights: Place light enough weights on top of the wood to keep it in place during the curing process, depending on the ambient temperature.
- Allow curing: Allow the epoxy to cure and harden within the recommended timeframe.
- Sand and seal: After curing, sand the surface with grit sandpaper and wipe it clean. Apply a seal layer to ensure the wood is fully protected.
Resin Jewelry Making
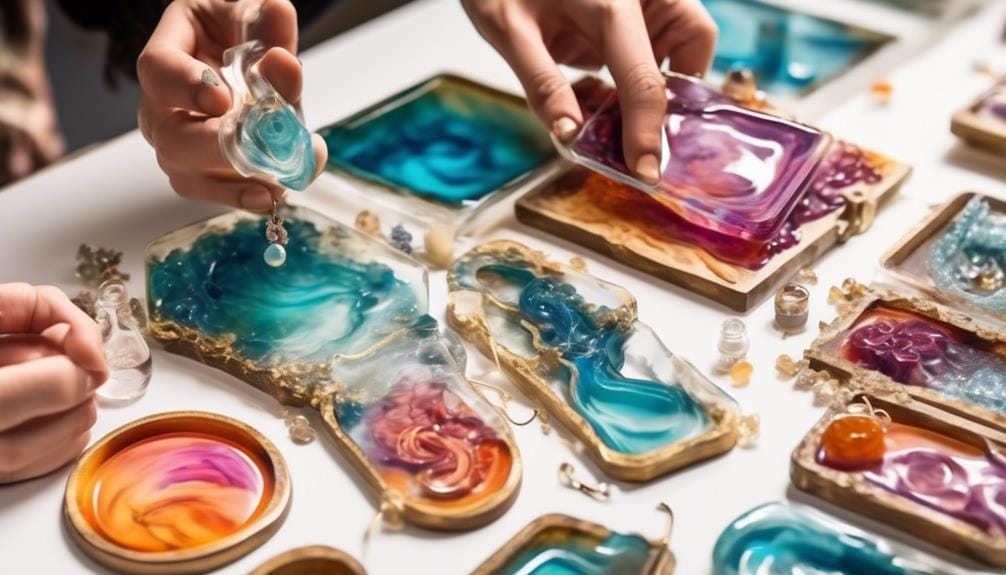
Resin jewelry making involves understanding the different types of resin suitable for creating jewelry pieces. When working with resin, it's important to choose a resin that's specifically designed for jewelry making. There are different types of resin available, such as surface resin and deep pour resin. Surface resin is ideal for creating a smooth, glossy finish on the surface of your jewelry piece. Deep pour resin, on the other hand, allows you to create thicker layers and embed materials within the resin.
Before starting your resin jewelry project, it's crucial to read and follow the manufacturer's instructions for mixing and curing the resin. Each type of resin has its own working time and mixing directions, so it's important to pay attention to these details. Additionally, temperature can affect how resin cures and hardens, so it's important to work within the recommended temperature range.
If your resin jewelry piece becomes tacky or doesn't harden properly, there are steps you can take to fix it. First, scrape off the tacky resin using a razor blade or scraper. Then, clamp the piece tightly and allow it to cure for a longer period of time. Proper adhesion between layers of resin can also be achieved by sanding the surface and cleaning it thoroughly before applying the next layer.
Creating Resin Art
When creating resin art, it's important to understand the properties and benefits of epoxy resin. Epoxy resin is a versatile material that can be poured onto various surfaces to create stunning art pieces. Here are two key aspects to consider when working with epoxy resin in the context of resin art:
- Mixing and Pouring: Properly mixing the epoxy resin is crucial to achieve the desired results. Measure the resin and hardener in the correct ratio and stir them together thoroughly. This ensures that the resin cures properly and creates a strong and durable surface. When pouring the resin onto the surface, make sure to pour it evenly and slowly to minimize bubbles and ensure a smooth finish. It's also important to consider the depth of the pour, as deeper pours may require additional curing time.
- Adhesion to Wood: Resin art often involves incorporating wood elements into the design. To ensure good adhesion between the resin and wood, it's essential to prepare the wood surface properly. Sanding the wood to create a rough surface helps the resin adhere better. Additionally, sealing the wood with a sealant or primer before pouring the resin can help prevent any moisture from affecting the curing process.
Resin in Woodworking
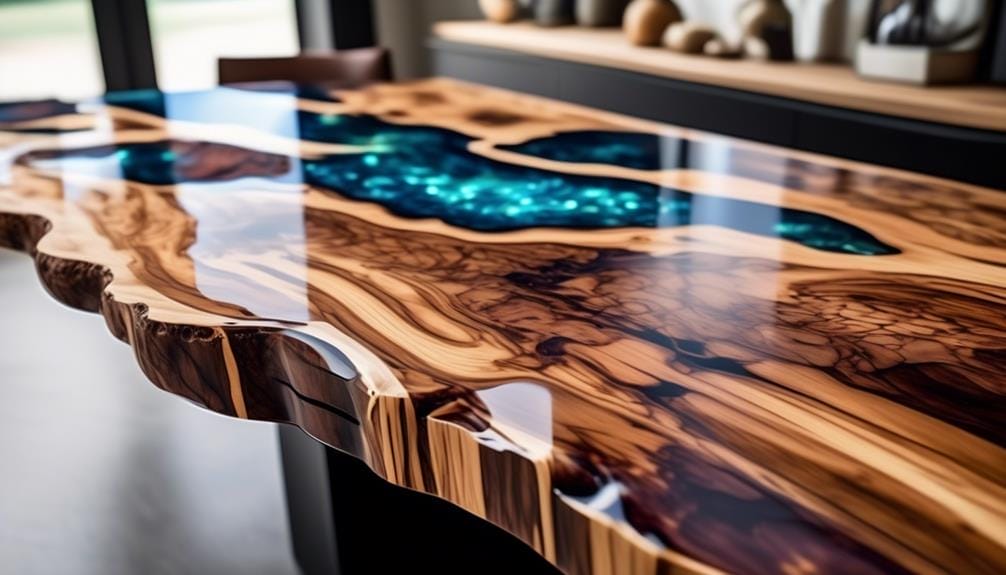
When incorporating resin into woodworking projects, you can add both durability and aesthetic appeal to your wood creations. Resin offers the opportunity to create unique designs by embedding objects or creating colorful patterns. There are various techniques ranging from basic pouring and coating to advanced geode-inspired designs and resin jewelry making. To ensure safety, it's crucial to follow proper handling and disposal procedures, as resin can pose health hazards if not handled correctly.
When working with resin, it's important to allocate enough time for the project. Deep pour epoxy, such as Liquid Glass® Deep Pour Epoxy, is a convenient solution for thicker pours and provides a bubble-free, crystal-clear finish. Before applying resin, the wood surface must be clean and free from dust or debris to ensure proper adhesion. It's advisable to use a hard activator, following the manufacturer's mixing directions, to ensure a strong bond and effective curing.
Temperature also plays a vital role in the resin curing process. It's essential to work in a controlled environment within the recommended temperature range specified by the resin manufacturer. Extreme temperatures can affect the curing time and the final result.
Resin in Home Decor
You can enhance your furniture with resin to create unique and eye-catching pieces for your home decor.
By incorporating resin into your furniture, you can add a glossy finish and increase its durability.
Additionally, you can use resin to create one-of-a-kind wall art by encapsulating objects like flowers, photos, and mementos, allowing you to personalize your home decor in a truly unique way.
Enhancing Furniture With Resin
Enhancing furniture with resin involves the application of epoxy resin, which creates a smooth and glossy finish on various surfaces such as tables, countertops, and cabinets. By utilizing resin in home decor, you can enhance the aesthetic appeal of your furniture and create unique, personalized pieces. Here are some key points to consider when using resin to enhance furniture:
- Embedding decorative elements: Resin allows you to embed flowers, shells, or glitter into the surface of your furniture, adding a personalized touch and creating visual interest.
- Creating depth and 3D effects: Layering resin on furniture can create a stunning depth and 3D effect, making your pieces artistic and visually appealing.
- Combining resin with wood: By combining resin with wood, you can create durable and beautiful furniture pieces, such as river tables or live edge designs.
To ensure proper adhesion and curing, it's essential to follow the mixing directions provided by the manufacturer. Pay attention to the ambient temperature as it can affect the curing process. Be cautious of soft spots or areas that may remain tacky after curing, as they can compromise the overall surface quality.
Enhancing furniture with resin allows you to elevate your home decor and create custom, one-of-a-kind pieces that reflect your personal style.
Creating Unique Wall Art
Creating unique wall art with epoxy resin allows for endless possibilities of personalized and customizable designs. To ensure a successful outcome, it's crucial to follow proper procedures.
First and foremost, make sure your surface is clean and free from any debris. Use light enough weights to prevent the resin from sinking into the surface.
When it comes to mixing the resin, follow the manufacturer's instructions carefully, including the proper ratio of Activator and pour. For deep pour projects, such as the Liquid Glass® Deep Pour, ensure a minimum depth above the surface to allow for proper curing. Stir the resin thoroughly, making sure to scrape the sides to incorporate all the parts.
It's essential to work in a clean and ambient temperature environment to prevent any air from getting trapped in the resin. The curing process can take anywhere from 24 to 72 hours, depending on the temperature and the thickness of the pour.
To avoid any mishaps, clamp down your wood or use a mold to keep the resin in place. Let it get tacky before adding any additional layers or embedding objects.
Lastly, remove any air bubbles by gently stirring it by hand or using a heat gun. By following these steps, you can create stunning and unique wall art pieces that will impress anyone who sees them.
Frequently Asked Questions
How Long Does Liquid Glass Epoxy Take to Harden?
Liquid glass epoxy typically takes 12-24 hours to begin hardening and fully cures in 48-72 hours. Factors like temperature and humidity can affect the curing time. To speed up the process, proper mixing, application, and curing conditions should be followed.
What Is the Difference Between Epoxy Resin and Liquid Glass?
Epoxy resin and liquid glass differ in their chemical composition and applications. Liquid glass epoxy provides a flawless, glossy finish and is ideal for thick pours. Consider factors like project type and curing process when choosing the right product.
Can You Sand Liquid Glass Epoxy Resin?
Yes, you can sand liquid glass epoxy resin. Start with coarse sandpaper to level the surface and remove imperfections. Progress to finer grits for a smoother finish. Use a sanding block to maintain a flat surface.
How Do You Use Liquid Glass Epoxy?
To use liquid glass epoxy, clean the surface and mix 2 parts resin to 1 part activator. Stir for 5 minutes, then pour into the mold. Remove bubbles with a heat gun and let it cure for 72 hours.
Conclusion
As we conclude our exploration of advanced techniques with liquid glass epoxy, we unravel the beauty and artistry that can be achieved through these intricate designs.
Like veins of precious gemstones, geode-inspired designs symbolize the hidden depths waiting to be discovered.
The vibrant pigment effects serve as a testament to the infinite possibilities that can be achieved with epoxy resin.
Combining resin with wood creates a harmonious blending of nature and craftsmanship.
From stunning jewelry to captivating home decor, these techniques open up a world of creativity and customization, allowing you to craft truly unique and mesmerizing pieces.

