Imagine transforming your plain, lackluster tabletop into a mesmerizing work of art that captivates anyone who lays their eyes on it.
Liquid Glass Epoxy Tabletops offer you the opportunity to create a stunning surface that not only dazzles with its crystal-clear finish but also withstands the test of time.
But what makes these tabletops so special? How can you achieve that flawless, glass-like appearance?
In this discussion, we will explore the benefits, customization options, and step-by-step process of pouring epoxy on a tabletop.
Get ready to discover the secrets behind these captivating creations and unlock a world of endless possibilities for your space.
Key Takeaways
- Liquid glass epoxy tabletops provide a crystal-clear finish that enhances the beauty of any tabletop project.
- The deep pour capability eliminates the need for multiple pours, allowing for pours of 2-4 inches.
- The epoxy is self-leveling and has low viscosity, ensuring a smooth and flawless surface.
- Technical assistance is available for reliable and helpful support throughout the application process.
Benefits of Liquid Glass Epoxy Tabletops
What unique advantages does Liquid Glass Epoxy offer for tabletop applications?
Liquid Glass Epoxy, specifically the Liquid Glass® Deep Pour, is a Deep Pour Epoxy Casting Resin designed to provide the clearest finish and the deepest pour capability for tabletop applications. With its Superclear formulation, this clear epoxy resin ensures a crystal-clear finish that enhances the beauty of any tabletop project.
One of the key benefits of Liquid Glass Epoxy is its convenience. Unlike other epoxy resins, Liquid Glass® Deep Pour allows for deep pours of 2-4 inches, eliminating the need for multiple pours and saving you time and effort. Additionally, this clear epoxy resin is self-leveling and has a low viscosity, which means that bubbles rise to the surface and can be easily removed during the curing process. This ensures a smooth and flawless surface for your tabletop.
To achieve the best results with Liquid Glass Epoxy, it’s recommended to clean the surface with Isopropyl Alcohol before application. After the epoxy has cured, you can lightly sand the surface for a pristine finish. If you have any questions or need technical assistance with your tabletop project, you can contact us directly for reliable and helpful technical service.
Customization Options for Epoxy Tabletops
When it comes to customization options for epoxy tabletops, you have a wide range of choices to create a truly unique and personalized design.
A variety of color options to choose from allows you to match your tabletop to any existing decor or create a standout centerpiece.
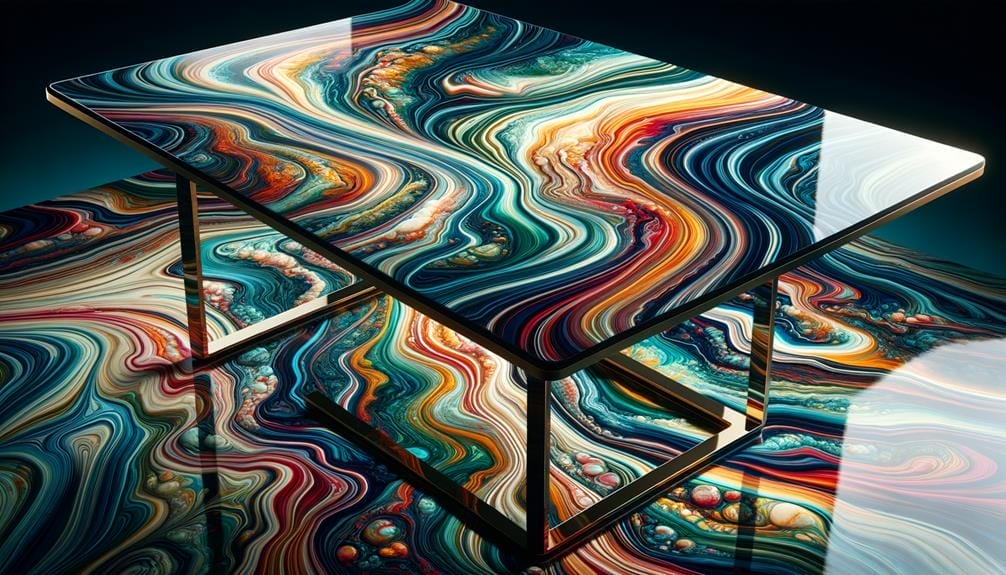
Additionally, you can experiment with different patterns, such as marbling or swirling effects, to add depth and visual interest to your tabletop.
Color Options for Epoxy Tabletops
There are a variety of customizable color options available for epoxy tabletops, allowing you to create unique and personalized designs. With the use of Superclear® Liquid Glass or Glass® Deep Pour Epoxy, you can achieve a deep pour capability that’s perfect for creating stunning color effects.
These color options can be added to the epoxy resin, offering flexibility in creating one-of-a-kind designs. Whether you want a clear and glass-like finish or vibrant and customized color schemes, epoxy tabletops can deliver. The deep pour capability ensures that the colors are evenly distributed and create a crystal clear finish.
Compatible with various pigment brands, you can experiment with different colors and effects to achieve your desired look. For technical assistance or further guidance, you can reach out to the technical service via Email.
Pattern Choices for Epoxy Tabletops
There is a wide range of pattern choices and customization options available to create captivating and visually stunning epoxy tabletops. With Liquid Glass® Epoxy, you can pour epoxy-casting resin in deep layers, allowing for intricate and unique designs. The crystal clear finish is achieved effortlessly, as the low viscosity of Liquid Glass® Epoxy allows bubbles to rise to the surface and disappear during the curing process. To ensure the best results, it is recommended to apply a seal coat before pouring the deep layers. This super clear, temperature-controlled epoxy provides a reliable solution for high-traffic areas, and its versatility allows you to create tabletops with various patterns such as marble, geode, or even ocean-inspired designs. When using Liquid Glass® Epoxy, measure 2 parts resin to 1 part hardener, stir the mixture well, and scrape the sides to eliminate any unmixed material. Wait until the pour is at the optimal curing temperature for your particular project, and then watch as your epoxy tabletop comes to life with the chosen pattern.
| Pattern Choices | Description |
|---|---|
| Marble | Create a luxurious and elegant look with swirls of color resembling natural marble. |
| Geode | Add a touch of organic beauty with the intricate patterns and vibrant colors of geode formations. |
| Ocean-inspired | Bring the calming and mesmerizing effect of the ocean with swirling blues and sandy beach tones. |
| Abstract | Unleash your creativity and design a one-of-a-kind tabletop with bold and unconventional patterns. |
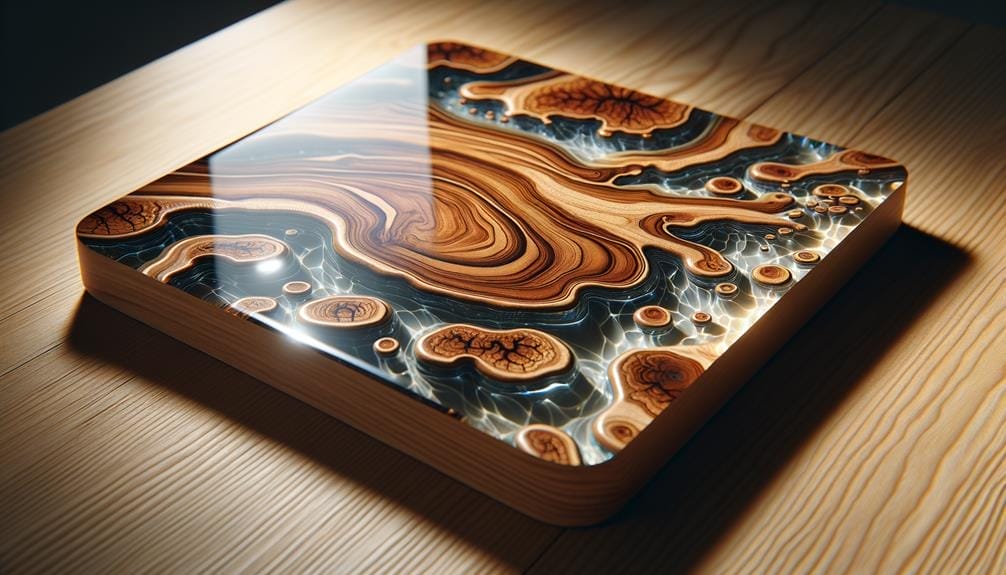
| Wood Grain | Embrace the warmth and natural beauty of wood with realistic wood grain patterns. |
How to Prepare the Surface for Epoxy Application
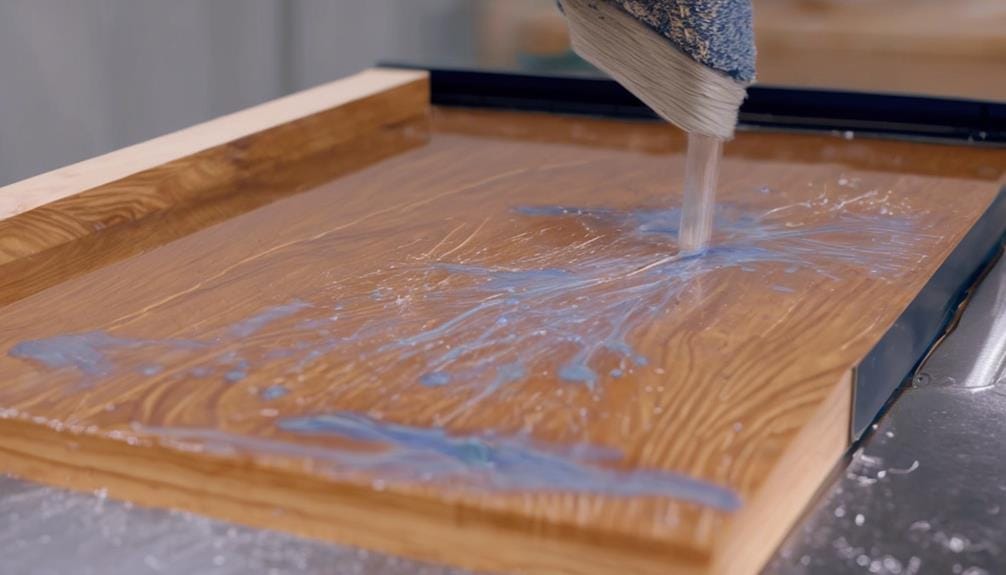
Before you begin applying epoxy to your tabletop, it’s crucial to prepare the surface properly for optimal results.
Start by thoroughly cleaning the surface to remove any dirt, dust, or debris that could interfere with adhesion.
Next, inspect the surface for imperfections and make any necessary repairs or fill in gaps.
Finally, sand the surface to create a rough texture, allowing the epoxy to adhere better and ensuring a strong bond.
Taking these steps will help you achieve a flawless finish for your liquid glass epoxy tabletop.
Clean the Surface
To ensure the optimal adhesion and durability of your liquid glass epoxy tabletop, it’s essential to clean the surface thoroughly prior to application. Follow these steps to prepare the surface for a flawless finish properly:
- Remove any dust, dirt, or debris from the surface using a soft cloth or vacuum cleaner. Make sure the surface is completely clean and free of any loose particles.
- Use a mild detergent or cleaner to wash the surface, removing any grease, oil, or stains. Rinse the surface thoroughly with clean water and allow it to dry completely.
- For deep cleaning, you can use denatured alcohol or acetone to remove any stubborn stains or residues. Apply the solvent to a clean cloth and gently wipe the surface in a circular motion.
Remove Any Imperfections
Are there any imperfections on the surface that need to be addressed before applying the epoxy? To achieve the best results with Liquid Glass Epoxy, it’s crucial to remove any imperfections from the surface.
This unmatched industry product offers convenience and a deep pour, perfect for creating stunning tabletops. Start by ensuring the surface is clean and dry. If there are any rough spots or bumps, use sandpaper to smooth them out. Sanding the surface not only removes imperfections but also provides a better bonding surface for the epoxy.
After sanding, clean the surface again to remove any dust or debris. By taking these steps, you’ll ensure a flawless finish and a durable tabletop that can withstand UV exposure.
Sand for Better Adhesion
Smooth out any rough spots or bumps on the surface by sanding, creating a textured foundation that enhances the adhesion of the epoxy for a flawless and durable finish. Here are three important factors to consider when sanding for better adhesion:
- Clean and Prepare: Before sanding, be sure to clean the surface with Isopropyl Alcohol to remove any dirt or debris. This ensures that the epoxy will bond properly to the sanded surface.
- Ideal Working Temperatures: It’s crucial to work in temperatures that are ideal for epoxy application. Following all mixing directions and working within the recommended temperature range will prevent issues such as soft spots or uneven curing.
- Deep Pour: If you have never poured a deep epoxy before, it’s important to note that the volume and depth of the pour vary depending on the epoxy you’re using. Measure the epoxy properly and stir for at least 5 minutes, scraping the sides to ensure a proper mix. Allow the epoxy to cure for several hours to ensure a strong bond, as the greater the volume, the longer the curing time needed.
Step-by-Step Guide to Pouring Epoxy on a Tabletop
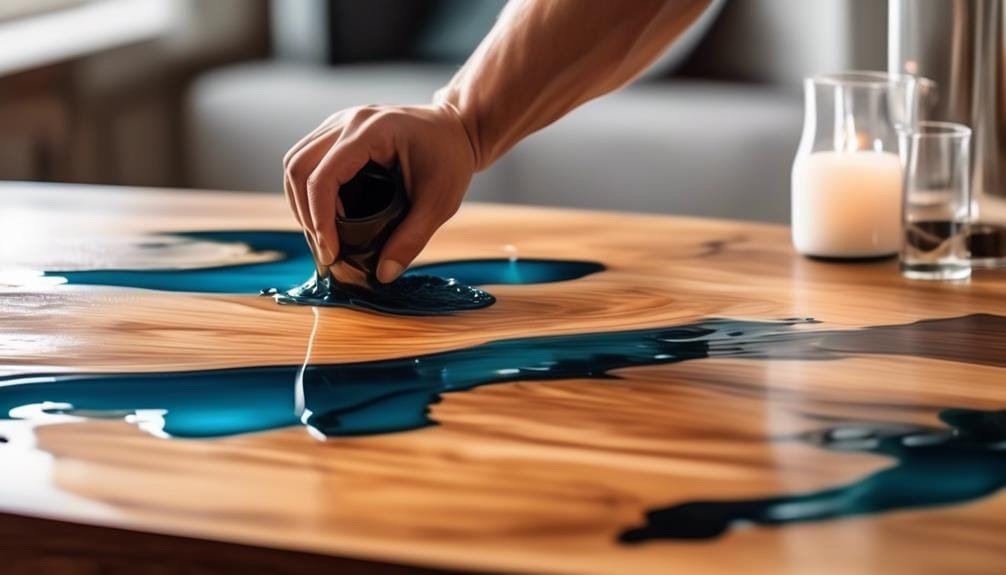
Prepare your tabletop for pouring epoxy by ensuring that the working environment is clean and dry. This is crucial to prevent any dust or debris from getting trapped in the epoxy and affecting the final result. Start by thoroughly cleaning the tabletop with a dry bucket and grit sandpaper to remove any dirt or imperfections. If there are any questions about the procedures or if you’re unsure about certain steps, it’s recommended that you contact the technical service for specific directions.
Next, mix the epoxy resin and activator in a 2:1 ratio. Use a drill mixer set on a low speed to mix the two components thoroughly. Make sure to scrape the bottom and sides of the container to ensure that all the resin and activator are properly mixed. This step is important to avoid any unincorporated epoxy in the final product.
Once the mixture is ready, pour it onto the tabletop in a slow and controlled manner. Use a stir stick to spread the epoxy evenly across the surface, making sure to cover all areas. If there are any air bubbles, use a heat gun to pass over the surface and remove them gently. Be careful not to stay in one area for too long, as this can risk scraping the epoxy.
After pouring the epoxy, please leave it to cure according to the instructions provided. The curing time varies depending on the ambient temperature, but a minimum of 24 hours is usually required. After this time, the epoxy should be tacky to the touch and ready for the next coat or for sanding and polishing.
If there are any technical questions or if further information is needed, the company’s technical service can be contacted via Email or phone. They’ll be able to provide support and answer any questions that individual customers may have.
Curing and Finishing Techniques for Epoxy Tabletops
To achieve a professional and flawless finish on your epoxy tabletop, proper curing and finishing techniques are essential. Follow these steps to ensure a crystal clear and stunning result:
- Allow the Epoxy to Cure Completely: After pouring the epoxy onto the tabletop, it’s crucial to let it cure undisturbed for the recommended time. The curing time can vary depending on the brand and type of epoxy used, so be sure to follow the manufacturer’s instructions. Keep in mind that curing time can also be affected by temperature, so maintain the recommended temperature range for optimal results.
- Scrape and Sand the Surface: Once the epoxy has cured, you may notice some imperfections or unevenness on the surface. Use a scraper or putty knife to remove any drips or excess epoxy. Then, sand the surface with fine-grit sandpaper to achieve a smooth finish. Take care not to sand too aggressively, as this can damage the epoxy.
- Apply a Finishing Coat: To enhance the clarity and depth of the epoxy tabletop, apply a finishing coat. This additional layer will provide extra protection and give your tabletop a glossy and polished look. Follow the manufacturer’s directions for mixing and applying the finishing coat, and ensure that the surface is clean and free from any debris before application.
Maintenance Tips for Long-lasting Epoxy Tabletops
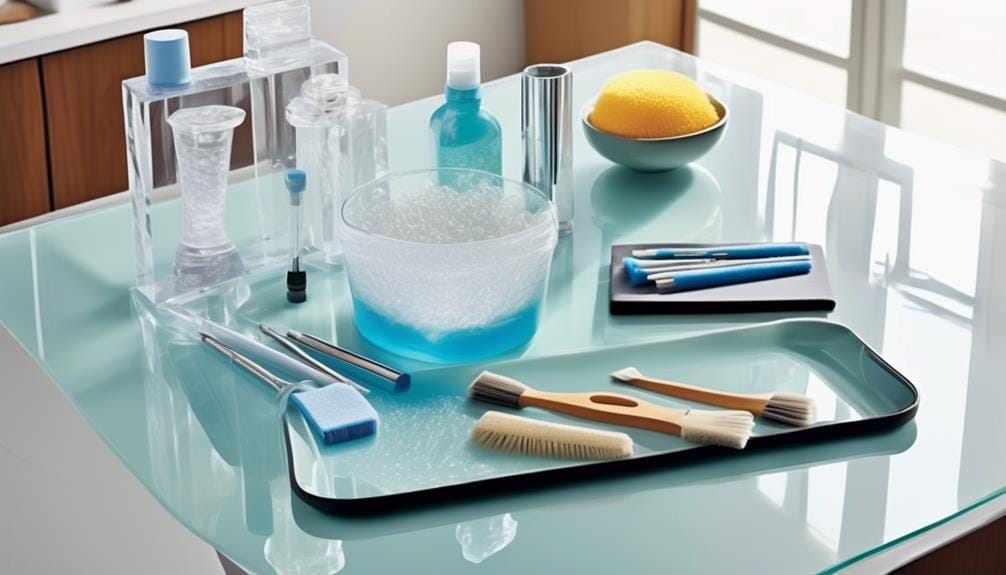
Regular maintenance is essential for preserving the longevity and beauty of your epoxy tabletop. To keep your tabletop clean, mix a mild soap and water solution and gently wipe the surface with a soft cloth. Avoid using abrasive materials that can scratch the epoxy finish. When cleaning, be sure to remove any dust or debris that may have accumulated.
It’s important to protect your tabletop from direct sunlight, as prolonged exposure can cause discoloration and reduce the clarity of the epoxy. To prevent heat damage, always use coasters or mats under hot dishes and glasses. Harsh cleaning chemicals should be avoided, as they can dull or damage the epoxy surface. Instead, periodically apply an epoxy-safe polish or wax to keep the tabletop looking glossy and well-maintained.
Proper maintenance also involves being mindful of temperature changes. Extreme temperatures can affect the resin and activator, causing them to mix improperly or harden too quickly. Lastly, avoid scraping or dragging sharp objects across the surface, as this can leave permanent marks.
Inspiring Ideas for Using Epoxy Tabletops in Different Spaces
If you’re looking for innovative ways to incorporate epoxy tabletops into different spaces, get ready to be inspired by these creative ideas. Epoxy tabletops, also known as liquid glass tabletops, offer a crystal clear finish that adds a touch of elegance to any room.
Here are three inspiring ideas for using epoxy tabletops in different spaces:
- Kitchen Countertops: Upgrade your kitchen with a stunning epoxy tabletop application on your countertops. The high-quality liquid glass epoxy creates a durable surface that’s resistant to scratches, stains, and heat. With the deep pour capability of 2-4 inches, you can achieve a seamless and thick tabletop that will be the centerpiece of your kitchen. Follow the application directions carefully, considering temperature and thickness requirements, to ensure a flawless finish. If you need assistance, technical support is readily available.
- Conference Tables: Impress your clients and colleagues with a modern and sophisticated conference table. The crystal clear finish of epoxy tabletops will make a statement in any boardroom. The bubble-less technology ensures a smooth and flawless surface, perfect for writing and presenting. With the convenience of the deep pour capability, you can create a thick tabletop that will withstand the demands of daily use.
- Outdoor Dining Tables: Take your outdoor entertaining to the next level with an epoxy tabletop on your dining table. The durable and weather-resistant properties of liquid glass epoxy make it suitable for outdoor use. Whether you have a wooden or metal table, the epoxy can be applied to create a stunning and long-lasting surface. Enjoy your meals in style, knowing that your tabletop is protected and easy to clean.
With these inspiring ideas, you can transform your spaces with the beauty and functionality of epoxy tabletops. Let your creativity shine and create a unique and personalized touch in every room.
Frequently Asked Questions
Is Liquid Glass Epoxy Good?
Liquid glass epoxy is excellent. It offers durability, versatile application techniques, cost-effectiveness, and customization options. Consider heat resistance, maintenance tips, and the environmental impact. Compare DIY vs professional installation. Also, explore longevity and aging effects.
Is Epoxy Resin the Same as Liquid Glass?
Is epoxy resin the same as liquid glass? No, epoxy resin is a type of adhesive that uses a combination of chemicals to create a strong bond. At the same time, liquid glass refers to the application of epoxy for a glossy, glass-like finish.
Is Epoxy Resin Good for Table Tops?
Yes, epoxy resin is good for table tops. It offers durability, heat resistance, and a range of surface finish options. Maintenance requirements are low, and design versatility is high. DIY installation is possible, but professional installation ensures the best results. The environmental impact is minimal, but potential health hazards should be considered. Epoxy resin provides a long-lasting and cost-effective solution for tabletops.
Does Liquid Glass Dry Clear?
Yes, liquid glass epoxy dries crystal clear, allowing you to achieve flawless finishes in various applications. Its low-viscosity formulation effortlessly eliminates bubbles, ensuring a perfect result without extra steps.
Conclusion
In conclusion, liquid glass epoxy tabletops offer a multitude of benefits, including their stunning appearance, durability, and customization options. By following the proper preparation and pouring techniques, these tabletops can provide a high-quality, long-lasting surface for various projects.
For example, imagine a restaurant using a liquid glass epoxy tabletop for their bar counter. Not only would it create a visually appealing and unique focal point, but it would also withstand constant use and potential spills, making it a practical and stylish choice.


