Did you know that nearly 70% of liquid glass epoxy applications encounter some form of troubleshooting issue? Whether you're a professional or a DIY enthusiast, it's important to be equipped with the knowledge to resolve these common problems.
From resin not hardening to adhesive issues and discoloration, understanding the causes and solutions can save you time, money, and frustration. In this discussion, we will explore some of the most common troubleshooting issues when working with liquid glass epoxy applications, providing you with practical tips and techniques to overcome these challenges.
So, if you've ever encountered a sticky film on the surface or struggled with air bubbles, keep reading to discover how to achieve flawless results.
Key Takeaways
- Proper mixing ratios are crucial for successful epoxy application to ensure the resin cures properly and doesn't take longer to harden.
- Minimize air bubbles by mixing the resin carefully and slowly, pouring in thin layers, and using a heat gun to remove any remaining bubbles.
- Achieve an even coating thickness by preparing the surface properly, spreading the epoxy evenly and thinly, and applying additional epoxy to fill in any missed spots.
- Prevent yellowing or discoloration by cleaning the surface thoroughly, spreading the epoxy evenly and smoothly, and paying attention to the ambient temperature during application.
Mixing Ratios
To ensure proper application, it's crucial to follow the correct mixing ratios when working with liquid glass epoxy. The mixing ratios dictate the amount of epoxy resin and activator that should be combined for a successful pour. For deep pours, the recommended ratio is 2 parts resin to 1 part activator. It's important to measure accurately and maintain the correct proportions to avoid any issues with resin hardening or sticking.
When mixing the resin and activator, stir the mixture thoroughly for at least 5 minutes. This ensures that both components are well-blended and will result in a consistent and strong epoxy. After the initial 5 minutes, transfer the mixture to a new container and continue stirring for an additional 3 minutes. This step helps to eliminate any unmixed portions and ensures a homogenous mixture.
Not following the correct mixing ratios can lead to problems during the application process. If the ratios are off, the epoxy may not cure properly or may take longer to harden. This can result in a tacky or sticky surface that isn't ideal for the intended application. Additionally, inaccurate mixing can cause bubbles to form in the epoxy, leading to an uneven and unattractive finish.
To avoid these issues, always measure accurately and clean all tools and containers thoroughly before mixing the epoxy. It's also important to work within the recommended cure time and working time to achieve the best results. By following the correct mixing ratios, you can troubleshoot and prevent common problems associated with liquid glass epoxy applications.
Air Bubbles
Using a heat gun during the curing process can help remove air bubbles in liquid glass epoxy applications. Air bubbles can be a common issue when working with epoxy, but with the right techniques, you can achieve a smooth and bubble-free surface.
Here are some tips to help you eliminate air bubbles effectively:
- Mixing: When preparing the epoxy, make sure to mix the resin carefully and slowly. Mixing too quickly can introduce air into the mixture, leading to bubbles in your final product. Take your time and stir gently to minimize the risk of air entrapment.
- Pouring: When pouring the epoxy onto your desired surface, use a sweeping motion to spread the epoxy evenly. This helps to push any trapped air bubbles towards the edges, where they can escape more easily. Be sure to pour in thin layers, as thicker layers are more prone to trapping air.
- Heat Gun: After pouring the epoxy, you can use a heat gun on a low setting to remove any remaining air bubbles. Hold the heat gun a few inches above the surface and move it in a slow, sweeping motion. The heat will help the bubbles rise to the surface and pop, leaving you with a clean and bubble-free finish.
Uneven Coating Thickness
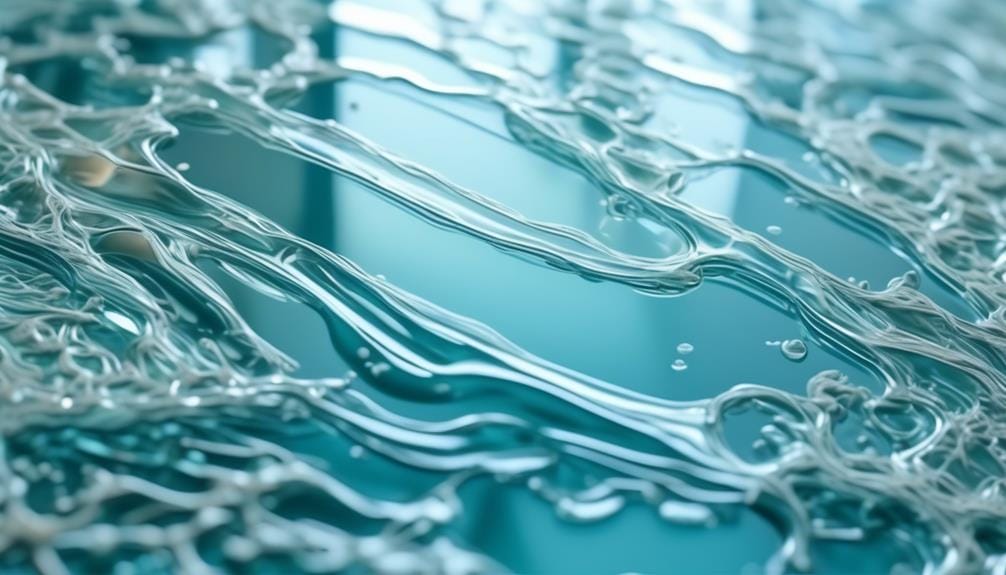
Achieving a smooth and uniform coating thickness is essential for a successful liquid glass epoxy application. To ensure an even coating, start by preparing the surface properly. Make sure it's clean and free from any dust or debris that could affect the application. If the surface is rough or uneven, lightly sand it with 320 grit sandpaper to create a more uniform surface for the epoxy to adhere to.
When applying the epoxy, it's important to spread it evenly and thinly. Using a foam brush or a leveling tool can help you achieve this. Start by applying a thin coat of epoxy and spread it evenly across the surface. Be sure to scrape the sides of the container to fully utilize the epoxy. If you notice any missed spots, apply additional epoxy to fill them in and create a uniform coating.
To prevent air bubbles and achieve an even coating thickness, it's crucial to use a heat source. A heat gun can help remove any trapped air bubbles and level out the epoxy. After the initial coat, allow it to cure and then apply a seal coat to further enhance the coating thickness and durability.
For deep pour projects, consider pouring multiple thin coats instead of one thick layer. This will help prevent uneven coating thickness and allow each layer to cure properly.
Yellowing or Discoloration
When it comes to liquid glass epoxy applications, one common issue that can arise after achieving a smooth and uniform coating thickness is yellowing or discoloration. This can be quite frustrating, but there are troubleshooting steps you can take to address this problem:
- Clean the surface thoroughly before applying the epoxy. Any dirt, dust, or contaminants on the surface can affect the clarity and color of the epoxy.
- When applying the epoxy, make sure to sweep back and forth in a smooth and even motion. This will help to spread the epoxy evenly and minimize the chances of yellowing or discoloration.
- Pay attention to the ambient temperature during the application process. Extreme temperatures can impact the curing time and affect the final appearance of the epoxy.
Adhesion Issues
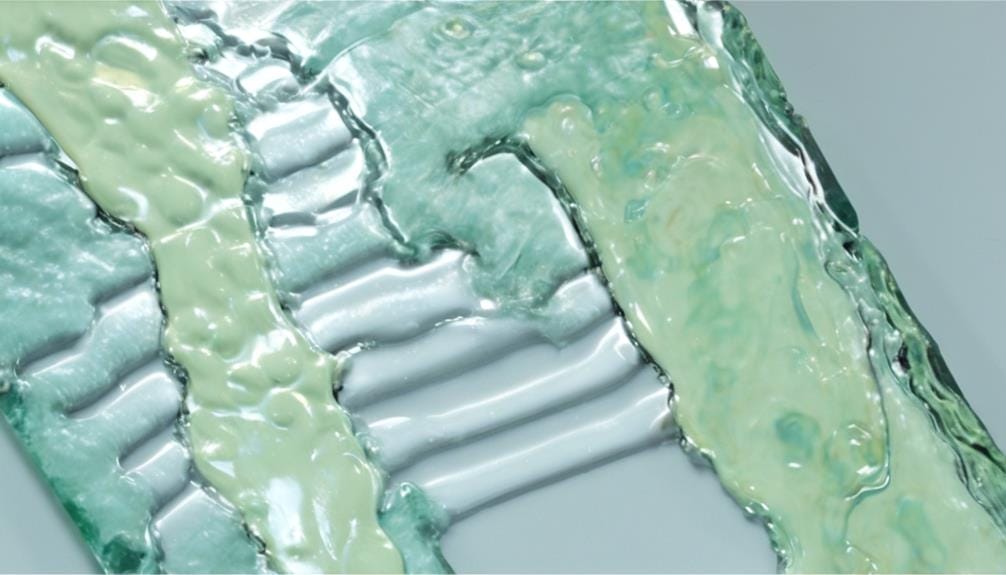
To address adhesion issues in liquid glass epoxy applications, ensure that you follow the correct usage ratio to properly catalyze the resin. Incorrect ratios can affect the resin's ability to cure and bond effectively to the surface. Another common cause of poor adhesion is a porous surface. If the surface is not properly cleaned or sealed, the resin may not stick well. In such cases, applying a second layer of resin or using related catalysts can help improve adhesion.
To help troubleshoot adhesion issues, refer to the following table:
| Problem | Possible Causes | Solutions |
|---|---|---|
| Resin not sticking well | Porous surface | Apply a second layer of resin or use related catalysts |
| Resin not hardening | Incorrect usage ratio | Follow the correct ratio to catalyze the resin properly |
| Sticky film on the surface | Moisture or temperature changes | Wipe the surface with a sponge soaked in hot water and work in a controlled indoor environment |
| Resin losing shine | Climatic conditions | Use an external heat source to remove moisture and foster polymerization |
Curing Problems
Are you experiencing issues with slow curing times, uneven curing patterns, or a sticky or tacky finish when using liquid glass epoxy?
These are common problems that can arise during the curing process. By understanding the potential causes and troubleshooting techniques, you can ensure a successful and professional-looking epoxy application.
Slow Curing Times
Slow curing times can be caused by a variety of factors in liquid glass epoxy applications. Factors such as low temperatures, the addition of additives after mixing, pouring another layer too soon, incorrect mixing ratios, and using excessive doses of the epoxy resin can all contribute to slow curing times.
To troubleshoot this issue, ensure that your working environment is clean and provides a dust-free environment for the epoxy to cure. Use a stir stick to thoroughly mix the resin and catalyst according to the correct ratios provided by the manufacturer. Once mixed, pour into a clean and dry surface to cure.
Uneven Curing Patterns
Uneven curing patterns can be caused by factors such as low temperatures, incorrect mixing, or the addition of additives after the resin and catalyst have been mixed.
To troubleshoot this issue, first check for low temperature conditions that might be affecting the curing time of the resin. If the temperature is too low, consider using a heat gun to warm up the surface and accelerate the curing process.
Another possible cause for uneven curing patterns is an uneven distribution of resin. Make sure to pour the resin evenly and use a clean surface to ensure proper adhesion. If the surface is porous or rough, it may require a second layer of resin to achieve a smooth and even finish.
Deep pour applications may also require additional curing time to avoid uneven curing patterns.
Sticky or Tacky Finish
If you're experiencing a sticky or tacky finish on your liquid glass epoxy application, there are a few potential causes to consider:
- The surface may not be completely dry before applying the epoxy. Make sure to thoroughly clean and dry the surface before coating it with the epoxy.
- Using a heat gun during the curing process could lead to a sticky finish. Try limiting the use of heat guns and allow the epoxy to cure naturally.
- Unclean surfaces can also result in a tacky finish. Use Isopropyl Alcohol to clean the surface before applying the epoxy.
Frequently Asked Questions
Why Is My Epoxy Not Working?
Your epoxy may not be working due to common mistakes like incorrect mixing ratios, pouring another layer before it hardens, or low temperatures. Troubleshoot by following tips for a smooth finish and understanding humidity's role in curing.
Why Is My Epoxy Not Adhering?
Common epoxy application mistakes such as using unrelated catalysts or unevenly distributing resin can affect epoxy adhesion. To improve bonding strength, properly prepare the surface, troubleshoot curing problems, control humidity, and prevent air bubbles.
How Long Does It Take for Liquid Glass Epoxy to Cure?
Liquid glass epoxy can take anywhere from 48-72 hours to fully cure. Factors like temperature, pour thickness, and a dust-free environment can affect curing time. To speed up curing, maintain a temperature above 75°F and use a heat gun to remove air bubbles.
What Temperature Should Liquid Glass Deep Pour Epoxy Be?
To achieve the best results with liquid glass deep pour epoxy, it's important to work in a temperature range of 68-77°F. Avoid excessively low temperatures and use an oscillating fan to distribute heat evenly.
Conclusion
In conclusion, troubleshooting liquid glass epoxy applications can be a challenging but rewarding process. By understanding and addressing common issues such as mixing ratios, air bubbles, adhesion problems, and curing difficulties, you can achieve the desired results.
Remember to prepare the surface properly, use the right tools and techniques, and maintain optimal conditions for the epoxy to cure. With patience and perseverance, you'll be able to overcome any obstacles and create beautiful, durable epoxy applications.

