Are you tired of the same old DIY crafts that lack that wow factor? Look no further than liquid glass epoxy.
This remarkable resin takes your crafting game to a whole new level, adding a touch of magic and brilliance to your creations.
But what exactly is liquid glass epoxy, and how can it transform your DIY projects? Stay tuned as we delve deeper into the world of liquid glass epoxy and uncover its incredible benefits, tips, and tricks for achieving stunning results.
Key Takeaways
- Liquid Glass Epoxy is a high-performance resin that creates a crystal-clear finish when poured into deep layers.
- It provides long-lasting protection and enhances the durability of various projects such as countertops, river tables, and artwork.
- The epoxy is self-leveling and easy to pour, making it versatile for different materials and able to withstand high temperatures and heavy use.
- The epoxy offers special effects and customization options, including the ability to create unique effects, mix metallic pigments for a luxurious finish, and utilize its fast setting feature for multiple layers and intricate details.
What Is Liquid Glass Epoxy?
Liquid Glass Epoxy is a high-performance resin that can be poured in deep layers, providing a crystal clear finish for a wide range of applications, such as countertops, river tables, and artwork. This premium epoxy, also known as Liquid Glass® Deep Pour Epoxy or Table Top Epoxy, is specifically designed to create stunning, glossy surfaces that are both durable and visually appealing. With its low-viscosity formulation, this epoxy allows for easy pouring and self-leveling, ensuring a smooth and flawless finish.
One of the standout features of Liquid Glass Epoxy is its ability to be poured in deep layers of 2-4 inches. This makes it ideal for projects that require a thicker pour, such as river tables or countertops. Unlike other epoxy resins, Liquid Glass Epoxy is specially formulated to cure without trapping air bubbles. As it cures, any bubbles that do form rise to the surface, resulting in a bubble-free and crystal-clear finish without the need for additional steps like torching or sanding.
Using Liquid Glass Epoxy is a breeze, thanks to its user-friendly nature. Its long working time gives you ample time to pour and spread the epoxy, ensuring smooth and even coverage. Whether you’re a seasoned DIY enthusiast or a beginner, this epoxy is designed to be easy to use, allowing you to achieve professional-looking results with minimal effort.
Benefits of Using Liquid Glass Epoxy
When it comes to the benefits of using Liquid Glass Epoxy for your DIY crafts, durability is key. This epoxy provides long-lasting protection, ensuring your projects withstand the test of time.
Additionally, its versatility makes it suitable for various materials, allowing you to unleash your creativity on different surfaces.
And let’s not forget the crystal-clear finish it provides, adding a touch of elegance and sophistication to your creations.
Durability: Long-Lasting Protection
With its exceptional durability and long-lasting performance, liquid glass epoxy is the perfect choice for those seeking a reliable and resilient solution to protect and enhance various surfaces and projects.
Liquid Glass Epoxy provides a deep pour capability of 2-4 inches, allowing for thicker pours that offer unmatched convenience and performance. Whether you’re working on a Clear Table Top Epoxy or a Deep Pour Epoxy Casting, this epoxy is absolutely unparalleled in its ability to withstand the test of time.
It can handle high temperatures and heavy use, making it ideal for high-traffic areas such as countertops and floors. This top epoxy coating ensures a smooth and flawless surface as it cures, effortlessly allowing bubbles to rise to the surface, resulting in a bubble-free and crystal-clear finish every time.
Its long-lasting protection guarantees that your projects will remain in pristine condition for years to come.
Versatility: Suitable for Various Materials
Using liquid glass epoxy opens up a world of possibilities, as its versatility allows for stunning creations on various materials. Here’s how liquid glass epoxy can transform different surfaces:
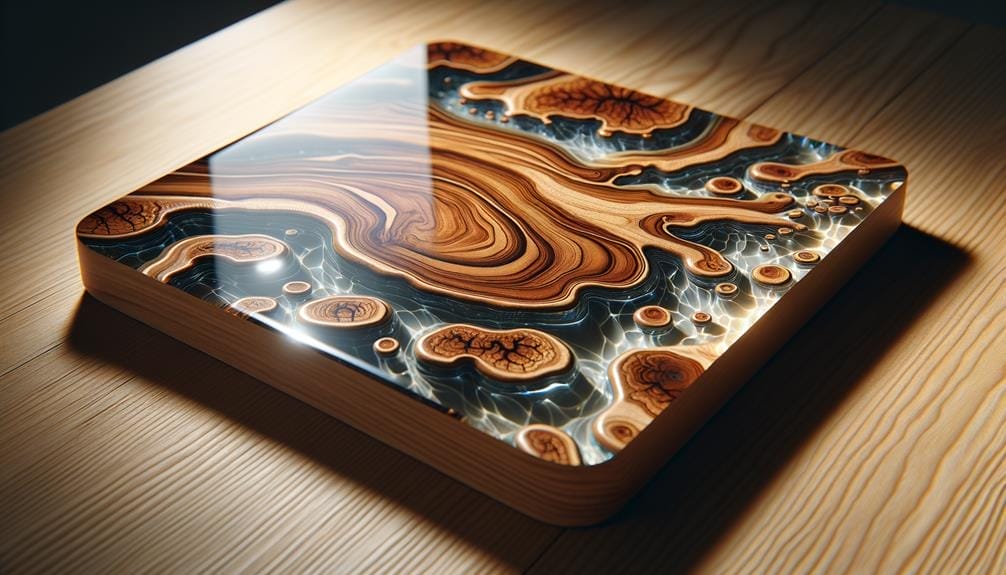
- Wood: Liquid glass epoxy can enhance the natural beauty of wood by providing a clear, glossy finish. It can be used to create epoxy coatings for wood, protecting it from moisture, stains, and scratches. The epoxy can also be mixed with different color flakes to add a unique touch to wooden surfaces.
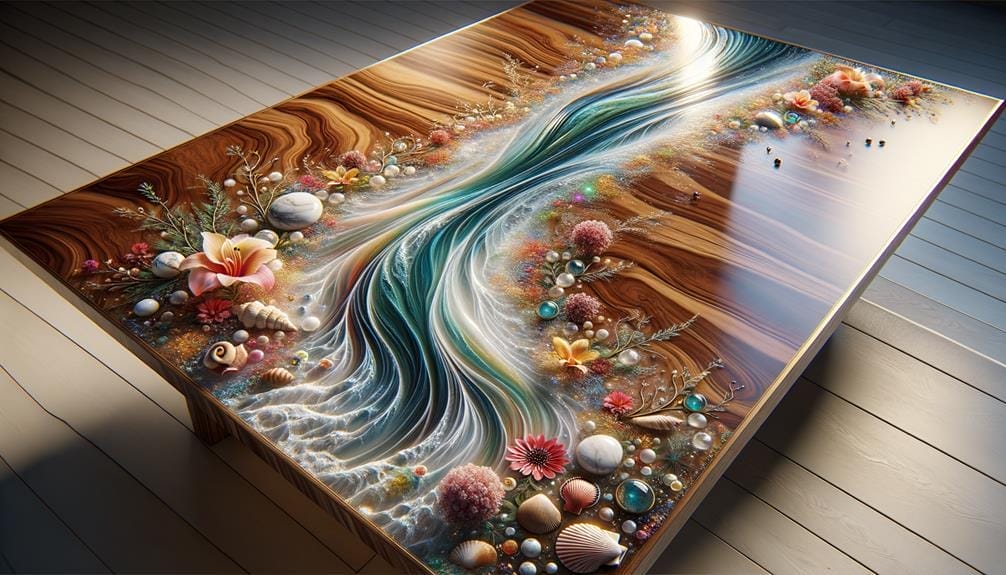
- River Tables: Liquid Glass® Deep Pour epoxy is perfect for creating mesmerizing river tables. Its self-leveling properties ensure a smooth and seamless finish, capturing the flowing effect of a river. The clear transparency of the epoxy showcases the beauty of the wood grains and any added embellishments.
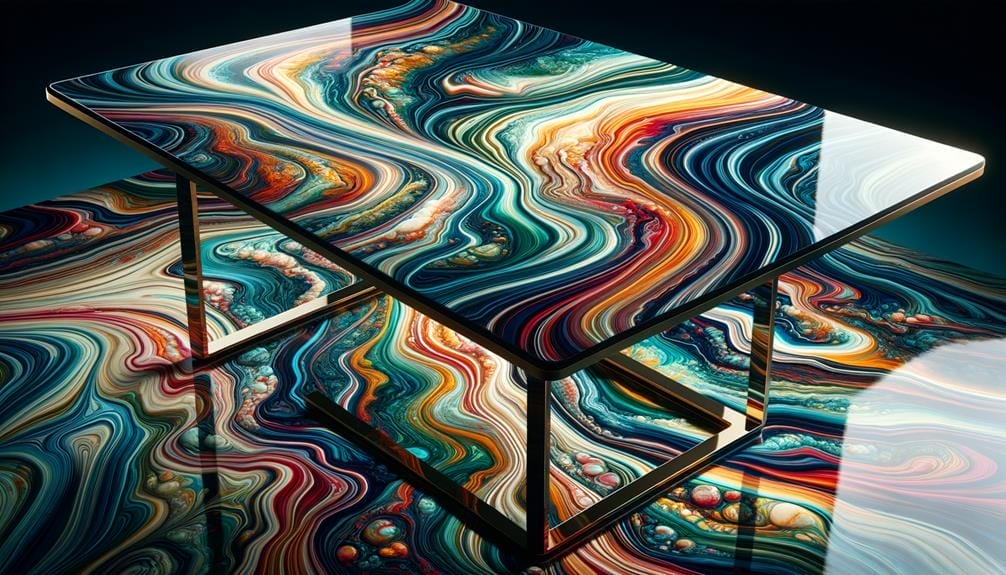
- Artwork: Liquid glass epoxy is a popular choice among artists for creating stunning resin artwork. Its clarity and depth bring out vibrant colors and intricate details, resulting in visually striking pieces.
- Industrial Use: Liquid glass epoxy is widely used in the industry for its convenience and exceptional finish. It can be applied to various materials like concrete, metal, and plastic, providing a durable and glossy coating that withstands heavy use.
Liquid glass epoxy’s versatility makes it an excellent choice for DIY crafts and professional projects, allowing you to transform different materials into beautiful, long-lasting creations.
Clarity: Crystal-Clear Finish
To achieve a professional and high-quality result, liquid glass epoxy provides a crystal-clear finish that enhances the beauty of any project. This super clear epoxy offers unparalleled clarity, ensuring that your DIY crafts shine with brilliance.
Whether you’re creating stunning river tables, unique countertops, or captivating artwork, the deep pour capability of 2-4 inches allows you to achieve striking depth and dimension.
The liquid glass epoxy is easy to mix and work with, making it suitable for beginners and experienced crafters alike. Not only does it provide exceptional durability, but it also has a quick cure time, allowing you to enjoy your finished project in no time.
With its crystal-clear finish, the liquid glass epoxy is the perfect choice for adding a touch of elegance and sophistication to your DIY crafts.
Choosing the Right Liquid Glass Epoxy for Your Project
For optimal results in your DIY crafts, it’s crucial to select the perfect liquid glass epoxy that meets the specific requirements of your project. Here are some key factors to consider when choosing the right liquid glass epoxy:
- Consider the depth of your project: If you’re working on projects that require pours of 2-4 inches, such as creating river tables or filling voids in wood tops, choose a deep pour epoxy like SuperClear® Liquid Glass® Deep Pour Epoxy. This will ensure a consistent and smooth finish throughout your project.
- Opt for bubble-less technology: Look for low-viscosity formulations like Liquid Glass® Epoxy that allow bubbles to rise to the surface and escape, resulting in a flawless and bubble-free finish. This is especially important when working on crafts that require crystal-clear clarity.
- Support local manufacturing: Choose a liquid glass epoxy made in the USA, like Liquid Glass® Epoxy made by Fiberglass Coatings, Inc. This not only supports the local industry but also ensures high-quality standards and consistency in the product.
- Consider kit size and convenience: To save time and eliminate the need for multiple pours, select a deep-pour epoxy like Liquid Glass® Deep Pour Epoxy. This will provide you with a clear finish and convenience in handling larger projects.
Preparing Your Surface for Liquid Glass Epoxy

Before you start applying Liquid Glass Epoxy, it’s crucial to prepare your surface properly.
Begin by thoroughly cleaning and sanding the surface to remove any dirt, dust, or imperfections.
Next, apply a primer coat to enhance adhesion and prevent any air bubbles from forming.
Lastly, make sure you have proper ventilation in the area to ensure a successful and safe application.
Taking these steps will help ensure a flawless finish for your DIY crafts.
Surface Cleaning and Sanding
Thoroughly cleaning and sanding your surface is essential in achieving a flawless and long-lasting epoxy finish with Liquid Glass Epoxy. Follow these steps to prepare your surface for the application:
- Clean the surface: Remove any dust, dirt, grease, or contaminants that may interfere with the adhesion of the epoxy. Wipe it down with a clean cloth to ensure a pristine surface.
- Sand the surface: Use a high-grit sandpaper to create a rough texture. This will allow the epoxy to adhere more effectively, resulting in a stronger bond and a smoother finish.
- Achieve a smooth surface: Continue sanding until you have a smooth and even surface. This will ensure optimal adhesion and a professional-looking finish.
- Remove residual dust: After sanding, wipe down the surface again with a clean cloth to remove any leftover dust or debris. This step is crucial in preventing imperfections in the final epoxy coating.
Applying Primer Coat
To ensure a flawless and durable epoxy finish with Liquid Glass Epoxy, take the necessary steps to prepare your surface, starting with applying a primer coat. The primer coat creates a clean, dry, and even base for the epoxy to adhere to. Before applying the primer coat, make sure to sand the surface to ensure proper adhesion. Use a brush or roller to apply the primer coat evenly, making sure to cover the entire surface. Allow the primer coat to fully dry before moving on to the next step. This will help seal and prepare the surface for a smooth and successful epoxy application.
| Superclear Liquid | Cure Time | Deep Pour |
| Tacky After 24 Hours | Soft Spots | Applying Primer Coat |
| Liquid Glass Epoxy | DIY Crafts |
Ensuring Proper Ventilation
Ensure a safe and comfortable working environment by properly ventilating your space when preparing your surface for Liquid Glass Epoxy application. Proper ventilation is crucial to prevent the buildup of harmful fumes and create a breathable workspace. Here’s how you can ensure proper ventilation:
- Use fans or open windows: Create a steady airflow to dissipate any fumes or odors during the application process. This will help keep the air fresh and reduce the risk of inhaling harmful vapors.
- Wear a respirator or mask: Protect yourself from inhaling potentially harmful vapors by wearing a respirator or mask. This will provide an additional layer of safety while working with Liquid Glass Epoxy.
- Avoid confined spaces: Work in a well-ventilated area with enough space to move around comfortably. Stay away from confined spaces or areas with poor ventilation to minimize the risk of exposure to harmful fumes.
- Monitor the curing process: After applying the Liquid Glass Epoxy, keep an eye out for any soft spots or tacky areas. Proper ventilation can help with the curing process and ensure a smooth and durable finish.
Step-by-Step Guide to Applying Liquid Glass Epoxy
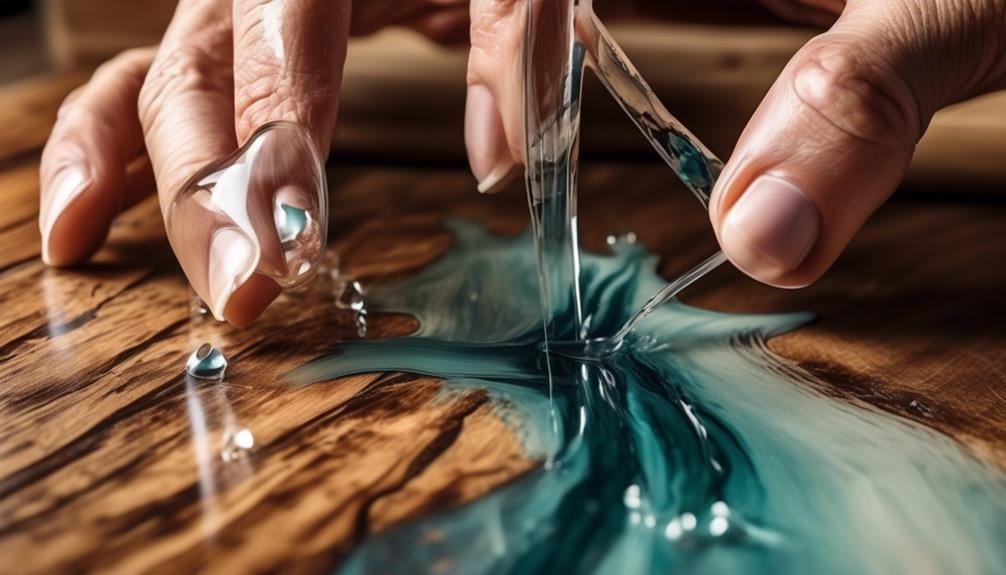
For a flawless application of Liquid Glass Epoxy, follow these step-by-step instructions to achieve a professional-grade finish.
First, ensure that your work area is clean, dry, and free from dust or debris. This will help prevent any imperfections from forming in your final epoxy coat.
Next, mix the Liquid Glass Epoxy according to the manufacturer’s instructions. Be sure to measure the resin and hardener accurately for the best results. Use a clean mixing container and stir the two components together thoroughly for at least two minutes. This will ensure proper bonding and eliminate any streaks or inconsistencies.
Once the epoxy is mixed, pour it onto your prepared surface. Use a brush or roller to spread the epoxy evenly, making sure to cover the entire area. If you’re working with a deep pour, you may need to pour the epoxy into layers, allowing each layer to cure before adding the next.
After applying the epoxy, use a heat gun or torch to remove any air bubbles that may have formed during the mixing and pouring process. Hold the heat source a few inches above the surface and move it in a sweeping motion to pop the bubbles.
Tips and Tricks for Achieving a Flawless Finish
To achieve a flawless finish with Liquid Glass Epoxy, you need to master the right application techniques, choose the right surface, and prevent air bubbles.
When applying the epoxy, make sure to follow the instructions carefully and apply it evenly using a brush or roller.
Select a smooth and clean surface to ensure a smooth and professional-looking finish.
Lastly, take precautions to prevent air bubbles by using a heat gun or torch to remove any trapped air, ensuring a crystal clear result.
Application Techniques
Achieving a flawless finish with liquid glass epoxy is made easier by incorporating effective application techniques that ensure a professional-looking result. Here are some tips and tricks to help you achieve a flawless finish with your DIY crafts:
- Use a heat gun: Before pouring the epoxy mixture, use a heat gun to remove any bubbles. This will help create a smooth and bubble-free surface.
- Maintain a clean and dry environment: Make sure your workspace is clean and free from dust or debris. This will prevent any imperfections from appearing in your finished product.
- Apply a seal coat: For deep pours, it’s recommended to apply a seal coat before pouring the epoxy. This will prepare the surface and enhance the final clarity of the epoxy.
- Mix the epoxy properly: When doing deep pours of 2-4 inches, make sure to mix the resin and activator in a 2:1 ratio. This will ensure optimal performance and clarity.
Choosing the Right Surface
When it comes to achieving a flawless finish with liquid glass epoxy, selecting the right surface is crucial. Whether you’re working on deep river tables, countertops, or artwork, choosing the correct surface will ensure unmatched industry performance and convenience.
Chill Epoxy Products offers a deep pour 24 Hour Epoxy that’s perfect for these applications. It has a low-viscosity formulation, allowing bubbles to effortlessly rise to the surface, resulting in a smooth and bubble-less finish. Additionally, this epoxy provides the highest UV yellowing resistance, making it ideal for outdoor applications. It offers exceptional protection against yellowing and fading, ensuring your project maintains its clear finish for years to come.
Preventing Air Bubbles
For a flawless finish and to prevent air bubbles, utilizing the low-viscosity formulation of Liquid Glass® Epoxy is essential. Here are some tips and tricks to help you achieve a bubble-free and crystal-clear finish:
- Use a low-viscosity epoxy: Liquid Glass® Epoxy has a low-viscosity formulation, which allows bubbles to rise to the surface as it cures effortlessly.
- Mix thoroughly: Ensure that the epoxy and hardener are mixed thoroughly to eliminate any air pockets that could cause bubbles.
- Apply in thin layers: Pouring the epoxy in thin layers helps to minimize the chances of air bubbles forming.
- Use a heat gun or torch: Gently pass a heat gun or torch over the surface of the epoxy to burst any remaining bubbles.
Adding Pigments and Dyes to Liquid Glass Epoxy
To achieve stunning and vibrant results, explore the endless possibilities of adding pigments and dyes to your Liquid Glass Epoxy creations. The Superclear deep liquid glass epoxy is the perfect medium for incorporating color and effects into your DIY crafts. By adding pigments and dyes, you can customize your projects and create unique designs that will truly stand out.
What makes Liquid Glass Epoxy so versatile is its compatibility with any brand of pigment. This means you have the freedom to choose from a wide range of colors and effects to suit your preferences. Whether you want a bold and bright look or a subtle and understated finish, the epoxy will deliver consistent and reliable results every time.
Adding pigments and dyes to Liquid Glass Epoxy isn’t only limited to small repairs, but it’s also perfect for large-scale projects such as desk pours and river tables. Imagine creating a stunning river table with shades of blue and green, resembling a flowing river. Or perhaps you want to create ocean-inspired art with swirls of turquoise and white. The possibilities are truly endless.
Creating Unique Effects With Liquid Glass Epoxy
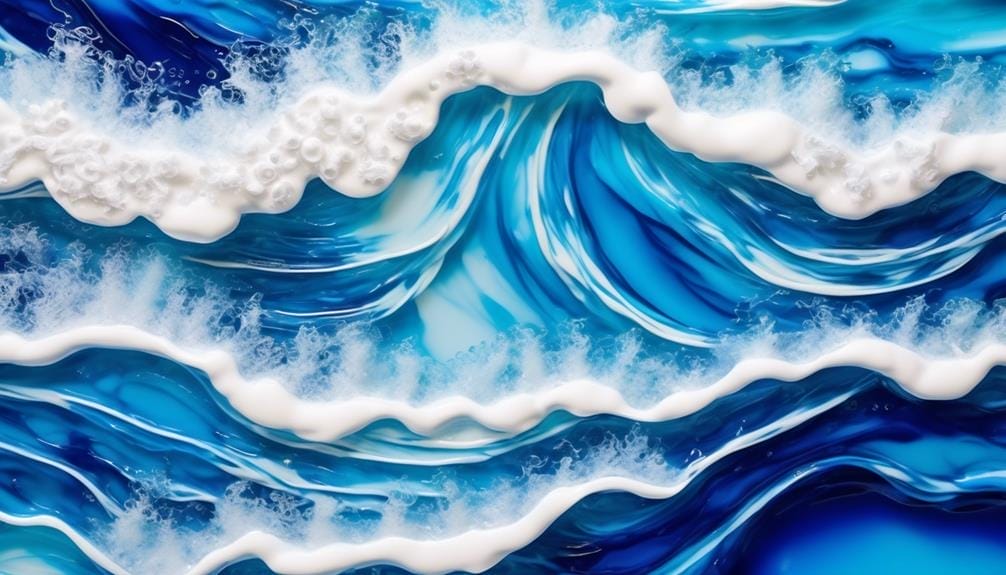
With the endless possibilities of adding pigments and dyes to Liquid Glass Epoxy, you can now take your DIY crafts to the next level by creating unique and mesmerizing effects that will captivate anyone who lays eyes on your creations.
Here are some ways you can achieve these stunning effects:
- Metallic Pigments: Mix in metallic pigments to create a luxurious and eye-catching finish. Whether you want a shimmering gold or a sleek silver, these pigments will add a touch of sophistication to any project.
- Deep Pour: Liquid Glass Epoxy offers deep pour capabilities ranging from 2-4 inches, allowing you to create stunning river tables, countertops, and artwork. Imagine a table with a crystal-clear river running through it, showcasing the natural beauty of wood or colorful objects suspended in the epoxy.
- Fast Setting: Liquid Glass Epoxy cures quickly, allowing you to see the results of your creativity in no time. This fast-setting feature is perfect for those who want to create multiple layers or add intricate details to their crafts.
- Clear Finish: The clear finish of Liquid Glass Epoxy ensures that your unique effects are showcased in their full glory. With its bubble-less technology, you can achieve a smooth and flawless finish without any additional steps.
Unleash your creativity and let Liquid Glass Epoxy transform your DIY crafts into extraordinary works of art. Get ready to impress with your one-of-a-kind creations that will leave everyone in awe.
Curing and Drying Times for Liquid Glass Epoxy
Liquid Glass Epoxy offers a curing and drying process that ensures your DIY crafts reach their full potential in just 48-72 hours, allowing you to admire and showcase your stunning creations in no time.
The curing time of Liquid Glass Epoxy is dependent on various factors, such as temperature and humidity. However, under normal conditions, the epoxy typically takes around 48-72 hours to cure fully. This fast setting time allows you to move on to the next steps of your project quickly.
When it comes to drying time, Liquid Glass Epoxy is designed to dry within the same timeframe as the curing process. This means that you won’t have to wait for an extended period to see the results of your hard work. The clear finish of Liquid Glass Epoxy enhances the beauty of your crafts, giving them a professional and polished look.
Whether you’re creating a deep pour project or adding metallic pigments to your epoxy, Liquid Glass Epoxy ensures consistent and reliable results. The epoxy’s thixotropic polyurethane paste formulation allows for easy application and self-leveling properties, ensuring a smooth and flawless finish.
With Liquid Glass Epoxy, you can confidently create DIY crafts, knowing that the curing and drying times are optimized for convenience and efficiency. So go ahead, unleash your creativity, and enjoy the satisfaction of showcasing your stunning creations in no time.
Sanding and Polishing Techniques for Liquid Glass Epoxy
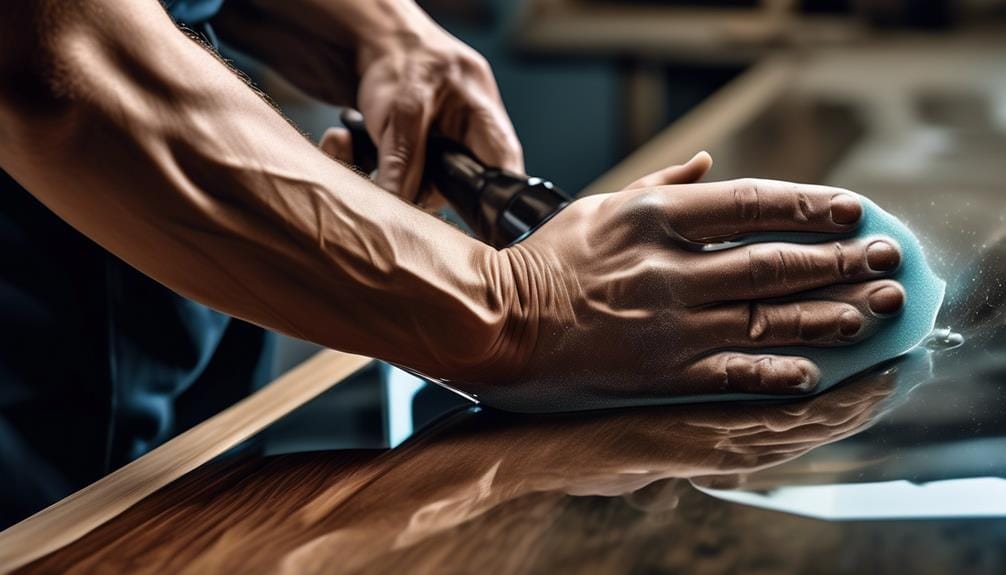
For a flawlessly smooth and glossy finish on your Liquid Glass Epoxy crafts, employ the wet sanding technique, starting with a lower grit sandpaper and gradually progressing to a higher grit. This technique allows you to achieve a polished surface that enhances the beauty of your DIY crafts.
Here are the steps to follow:
- Begin with a lower grit sandpaper, such as 200 or 400, to remove any imperfections and roughness on the epoxy surface. Gently sand the entire area, using circular motions and applying even pressure.
- Once the surface is smooth, switch to a higher-grit sandpaper, such as 800 or 1000, to refine the finish. Continue sanding in circular motions, gradually removing any visible scratches or marks left by the previous grit.
- After sanding, rinse the surface with water to remove any sanding residue. Then, use a microfiber cloth to dry the surface thoroughly.
- To achieve a glossy and reflective surface, use a rotary tool with a polishing attachment. Apply a small amount of polishing compound to the surface and use the rotary tool to buff the epoxy in circular motions. This step will bring out the shine and clarity of the epoxy.
Troubleshooting Common Issues With Liquid Glass Epoxy
If you encounter any common issues while working with Liquid Glass Epoxy, don’t worry; there are solutions to troubleshoot and overcome them.
One common issue that you may face is the formation of soft spots in your epoxy crafts. Soft spots occur when the epoxy doesn’t cure properly and remains sticky or tacky to the touch. This can happen due to several reasons, such as not mixing the epoxy resin and hardener thoroughly or not following the recommended curing time and temperature.
To troubleshoot this issue, make sure to mix the Superclear® Liquid Glass Epoxy resin and hardener thoroughly, ensuring that there are no streaks or swirls. Additionally, check the curing time and temperature recommended by the manufacturer and allow the epoxy to cure for the specified duration.
If you have already applied the epoxy and notice soft spots, you can try applying heat gently using a heat gun or a hairdryer to help the curing process. However, be cautious not to overheat the epoxy as it may cause bubbles or other undesirable effects.
Inspiration and Ideas for DIY Crafts With Liquid Glass Epoxy
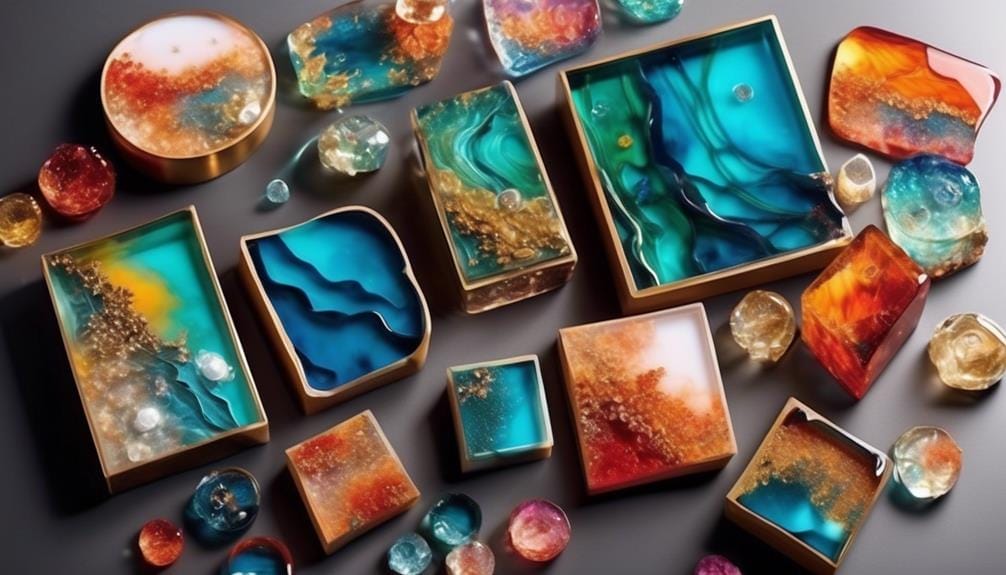
Are you looking for inspiration and ideas to unleash your creativity with DIY crafts? Look no further than the endless possibilities offered by Liquid Glass Epoxy. With its versatile and convenient features, this innovative product is perfect for a wide range of projects.
Here are some inspiring ideas to get your creative juices flowing:
- Countertops: Transform your kitchen or bathroom with a stunning Liquid Glass Epoxy countertop. Its deep pour capabilities allow for a seamless, thick layer that creates a glossy and durable surface.
- River tables: Create a mesmerizing centerpiece for your living room with a Liquid Glass Epoxy river table. The clear finish enhances the natural beauty of the wood, while the deep pour capability allows you to add depth and dimension to the table.
- Artwork: Use Liquid Glass Epoxy to create unique and vibrant pieces of art. Experiment with metallic pigments to achieve stunning effects and textures that will truly stand out.
- Industry tables: Take your workspace to the next level with a Liquid Glass Epoxy industry table. Its bubble-less technology ensures a smooth and flawless surface, making it ideal for crafting, woodworking, and other DIY projects.
With Liquid Glass Epoxy, the possibilities are truly endless. Let your imagination run wild, and enjoy the satisfaction of creating beautiful and functional pieces with this exceptional product.
Frequently Asked Questions
Is Liquid Glass and Epoxy Resin the Same Thing?
Liquid glass and epoxy resin are essentially the same thing. They both provide a clear, glass-like finish for DIY projects. They have similar applications and durability. Choosing between them depends on your specific project needs and preferences.
Is Liquid Glass Epoxy Good?
Liquid glass epoxy is a great option for DIY crafts. It offers a flawless finish, durability, and various applications. Compared to other resins, it stands out with its bubble-less technology. Proper surface preparation is key to achieving the best results.
How Long Does It Take for Liquid Glass Epoxy to Cure?
Liquid glass epoxy typically takes 48-72 hours to cure completely. Factors like temperature and mass can affect curing time. If you’re in a rush, there are tips and tricks to accelerate curing, but be careful not to make common mistakes that can delay the process. A longer curing time isn’t necessarily better for epoxy projects. If your epoxy doesn’t cure properly, troubleshoot by following manufacturer guidelines or consult a professional. To test if the epoxy has fully cured, perform a simple touch test or use a hardness tester.
How Do You Use Liquid Glass Epoxy?
To use liquid glass epoxy, start by preparing your workspace, gathering essential tools, and following a step-by-step guide. Avoid common mistakes, unleash your creativity, and ensure safety. Achieve a smooth finish, add color, and troubleshoot issues for unique designs.
Conclusion
Experience the magic of Liquid Glass Epoxy and unlock your creativity like never before. This versatile and high-performance epoxy resin is the perfect choice for DIY crafts, offering exceptional durability and a crystal-clear finish.
With easy application and excellent customer support, Liquid Glass Epoxy ensures that your projects will turn out beautifully every time. Get inspired and start creating stunning artwork, countertops, and river tables with this top-quality epoxy resin.
Let your imagination run wild, and watch your creations come to life with Liquid Glass Epoxy.

