Are you looking for a reliable and high-quality solution for your small-scale projects? Look no further than Liquid Glass Epoxy.
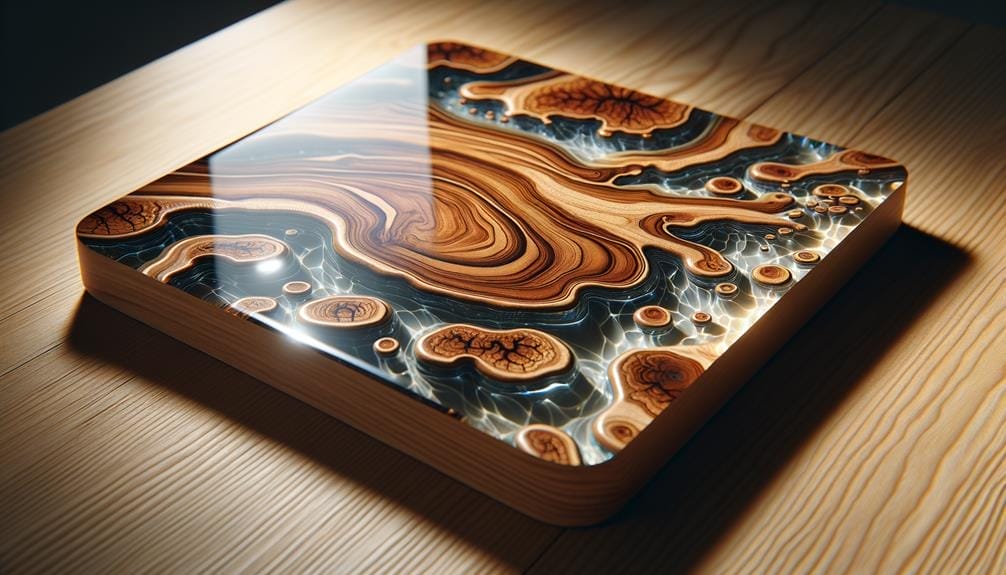
With its deep pour capabilities and exceptional performance, this epoxy is perfect for achieving crystal clear finishes in applications such as countertops, river tables, and artwork.
But that’s not all – its bubble-less technology ensures a smooth and flawless surface without the need for additional steps.
Discover the benefits, application process, and common mistakes to avoid when using Liquid Glass Epoxy.
Stay tuned to unleash your creativity and bring your small-scale projects to life.
Key Takeaways
- Proper surface preparation is crucial for achieving proper adhesion when applying Liquid Glass Epoxy.
- Follow the manufacturer’s instructions for surface preparation and mixing directions precisely for the best results.
- Elevate the mold to prevent air bubbles during application.
- Allow the epoxy to cure for 24 hours before subjecting it to stress.
Benefits of Liquid Glass Epoxy
Liquid Glass Epoxy offers a multitude of benefits that set it apart from other epoxy options on the market. When it comes to small-scale projects, Liquid Glass Epoxy shines with its deep pour capability and clear finish. With its ability to pour up to 2-4 inches, this deep-pour epoxy is perfect for creating stunning countertops, river tables, and artwork.
One of the key benefits of Liquid Glass Epoxy is its deep pour capability. Unlike other epoxy resins, Liquid Glass Epoxy can be poured in thick layers without worrying about heat build-up or cracking. This makes it ideal for small-scale projects where a deep pour is desired.
Additionally, Liquid Glass Epoxy offers a crystal-clear finish that’s unmatched in the market. Its low-viscosity formulation ensures that there are no bubbles or imperfections on the surface, eliminating the need for additional steps to remove them. This not only saves time but also provides a flawless and professional-looking result.
When it comes to mixing and pouring, Liquid Glass Epoxy is incredibly easy to work with. Its user-friendly nature makes it suitable for both beginners and experienced users. With its high-quality manufacturing standards and rave customer reviews, Liquid Glass Epoxy is the go-to choice for small-scale projects that require a deep pour capability and a clear, smooth finish.
Choosing the Right Liquid Glass Epoxy for Your Project
To choose the right epoxy for your project, consider the specific requirements and desired outcome, ensuring that the epoxy you select meets the necessary criteria. When it comes to small-scale projects, Liquid Glass Epoxy is an excellent choice. This epoxy is specially designed to provide a deep pour capability of 2-4 inches, making it ideal for a variety of applications such as countertops, river tables, and artwork. Its low viscosity formulation allows bubbles to effortlessly rise to the surface as it cures, ensuring a bubble-free and crystal clear finish without the need for additional steps to remove bubbles.
Liquid Glass Epoxy, proudly made in the USA by Fiberglass Coatings, Inc., offers high-quality manufacturing standards, supporting the local economy and jobs. Additionally, it provides reliable customer service and technical support. This epoxy eliminates the need for multiple pours, offering unmatched convenience for small-scale projects. It also allows for easy calculation of epoxy pour volume with epoxy resin calculators, saving time and providing the clearest finish available on the market.
Whether you’re making small repairs or creating intricate designs, Liquid Glass Epoxy is suitable for a wide range of small-scale projects. Its durability and long-lasting finish make it suitable for both indoor and outdoor applications, such as river tables, charcuterie boards, and floral arrangements. Choosing the right epoxy is crucial to achieving the desired outcome, and Liquid Glass Epoxy provides the quality and performance needed for small-scale projects.
Tools and Materials Needed for Working With Liquid Glass Epoxy
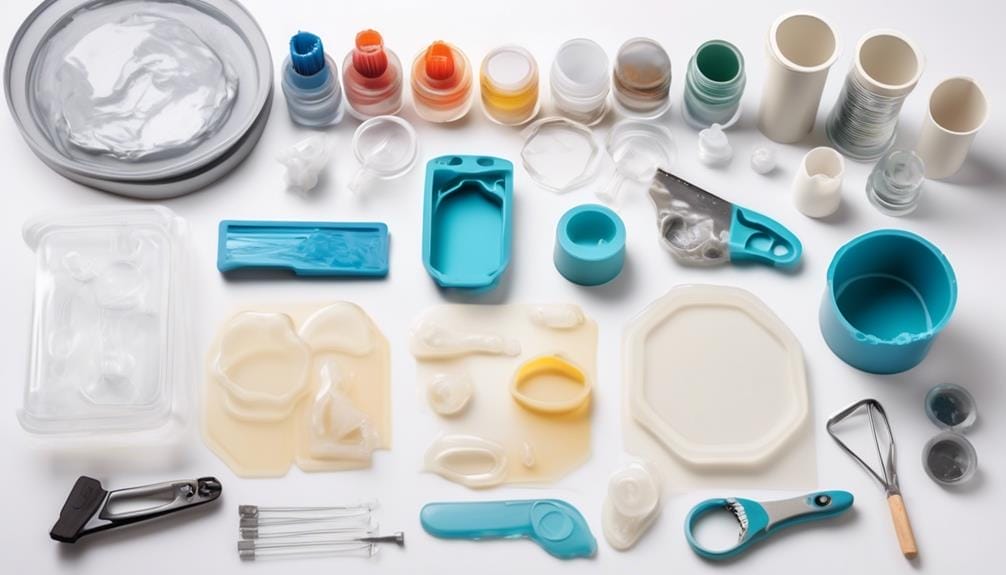
When working with Liquid Glass Epoxy for small-scale projects, it’s important to have the right tools and materials on hand to ensure a successful and professional outcome. Here are four essential items you’ll need:
- Deep Pour Epoxy Casting Resin: This is the main component of the Liquid Glass Epoxy system. It’s a high-quality, self-leveling resin that’s specially designed for thick pours. The SuperClear® Liquid Glass® Deep Pour Epoxy is a top choice as it provides crystal clear results and is easy to work with.
- Epoxy Resin Wood Filler: In case you have any cracks, holes, or imperfections in your project, you’ll need epoxy resin wood filler. This filler is specifically formulated to bond with wood and create a seamless surface when combined with the epoxy resin.
- Temperature Control: Liquid Glass Epoxy is sensitive to temperature, so it’s crucial to work in a controlled environment. Maintain the working area at a temperature between 70-80°F (21-27°C) to ensure proper curing and minimize the risk of bubbles or other defects.
- Top-Notch Tools: To achieve a professional finish, you’ll need a few essential tools. These include a mixing container, measuring tools, a mixing stick, and a heat gun. The mixing container should be clean and free of debris, while the heat gun is used to remove any air bubbles that may have formed during the pouring process.
Surface Preparation for Applying Liquid Glass Epoxy
To ensure proper adhesion of the Liquid Glass Epoxy, it’s crucial to start with a clean and dry working surface.
Begin by thoroughly cleaning the surface to remove any dirt, dust, or debris.
Next, sand the surface to create a smooth and level base for the epoxy application.
This step will help enhance the bond between the epoxy and the surface, ensuring a long-lasting and durable finish.
Cleaning the Surface
Properly preparing the surface is essential for achieving optimal results when applying Liquid Glass Epoxy. Here are four crucial steps to follow when cleaning the surface before applying the epoxy:
- Clean the surface with Isopropyl Alcohol: Wipe the surface thoroughly with Isopropyl Alcohol to remove any dirt, oil, or contaminants that may interfere with the adhesion of the epoxy resin.
- Lightly sand the surface: Use fine-grit sandpaper to lightly sand the surface. This helps to create a rough texture, allowing the epoxy to adhere better to the surface.
- Scrape the sides: After pouring the epoxy onto the surface, use a scraper or spatula to scrape the sides of the container. This ensures that all the epoxy is poured onto the surface, minimizing wastage.
- Clean the surface: Once the epoxy has been poured, clean the surface again with Isopropyl Alcohol to remove any dust or debris that may have settled on the surface.
Sanding and Leveling
Achieving a smooth, level surface is crucial for the successful application of Superclear® Liquid Glass® Deep Pour Epoxy. Proper sanding and leveling of the surface are essential to ensure proper adhesion and create a flawless finish.
Start by cleaning the surface and removing any debris. Then, using a dry bucket or cup, mix the Superclear® Glass® Deep Pour Epoxy according to the instructions provided.
Once mixed, use a grit sandpaper to sand the surface and remove any imperfections. Wipe the surface clean to remove any dust or debris.
To level the surface, pour the epoxy onto the prepared area. Use a heat gun to remove any air bubbles and ensure a smooth finish.
Allow the epoxy to cure for the recommended time at the appropriate temperatures.
Step-by-Step Application Process of Liquid Glass Epoxy
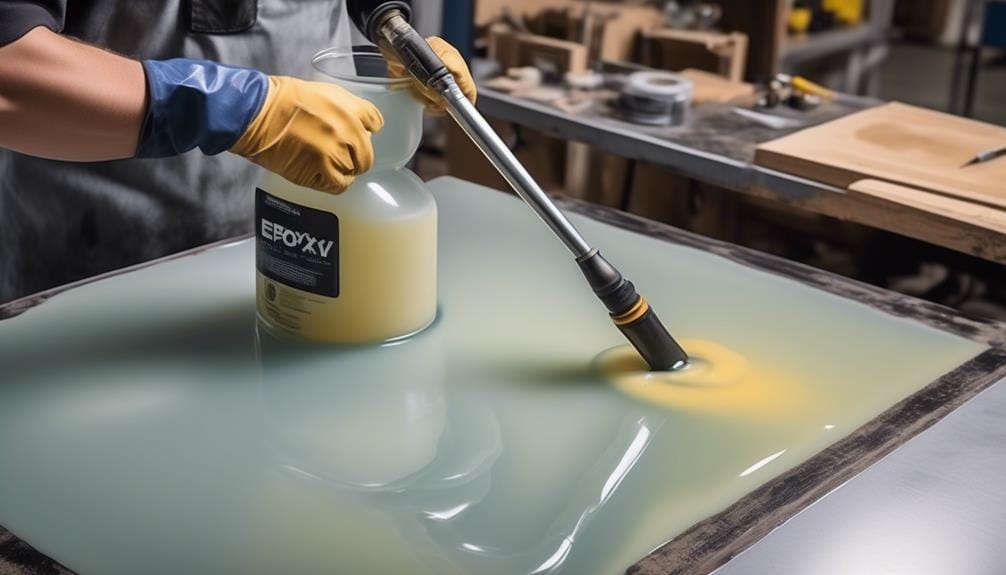
Before you begin the application process of liquid glass epoxy, make sure you have determined the amount of epoxy needed and have prepared a clean and dry working environment. This will ensure that your small-scale project using the Liquid Glass® Deep Pour or SuperClear® Table Top Epoxy goes smoothly.
To properly apply the deep pour epoxy casting resin, follow these step-by-step instructions:
- Surface Preparation: Clean the surface thoroughly, removing any dirt, dust, or debris. Ensure that the surface is dry before proceeding.
- Mixing Directions: In a clean container, mix the resin and activator in a 2:1 ratio. Stir the components together for at least 3-5 minutes, making sure to scrape the sides and bottom of the container to ensure a thorough mix.
- Seal Coat: Apply a seal coat of epoxy to the surface before pouring the deep-pour epoxy. This will help to prevent air bubbles and ensure a smooth finish.
- Pouring the Mixture: Slowly pour the epoxy mixture into the mold, taking care to avoid introducing air bubbles. Use a torch or heat gun to remove any bubbles that may have formed.
Tips and Tricks for Achieving a Professional Finish With Liquid Glass Epoxy
To achieve a professional finish with Liquid Glass Epoxy, you should focus on surface preparation techniques, application methods, and finishing and polishing techniques.
Ensure the surface is clean and dry, apply a seal coat before pouring, and use a fan for better airflow. Precise mixing and measuring, removing air bubbles, and waiting for each layer to become tacky are also key steps in achieving a flawless result.
Surface Preparation Techniques
For a professional finish with liquid glass epoxy, ensure the working surface is thoroughly cleaned and dried before application. Surface preparation techniques are crucial to achieving flawless results for small-scale projects using epoxy-casting resin.
Here are some tips to help you prepare the surface properly:
- Clean the surface: Remove any dirt, dust, or debris from the working area to ensure a smooth and even application of the liquid glass epoxy.
- Sand the surface: If the surface is rough or uneven, sand it gently to create a smooth and level base for the epoxy.
- Seal porous surfaces: If the surface is porous, apply a seal coat to prevent air bubbles and ensure maximum adhesion of the epoxy.
- Check ambient temperatures: Make sure the ambient temperatures are within the recommended range for the epoxy to cure properly.
Application Methods
To achieve a professional finish with liquid glass epoxy, it is essential to employ effective application methods that will ensure a flawless result for your small-scale projects. One key step is to apply a seal coat before pouring deep and pour epoxy to achieve a smooth and flawless surface. To help you visualize the process, here is a table outlining the essential application methods:
| Application Methods | Tips and Tricks |
|---|---|
| Mixing Directions | Follow the manufacturer’s instructions precisely for the best results. |
| Surface Preparation | Clean the surface thoroughly and scrape the sides of the container to ensure proper adhesion. |
| Pouring Epoxy | Pour the epoxy slowly and evenly, sweeping back and forth to cover the entire surface. |
| Ambient Temperature | Adjust the ambient temperature according to the epoxy’s specifications for optimal curing and finish. |
| Air Bubble Prevention | Elevate the mold to allow better airflow, reducing the chances of air bubbles in the epoxy. |
| Cure Time | Allow the epoxy to cure according to the manufacturer’s recommended time. |
| Heat | Avoid exposing the epoxy to excessive heat, as it may affect the curing process. |
Finishing and Polishing Techniques
Achieving a professional finish with Liquid Glass Epoxy requires employing effective finishing and polishing techniques that will enhance the clarity and overall appearance of your small-scale projects. To ensure the best results, consider the following techniques:
- Heat gun: Use a heat gun to remove bubbles and achieve a bubble-free, crystal-clear finish. Gently move the heat gun over the surface to distribute the heat evenly and eliminate any trapped air.
- Mold elevation: Elevate the mold to allow better airflow during the curing process. This will help prevent any unwanted dust or debris from settling on the surface and ensure a smooth finish.
- Seal coat: Before pouring deep, pour epoxy and apply a seal coat to the surface. This will help create a smooth and flawless base, ensuring optimal adhesion and reducing the risk of any imperfections.
- Proper mixing ratio: Mix the resin and activator in a 2:1 ratio for best results. This ensures a proper chemical reaction and helps achieve a strong, durable finish.
Curing and Drying Time of Liquid Glass Epoxy
The curing and drying time of Liquid Glass Epoxy typically ranges from 48 to 72 hours, depending on environmental conditions. Proper surface preparation and adherence to mixing directions are crucial for achieving the desired results within the specified timeframe. Ambient temperature plays a significant role in the curing process, as higher temperatures can accelerate the drying time, while lower temperatures may prolong it. It is important to note that these times are general estimates and may vary depending on the specific epoxy product and application.
To provide a visual representation of the curing and drying time, refer to the table below:
| Curing Time (hours) | Drying time (hours) |
|---|---|
| 48 | 48 |
| 60 | 60 |
| 72 | 72 |
Liquid Glass Epoxy offers a reliable and durable finish that withstands years of wear and tear without any issues. Its deep pour capability of 2-4 inches makes it ideal for small-scale projects such as countertops, river tables, and artwork. The epoxy’s exceptional durability and long-lasting performance enable it to support high-traffic areas, providing a strong and resilient surface. With its unmatched convenience, Liquid Glass Epoxy eliminates 75% of work, making it a popular choice in the industry.
Common Mistakes to Avoid When Using Liquid Glass Epoxy
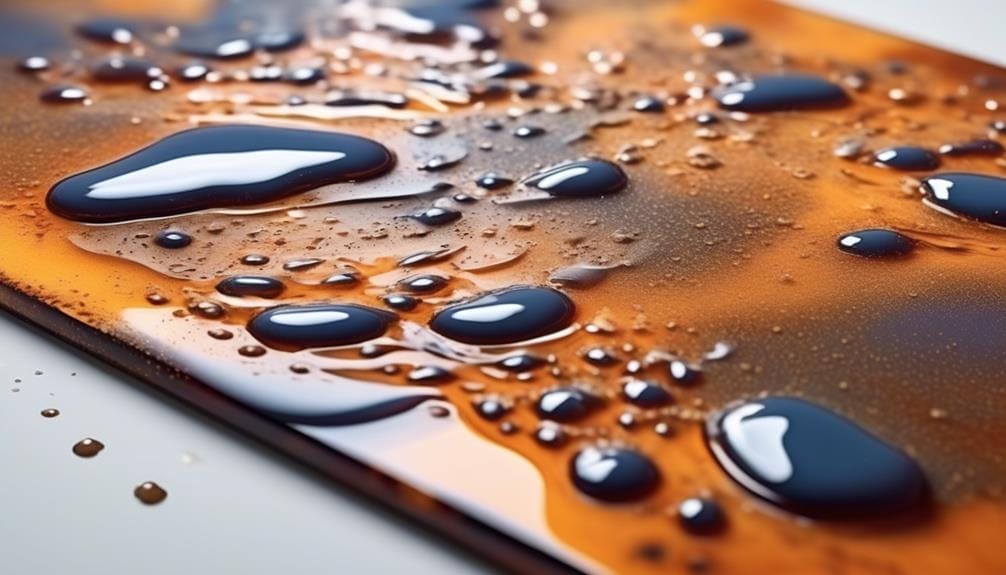
When using Liquid Glass Epoxy, it’s important to avoid common mistakes to ensure a successful and flawless finish. Here are four crucial points to keep in mind:
- Accurate Mixing:
Follow the mixing directions carefully and measure the epoxy resin and activator accurately. Maintaining the proper 2:1 ratio is essential for proper curing and structural integrity.
- Temperature Considerations:
Avoid pouring epoxy in extreme temperatures or humidity. High ambient temperatures can cause the epoxy to harden too quickly, while low temperatures may result in a tacky surface. Both situations can compromise the final finish and adhesion.
- Clean Working Environment:
Ensure a clean and dry working environment to prevent imperfections in the epoxy. Dust, debris, or moisture can mar the surface and create an uneven finish. Regularly scrape off any drips or excess epoxy to maintain a clean working area.
- Seek Technical Support:
If you encounter any issues or have questions during the epoxy application, don’t hesitate to reach out to customer service or technical support. Companies like SuperClear provide excellent customer service and can assist you in troubleshooting or providing guidance for a successful application.
Maintenance and Care for Projects Finished With Liquid Glass Epoxy
To ensure the longevity and durability of your projects finished with Liquid Glass Epoxy, proper maintenance and care are essential. Following these guidelines will help you maintain the quality of your small-scale projects.
After completing a deep pour with Liquid Glass Epoxy, allow it to cure for a minimum of 24 hours before subjecting it to any stress. This will ensure that the epoxy has fully hardened and is ready for use.
To maintain the surface of your project, it’s important to clean it with a mild soap and water solution regularly. Avoid using abrasive cleaners or scrub brushes, as they can scratch the epoxy surface.
To protect the epoxy and enhance its longevity, apply a seal coat every six months. This will help maintain its shine and protect against scratches and UV damage.
In order to ensure proper adhesion, it’s important to prepare the surface before applying the Liquid Glass Epoxy. Make sure the surface is clean, dry, and free from any dust or contaminants. Sanding the surface can also help improve adhesion.
Inspiration and Ideas for Small-Scale Projects Using Liquid Glass Epoxy
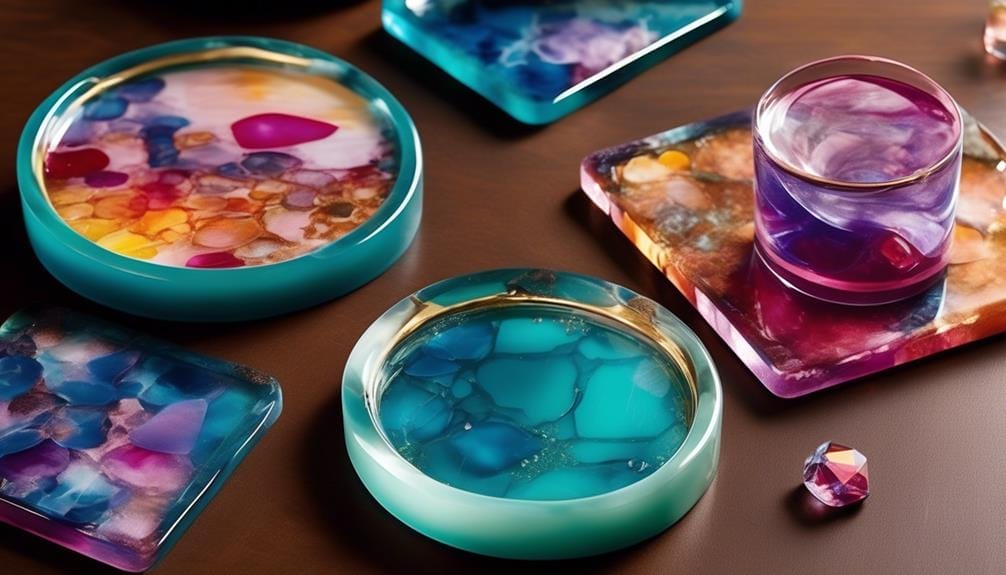
For inspiration and ideas on small-scale projects using Liquid Glass Epoxy, explore the limitless possibilities of creating stunning and durable epoxy resin art pieces.
Here are some ideas to get you started:
- Create a striking tabletop: Use Liquid Glass Epoxy to create a glossy, durable surface for a small coffee table or side table. The deep pour capability allows you to achieve a thick, crystal-clear finish that will make your table stand out.
- Design unique jewelry: Use Liquid Glass Epoxy to create custom resin jewelry pieces. The low-viscosity formulation ensures a bubble-free finish, making your jewelry look professional and polished.
- Make personalized coasters: Design and create your custom coasters using Liquid Glass Epoxy. The versatility of this epoxy resin allows you to incorporate various materials, such as photos, dried flowers, or even small trinkets, to make each coaster unique.
- Craft decorative art pieces: Let your imagination run wild and create one-of-a-kind art pieces using Liquid Glass Epoxy. Whether it’s a small sculpture, a decorative bowl, or a wall art piece, the unmatched clarity and durability of this epoxy resin will give your creations a professional finish.
Remember to follow the mixing directions provided by the manufacturer and consider the ambient temperature when working with Liquid Glass Epoxy to achieve the best results.
With its deep pour capability and crystal-clear finish, the possibilities for small-scale projects using Liquid Glass Epoxy are truly endless.
Frequently Asked Questions
How Thick Can You Pour Liquid Glass?
You can pour liquid glass up to a maximum thickness of 2-4 inches using proper pouring techniques. It offers heat resistance, making it suitable for DIY projects. The clear coating has self-leveling properties and prevents bubbles. It provides flexibility, durability, and UV resistance and can be sanded and polished.
Is Epoxy Resin the Same as Liquid Glass?
Epoxy resin and liquid glass are often used interchangeably, but they do have some differences. Epoxy resin is a type of liquid plastic that hardens when mixed with a catalyst, while liquid glass refers to a clear, glossy coating material. Both have their pros and cons and are commonly used for various applications such as countertops, river tables, artwork, and more.
How Long Does It Take for Liquid Glass Epoxy to Cure?
Liquid glass epoxy typically cures within 48-72 hours. Factors such as temperature, humidity, and the thickness of the epoxy layer can affect curing time. To speed up the process, you can use heat and ensure proper storage.
What Is the Ratio for Liquid Glass Epoxy?
The ratio for liquid glass epoxy is 2:1, with 2 parts resin to 1 part activator. Accurate measurement and proper mixing of these components are crucial for successful results.
Conclusion
In conclusion, Liquid Glass Epoxy offers a reliable and high-quality solution for small-scale projects. Its deep pour capabilities and bubble-less technology ensure a crystal clear and flawless finish every time. With exceptional durability and long-lasting performance, it’s suitable for high-traffic areas.
By following the step-by-step application process and avoiding common mistakes, you can achieve professional results. So whether you’re working on countertops, river tables, or artwork, Liquid Glass Epoxy is the ideal choice for your project.

