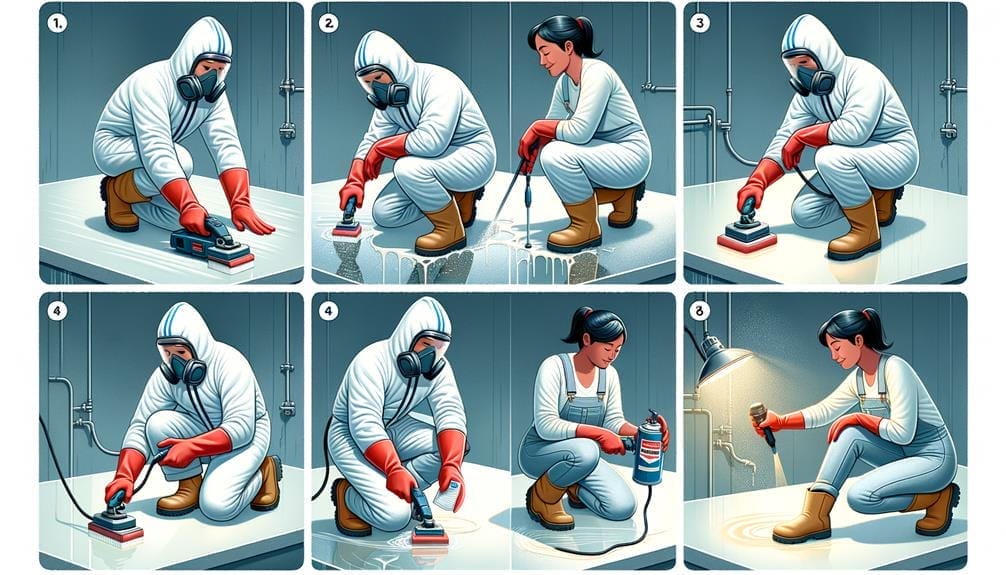
You may not realize it, but the success of your epoxy coating depends heavily on one crucial step: surface preparation. It may seem like a mundane task, but don’t be fooled. The proper preparation of your surface can make all the difference in achieving a durable and flawless finish.
So, before you jump into applying that epoxy, let’s take a closer look at why surface preparation is so important and what steps you need to take to ensure a perfect outcome.
Key Takeaways
- Surface preparation is crucial for achieving a durable and flawless epoxy coating.
- Thoroughly cleaning the surface and removing dirt, dust, and contaminants is essential before epoxy application.
- Addressing cracks and imperfections before applying epoxy ensures the integrity of the floor.
- Proper leveling and filling of imperfections create a smooth and even surface for optimal adhesion and appearance of the coating.
Cleaning the Surface
To ensure optimal adhesion of the epoxy coating, thoroughly clean the floor to remove any dirt, dust, or contaminants. Proper surface preparation is crucial for the successful installation of epoxy flooring on a concrete floor. Before applying the epoxy coating, it’s essential to remove all loose debris and contaminants from the surface.
One method commonly used for cleaning concrete surfaces is acid etching. This involves applying an acid solution to the floor, which helps to remove any impurities, open up the pores of the concrete, and create a rough surface for the epoxy to adhere to. However, acid etching may not always be the best option, especially for garage floors or areas with heavy traffic. In such cases, diamond grinding is recommended.
Diamond grinding is a mechanical method of surface preparation that involves using diamond-embedded grinding pads to remove the top layer of the concrete floor. This process not only cleans the surface but also creates a profile that enhances the adhesion of the epoxy coating. The choice of diamond type is crucial for achieving optimal results. Different diamond types are available based on the hardness of the concrete and the desired level of surface preparation.
In addition to cleaning the surface, it’s important to level and ensure the flatness of the substrate before applying the epoxy coating. Any holes or cracks in the concrete should be patched and filled to create a smooth and even surface. This will prevent any imperfections from showing through the epoxy and ensure a high-quality finish.
Repairing Cracks and Imperfections
To effectively repair cracks and imperfections in the concrete substrate before applying epoxy, you need to employ appropriate crack repair techniques.
Small cracks can be filled using a crack filler, while wider joints require epoxy crack filler with foam backer rods.
Crack Repair Techniques
Repairing cracks and imperfections in the concrete is an essential step in surface preparation for epoxy, ensuring optimal adhesion and a durable finish. Before applying the epoxy coating, it is important to address any cracks or imperfections to prevent them from compromising the integrity of the floor. There are several crack repair techniques you can use to patch and repair the concrete effectively.
One method is to use a crack filler, which is suitable for smaller joints. This filler is applied directly into the crack to seal it and prevent further damage. For wider joints, an epoxy crack filler with a foam backer rod can be used to provide added stability and support.
Diamond grinding is recommended to prepare the surface for crack repair. This technique utilizes diamond grinding wheels to remove any loose material and create a smooth surface for the crack repair products to adhere to. It is important to choose the appropriate diamond type for grinding to achieve the desired results.
Additionally, proper cleaning methods should be employed to ensure a clean surface. Dirt, dust, and grease can hinder the adhesion of the epoxy coating, so it is crucial to clean the surface thoroughly before crack repair and epoxy application.
By following these crack repair techniques and preparing the surface properly, you can ensure a smooth and durable epoxy coating that will enhance the appearance and longevity of your concrete floor.
| Crack Repair Techniques | Description |
|---|---|
| Crack Filler | Suitable for smaller joints, this filler is applied directly into the crack to seal it and prevent further damage. |
| Epoxy Crack Filler with Foam | Ideal for wider joints, this filler provides added stability and support by using a foam backer rod. |
| Diamond Grinding | Utilizes diamond grinding wheels to remove loose material and create a smooth surface for crack repair and epoxy coating. |
| Proper Cleaning Methods | Thoroughly clean the surface to remove dirt, dust, and grease, ensuring proper adhesion of the epoxy coating. |
Filling Imperfections Effectively
Addressing cracks and imperfections in the concrete surface is crucial for effective surface preparation for epoxy, ensuring a strong and durable finish. Here are some steps to fill imperfections effectively:
- Start by thoroughly cleaning the entire surface using a new, stiff-bristle brush to remove any dirt or debris.
- Next, use an acid solution to etch the concrete surface. This will help the epoxy coating adhere better.
- After the acid has dried, inspect the surface for any cracks or imperfections.
- For small cracks, use a crack filler or epoxy paste to fill in the gaps. Make sure to smooth it out and remove any excess material.
- For larger imperfections, consider using a self-leveling compound to create a smooth and even surface before applying epoxy.
Ensuring Smooth Surface
Achieving a smooth surface for optimal epoxy adhesion necessitates addressing cracks and imperfections in the concrete substrate through meticulous repair techniques. To ensure a seamless application of the new epoxy flooring, it is crucial to prepare the concrete surface properly. By prepping the surface, you will create an ideal environment for the coating to adhere properly, resulting in a durable and long-lasting epoxy floor. One effective method for repairing cracks and imperfections is by utilizing appropriate fillers and patching materials. Additionally, diamond grinding can be employed to level and smooth the substrate, eliminating any unevenness or roughness. Thoroughly inspect the surface for any imperfections and address them before installing epoxy to prevent issues with adhesion and durability.
| Repair Techniques | Benefits |
|---|---|
| Utilize fillers and patching materials | Fills cracks and imperfections |
| Diamond grinding | Levels and smooths substrate |
| Thorough inspection | Prevents issues with adhesion |
Removing Oil and Grease
To ensure proper bonding of the epoxy coating, thoroughly remove oil and grease from the concrete substrate using suitable degreasing compounds or methods. Here are five effective ways to remove oil and grease from the surface:
- Shot blasting: This method uses steel shot to remove oil and grease by forcefully impacting the concrete surface, effectively cleaning it.
- Stiff bristle broom: Use a stiff bristle broom to scrub the concrete surface vigorously. This mechanical method can help remove oil and grease effectively.
- Diamond grinder: A diamond grinder equipped with a coarse grit can be used to grind away the oil and grease from the concrete surface.
- Muriatic acid: Dilute muriatic acid with water and apply it to the oil and grease stains. Allow it to sit for a few minutes before scrubbing the surface with a stiff brush.
- Power wash: Use a power washer with a suitable cleaning detergent to remove oil and grease from the concrete surface. The high-pressure water stream helps dislodge the contaminants effectively.
After removing the oil and grease, it’s important to ensure the surface is thoroughly cleaned and free from any residue. Vacuum the floor to remove any dust or debris that may have been left behind.
Once the surface is clean and dry, you can proceed with the next steps of the epoxy coating process, such as applying an epoxy filler or primer.
Sanding the Surface
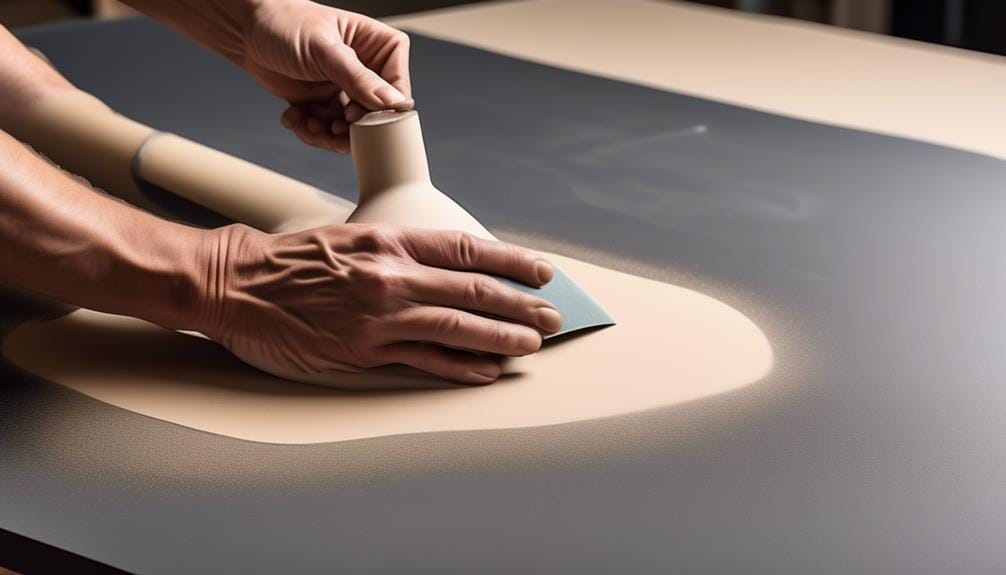
To achieve the desired surface texture for epoxy application, it’s crucial to select the appropriate grit sandpaper carefully and employ proper sanding techniques.
Choosing the right grit size will help create the desired roughness that promotes better adhesion.
Additionally, using proper sanding techniques, such as sanding in a back-and-forth motion, will ensure an even and consistent surface, eliminating any imperfections that may hinder the epoxy’s adhesion.
Grit Selection
For optimal epoxy adhesion and a smooth finish, choosing the appropriate grit size is crucial when sanding the surface. The grit size you select will depend on the condition of the surface and the level of smoothness you desire.
Here are some key points to consider when selecting the grit size for sanding your surface:
- Coarser grits, such as 40-60, are ideal for rough surfaces and initial sanding.
- Finer grits, like 120-220, are suitable for achieving a smooth finish.
- The grit size you choose will affect the surface texture and the ability of the epoxy coating to adhere properly.
- Proper grit selection is essential to ensure that your floor is thoroughly cleaned and prepared for epoxy installation.
- Depending on the condition of your surface, other surface preparation methods like acid washing, grinding the floor, or sandblasting may be necessary.
Proper Technique
When sanding the surface, it’s crucial to employ the proper technique to ensure optimal epoxy adhesion and a smooth finish. Before beginning, make sure the concrete surface is clean and completely dry to avoid any issues with moisture vapor.
To properly sand the surface, you’ll need a floor grinder equipped with the appropriate type of diamond for grinding. Ensure that the grinder is set to the correct speed and pressure to avoid grinding circular rings into the surface.
Start by sanding the floor in a back-and-forth motion, overlapping each pass slightly. Move systematically across the entire surface, making sure to maintain a consistent pressure.
Once the surface is sanded, thoroughly clean up any dust or debris before proceeding with the installation of the epoxy.
Applying a Primer
Prepare the surface by thoroughly cleaning it and addressing any cracks or holes in the concrete substrate before applying the epoxy primer. Proper floor preparation is crucial for achieving optimal adhesion of the primer and ensuring a successful application of the floor coating.
Here are five important points to consider when applying a primer to a concrete surface:
- Surface Cleaning: Before applying the primer, it’s essential to clean the concrete surface thoroughly. Remove all dirt, dust, grease, and any other contaminants that may hinder proper adhesion.
- Mechanical Prep: For new concrete surfaces or rough and uneven surfaces, mechanical preparation methods such as diamond grinding or shot blasting may be necessary to create a smooth and rough surface for the primer to adhere to.
- Cracks and Holes Repair: Address any cracks or holes in the concrete substrate before applying the primer. Fill them with an appropriate patching compound to ensure a level and even surface.
- Existing Coating Removal: If there’s an existing coating on the concrete surface, it’s important to remove it completely before applying the primer. Use the appropriate method, such as grinding or stripping, to remove the old coating.
- Moisture Barrier: Understand the moisture content of the concrete and apply a suitable moisture barrier if needed. Moisture can affect the adhesion of the epoxy primer, so it’s crucial to ensure a dry surface before application.
Ensuring Proper Moisture Levels

To ensure a strong bond between the epoxy and the floor, it’s crucial to properly manage and monitor the moisture levels of the concrete substrate. Before applying an epoxy, you must be sure that the concrete surface is dry and free from excessive moisture. The moisture content in the concrete can affect the adhesion of the epoxy, leading to coating failure if not addressed properly.
The first step in ensuring proper moisture levels is to test the moisture content of the concrete. This can be done using a moisture meter or a calcium chloride test kit. The moisture content should be within the acceptable range for the specific epoxy product being used. If the moisture levels are too high, a vapor barrier may be needed to prevent moisture from reaching the epoxy. A vapor barrier is a thin layer of material that’s applied to the concrete surface to create a barrier between the moisture in the concrete and the epoxy coating.
If the moisture content is within the acceptable range, the next step is to prepare the concrete surface. Any existing coatings, sealers, or residues must be removed to ensure proper adhesion of the epoxy. This can be done using mechanical methods such as grinding or shot blasting.
After the surface has been properly prepared, it’s important to seal the entire floor to prevent moisture from seeping through the concrete and affecting the epoxy.
Choosing the Right Epoxy Product
When choosing the right epoxy product for your surface preparation, there are several factors to consider.
First, you need to assess the specific requirements of your project and determine the type of epoxy coating that will best meet those needs.
Additionally, consider the condition of the substrate and any specific challenges it may present, such as moisture or hydrostatic pressure.
Product Selection Tips
Consider the condition of the concrete, including its type and any potential water damage, to choose the epoxy product that best suits your needs. When selecting an epoxy product for your concrete surface, there are several factors to consider. Here are some tips to help you make the right choice:
- I am making sure to properly prepare the concrete surface before applying the epoxy. This may involve using a patch kit to fix any cracks or low spots.
- Consider the type of coating system you need. Some epoxy products are designed for high-traffic areas, while others are more suitable for industrial environments.
- Look for epoxy products that contain metallic beads for added durability and slip resistance.
- Determine if you need a chemical-resistant epoxy, especially if the surface will be exposed to harsh chemicals.
- Consult with professionals or manufacturers to find the best epoxy product for your specific needs and budget.
Factors to Consider
Take into account the condition and type of concrete, as well as the specific needs and budget, to select the most suitable epoxy product.
When considering the condition of the concrete surface, it’s important to determine if it’s hard or soft. Hard concrete surfaces may require more aggressive surface preparation methods, such as using machinery to flatten any high or low spots. Soft concrete surfaces, on the other hand, may require additional steps such as moisture testing and the use of barrier products to ensure proper bonding of the epoxy coating.
Additionally, it’s crucial to evaluate the specific needs of the project. For example, in new construction, the surface may need to be properly cleaned and any unsound areas addressed before applying epoxy. In some cases, a swaying motion to smooth the floor surface may be necessary.
Lastly, consider the budget and choose the epoxy product that aligns with the available resources. It’s important to note that proper surface preparation is key to achieving a strong epoxy bond.
Using the Correct Tools for Application
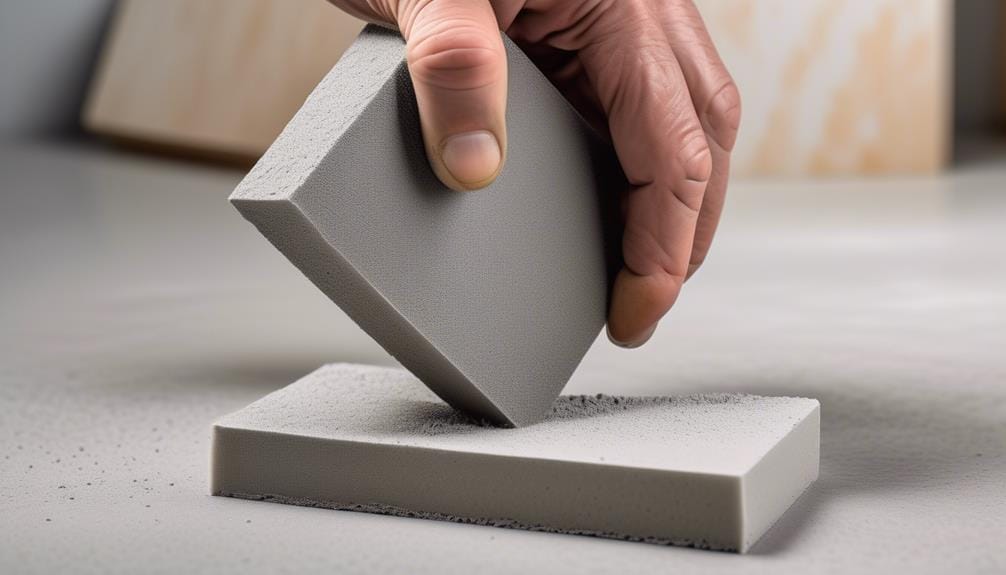
Using the appropriate tools, such as diamond grinders and floor scrubbers, is crucial for achieving efficient and effective surface preparation when applying epoxy. Properly preparing the concrete surface is essential to ensure optimal adhesion and longevity of the epoxy coating.
Here are five key factors to consider when using the correct tools for epoxy application:
- Remove: Before applying epoxy, it’s important to remove any existing coatings, oils, or contaminants from the concrete surface. A grinder equipped with diamond tooling can effectively remove these substances, providing a clean and porous surface for the epoxy to adhere to.
- Grind: Using the correct type of diamond for grinding is essential for achieving the desired surface profile. Diamond grinders are specifically designed to create a rough texture on the concrete surface, promoting better adhesion of the epoxy coating.
- Level: Ensuring that the substrate is level and flat is crucial for a successful epoxy application. Using leveling compounds or floor patching materials can help achieve a smooth and even surface, preventing any imperfections from showing through the epoxy.
- Clean: Properly cleaning the concrete surface is essential to remove any dust, dirt, or debris. Floor scrubbers equipped with appropriate brushes or pads can effectively clean the surface, ensuring a pristine base for the epoxy coating.
- Prepare: Utilizing the appropriate equipment, such as floor grinders or shot blasting machines, is vital for achieving the desired surface texture and cleanliness. These tools can help prepare the concrete surface by removing any laitance, opening up the pores, and creating a roughened profile for optimal epoxy adhesion.
Applying the Epoxy in Thin, Even Coats
To ensure proper coverage and adhesion of the epoxy coating, it’s crucial to apply it in thin, even coats. This is especially important when working on a concrete surface.
The first step in applying the epoxy is to prepare the surface by removing any dirt, oil, or grease. This can be done by using a degreaser or a concrete cleaner. Once the surface is clean and dry, you can start applying the epoxy.
Using a notched squeegee or roller is recommended, as it helps to achieve the desired thickness and evenness for the coating. When applying the epoxy, it’s important to work methodically to ensure consistent application and to avoid uneven build-up in certain spots.
Thin coats allow for better control and self-leveling of the epoxy, minimizing the risk of pooling or uneven drying. It’s also important to follow the manufacturer’s recommendations for the number of coats and drying times to achieve the best results.
Allowing Sufficient Drying and Curing Time
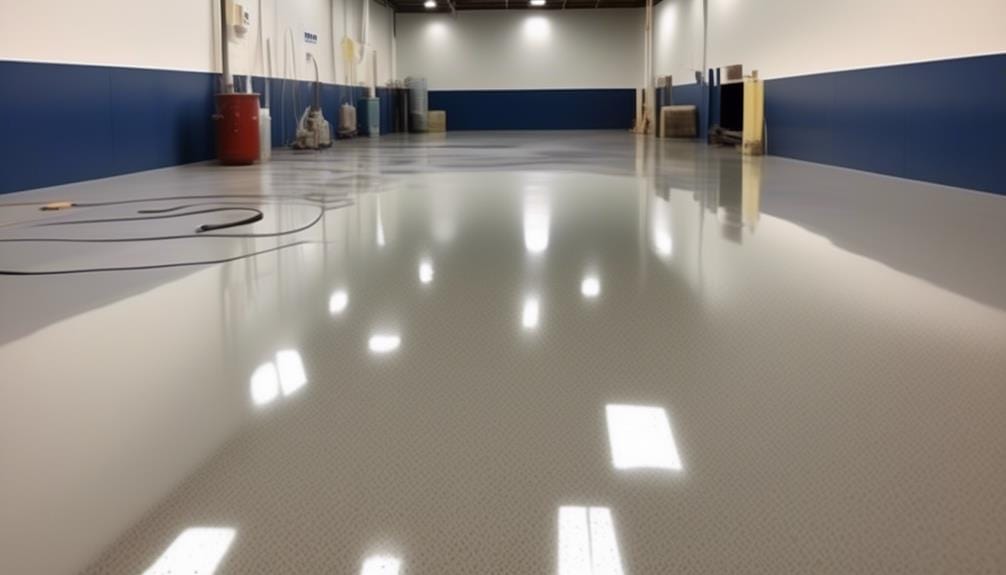
Properly allowing for sufficient drying and curing time is crucial to ensure the successful adhesion and longevity of the epoxy coating on the concrete surface. Failing to allow adequate drying and curing time can result in issues such as bubbling, poor adhesion, and premature epoxy failure.
To avoid these problems, it’s important to follow the manufacturer’s guidelines and take into account the type of concrete and environmental conditions. Here are five key points to consider when allowing sufficient drying and curing time for the concrete surface before applying epoxy:
- Remove any existing coatings or contaminants from the floor using appropriate methods such as grinding or shot blasting.
- Clean the floor thoroughly to remove any dust, dirt, or debris that could interfere with the epoxy adhesion.
- Allow the concrete surface to dry completely, ensuring that there’s no moisture present. Use a moisture meter to check for any residual moisture.
- Take into consideration the temperature and humidity levels in the environment, as they can affect the drying and curing time of the concrete.
- Follow the manufacturer’s guidelines for the specific epoxy product being used, as they’ll provide recommendations for the optimal drying time before applying the epoxy.
Frequently Asked Questions
How Do You Prepare a Floor for Epoxy?
To prepare a floor for epoxy, it’s crucial to clean it thoroughly. Different methods like acid etching and primers play a role in preparing the surface. Repair any cracks or holes, conduct moisture testing, and use surface profiling techniques for optimal adhesion. Achieve a smooth finish.
Do You Need to Sand Concrete Before Epoxy?
Yes, it would be best if you sanded the concrete before applying epoxy. Sanding helps create a rough surface for better adhesion. It removes dirt, oil, and other contaminants, ensuring a clean and prepared surface for the primer and epoxy application.
What Surfaces Can You Pour Epoxy On?
You can pour epoxy on metal, masonry, plastic, glass, fiberglass, ceramic, tile, and stone surfaces. Epoxy adheres well to these materials, providing a durable and protective coating. Proper surface preparation is still necessary for optimal adhesion.
How Do You Prepare Wood for Epoxy Resin?
To prepare wood for epoxy resin, start by sealing the wood to create a moisture barrier. Enhance epoxy adhesion by cleaning the surface thoroughly. Fill cracks and level the surface for a smooth finish.
Conclusion
In conclusion, proper surface preparation is crucial for the successful application of epoxy coatings. By thoroughly cleaning the surface, repairing cracks, removing oil and grease, and applying a primer, you can ensure better adhesion and prevent coating failure.
One example of the importance of surface preparation is a case study where a company applied epoxy coating without proper cleaning, resulting in poor adhesion and the need for costly repairs.
By following the correct procedures, you can achieve a durable and aesthetically pleasing finish.

