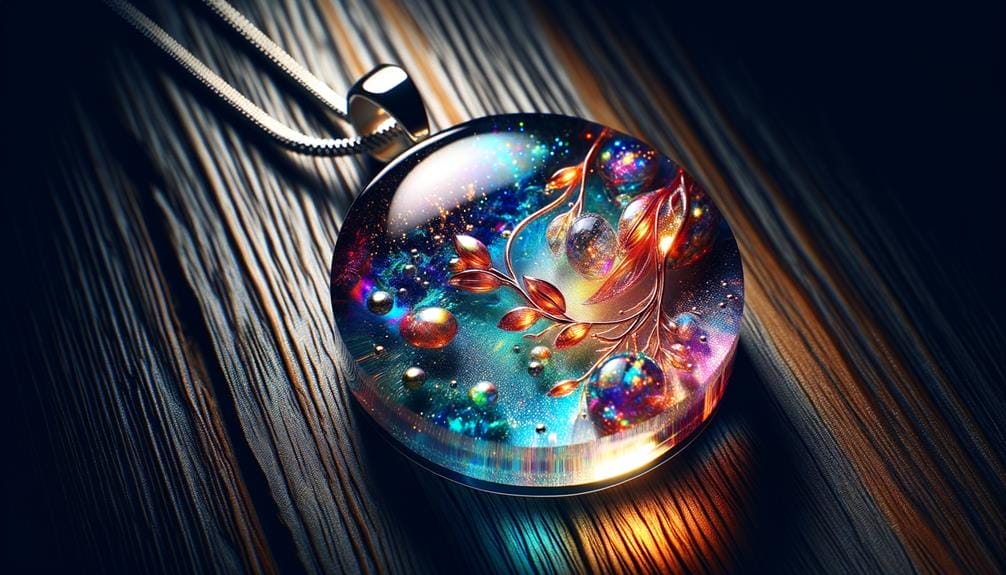
Did you know that liquid glass epoxy techniques have revolutionized the world of DIY crafting and home improvement projects? With the increasing popularity of epoxy resin, it's no wonder that people are eager to explore the endless possibilities it offers.
From stunning resin art effects to creating smooth and level surfaces, there are numerous techniques that can elevate your projects to a whole new level. But how exactly do you achieve these flawless results?
Stay tuned as we uncover the secrets to mastering liquid glass epoxy techniques and discover the key steps you need to take for a successful project.
Key Takeaways
- Liquid Glass Epoxy has a deep pour capability of 2-4 inches, making it suitable for larger projects.
- Surface preparation is crucial for achieving a flawless finish with Liquid Glass Epoxy, including cleaning the surface with Isopropyl Alcohol and ensuring a clean, dry, and warm working environment.
- Techniques such as applying epoxy evenly, using a heat gun to remove air bubbles, and using a stir stick to fill in low spots can help create a smooth and level surface.
- Liquid Glass Epoxy can be used for resin art effects by experimenting with different techniques, additives, and pigments, and protecting the artwork from UV exposure to prevent yellowing.
Benefits of Liquid Glass Epoxy
Liquid Glass Epoxy offers a multitude of benefits that make it the top choice for professionals and artists alike. With its deep pour capability of 2-4 inches, this clear coat epoxy resin ensures a crystal clear finish on any surface. The clean and scrape technique allows for a dust-free environment, ensuring optimal adhesion.
One of the major advantages of Liquid Glass Epoxy is its quick cure time. By eliminating 75% of work, this epoxy resin saves time and effort. The bubble-less technology allows bubbles to effortlessly rise to the surface as it cures, resulting in a flawless finish without the need for additional steps to remove bubbles.
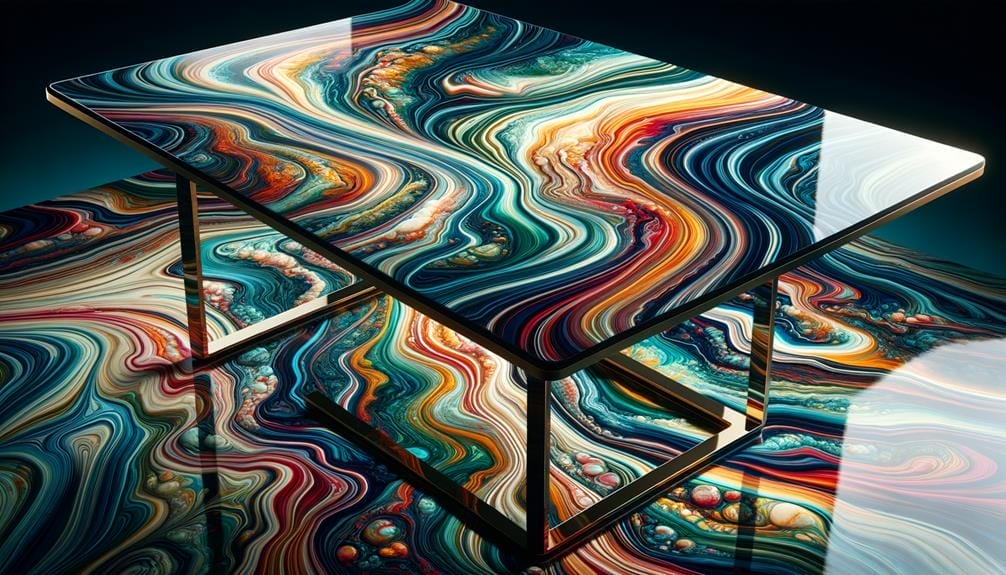
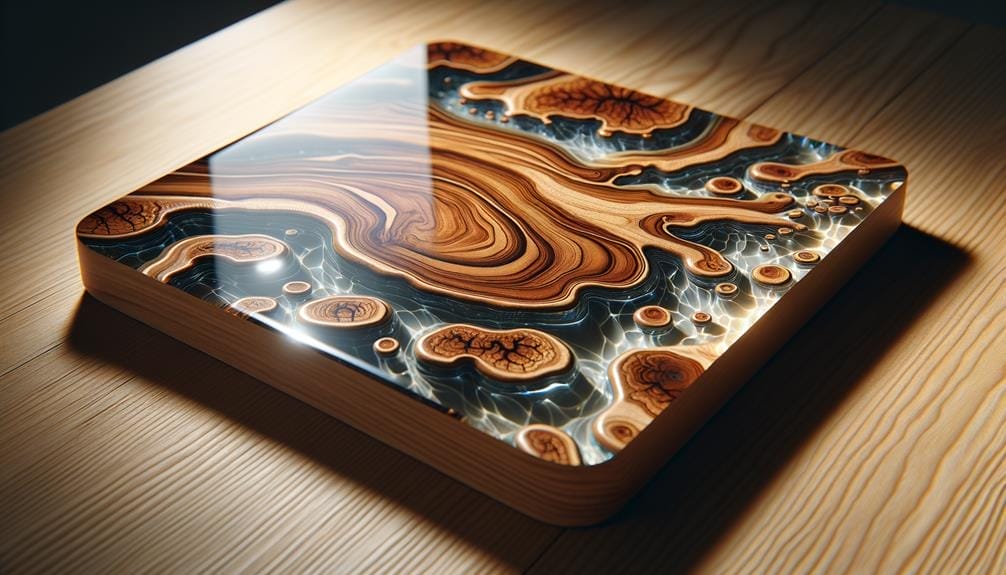
For artists, Liquid Glass Epoxy provides a smooth and glossy finish that enhances the vibrancy of their paintings. This epoxy resin is suitable for wood panel, aluminum panel, or good quality canvas and stretcher frame. Its deep pour capability ensures a thick and resilient surface, making it ideal for ocean art and river tables.
In addition to its performance benefits, Liquid Glass Epoxy is proudly made in the USA, ensuring high-quality manufacturing standards and supporting the local economy. Its UV stability prevents yellowing over time, ensuring long-lasting clarity.
Surface Preparation Techniques
To ensure optimal adhesion and a flawless finish, proper surface preparation techniques are crucial when working with Liquid Glass Epoxy. Follow these steps to prepare the surface before applying the epoxy:
- Clean the surface: Before starting the epoxy application, it's important to thoroughly clean the surface with Isopropyl Alcohol 90%+. This will remove any dirt, grease, or contaminants that could interfere with the adhesion of the epoxy.
- Protect the working environment: Use plastic sheeting to cover the surrounding area and protect it from any spills or drips. This will make the cleanup process easier and prevent any damage to the surroundings.
- Ensure the ideal conditions: The working environment should be clean, dry, and at least 70 degrees Fahrenheit. This will provide optimal conditions for the epoxy to cure properly and achieve its maximum strength.
Creating a Smooth and Level Surface
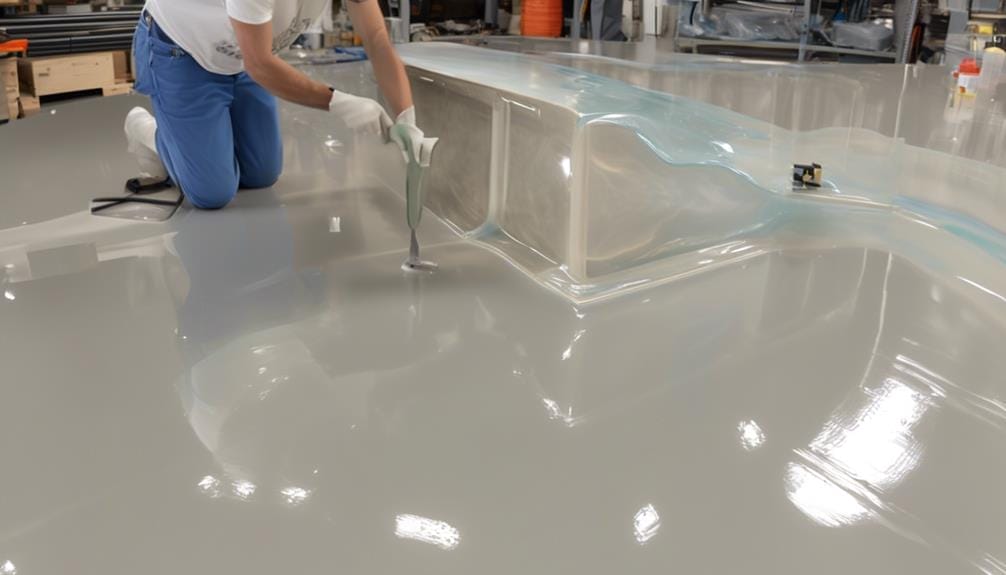
To create a smooth and level surface with liquid glass epoxy techniques, there are several key points to keep in mind.
Firstly, ensure that the epoxy is applied evenly by using a heat gun to remove any air bubbles and achieve a smooth finish.
Secondly, avoid over-clamping the wood substrate to allow for slight shifting and maintain a level surface.
Lastly, smooth out any imperfections by cleaning the surface with Isopropyl Alcohol 90% + before applying the seal coat. Also, raise the mold off a flattened surface using saw horses or 44s to ensure a level pour.
Surface Preparation Techniques
For a smooth and level surface, ensure that the working environment is clean, dry, and at least 70 degrees.
Here are three surface preparation techniques to achieve the best results:
- Clean the surface with Isopropyl Alcohol 90% or higher to remove any dirt, dust, or contaminants. Scrape the sides of the bucket to ensure a clean mixture.
- Stir the epoxy mixture for at least 5 minutes to ensure thorough blending. Pour the deep pour epoxy in a steady stream to avoid introducing air bubbles.
- After pouring the epoxy, wait for the first 12-24 hours for the initial cure. Then, within 48-72 hours, the first layer should be fully cured. Scrape the sides of the bucket and clean with Isopropyl Alcohol to remove any excess epoxy.
Applying the Epoxy Evenly
To ensure a smooth and level surface when applying liquid glass epoxy, there are several steps you can take.
First, start by using Liquid Glass® Deep Pour. Pour the mixture directly into the mold at the desired depth, ensuring an even distribution.
Next, to remove air bubbles and achieve a smooth surface, use a heat gun. This will help to eliminate any trapped air and create a level finish.
Before applying the seal coat, it is crucial to clean the surface with Isopropyl Alcohol 90%+. This will remove any dirt or debris and ensure that the epoxy adheres properly.
If the pour is tacky, it is important to avoid scraping in unmixed material, as this can create uneven spots.
To make cleanup easier and prevent any uneven distribution of the epoxy, lay down plastic sheeting. This will catch any drips and make it easier to clean up any spills.
Finally, allow the surface to cure for the recommended time. This will ensure that the epoxy sets properly and creates a smooth and level result.
Smoothing Out Imperfections
After pouring the liquid glass epoxy into the mold and removing any air bubbles with a heat gun, the next step is to focus on smoothing out imperfections to create a smooth and level surface. Here are three steps to help you achieve a flawless finish:
- Clean the surface: Before applying the epoxy, make sure to clean the surface thoroughly with Isopropyl Alcohol 90%+. This ensures that any dirt or debris is removed, resulting in a smooth and level outcome.
- Use a heat gun: After the epoxy is properly mixed and poured, use a heat gun to remove any remaining air bubbles. Be careful not to apply too much heat as it can cause the epoxy to start curing too quickly and result in stress on the surface.
- Stir stick technique: To address any surface imperfections, use a stir stick to gently move the epoxy around and fill in any low spots. This technique helps to create a smooth and level surface.
Applying Liquid Glass Epoxy to Objects
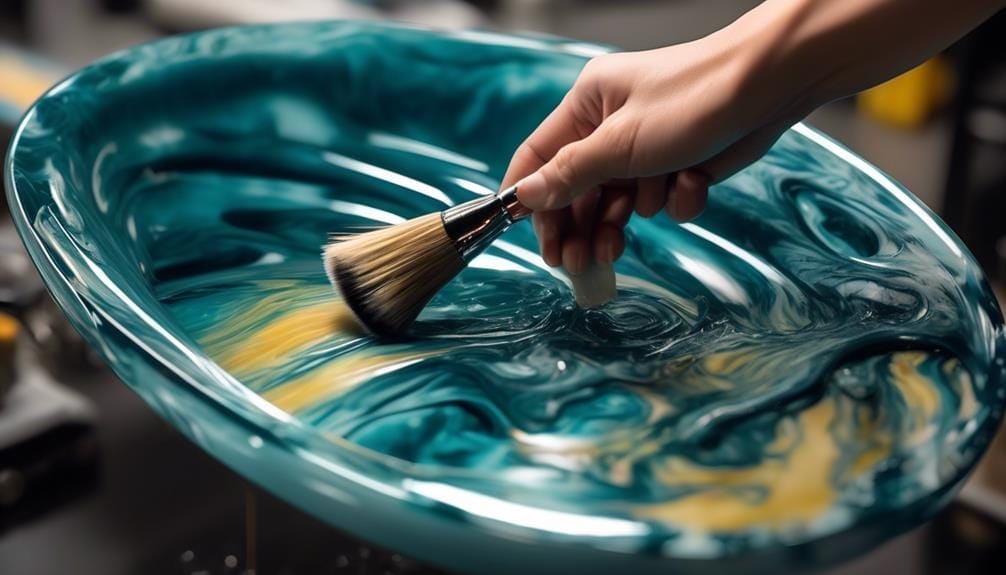
To achieve a flawless application of liquid glass epoxy to objects, accurately determine the required amount of epoxy using the Coverage Chart before mixing. This step is crucial to ensure that you have the right proportions for your project.
Once you have determined the amount of epoxy needed, it's time to prepare the surface. Clean it thoroughly with Isopropyl Alcohol 90% + to remove any dust and debris, ensuring a smooth and clean application.
Before pouring the liquid glass epoxy, it's important to stir the mixture well. This will help to evenly distribute any settling that may have occurred during storage. Once the mixture is ready, pour it onto the surface you want to coat. Be mindful of the depth you desire, especially if you're using a superclear deep pour epoxy.
As you pour the epoxy, air bubbles may form. To eliminate them, use a heat gun to gently apply heat to the surface. This will cause the bubbles to rise and pop, resulting in a smooth finish.
After pouring and removing air bubbles, allow the epoxy to cure for up to 72 hours. During this time, it's crucial to keep the surface undisturbed and free from dust. If necessary, you can elevate the object off the flattened surface using saw horses or 44s to ensure even heat distribution during the curing process.
Remember not to clamp the object too tightly, as pressure will build and affect the curing process. Additionally, be mindful of the temperatures and conditions in the curing environment. Extreme temperatures or high humidity can impact the final result.
Achieving Stunning Resin Art Effects
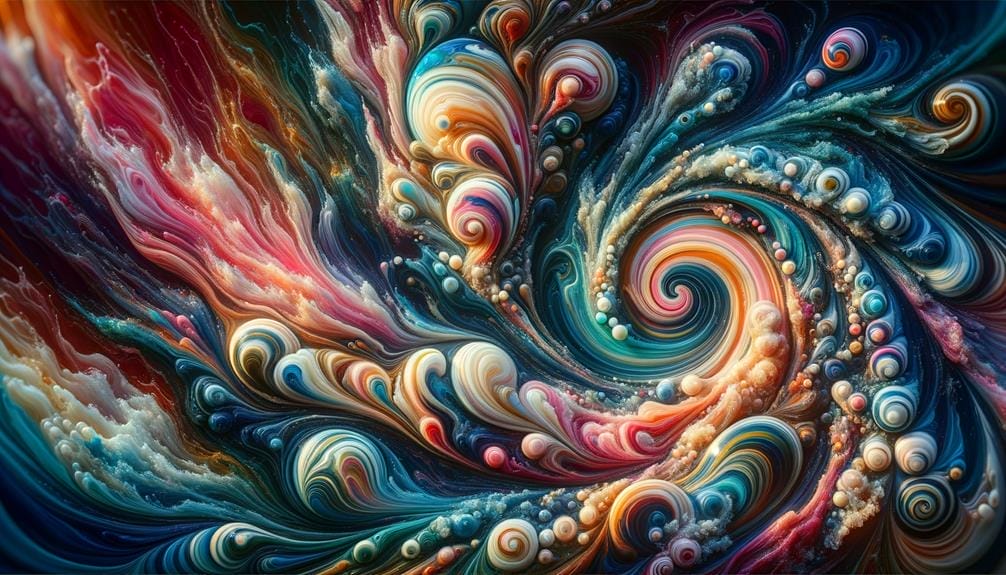
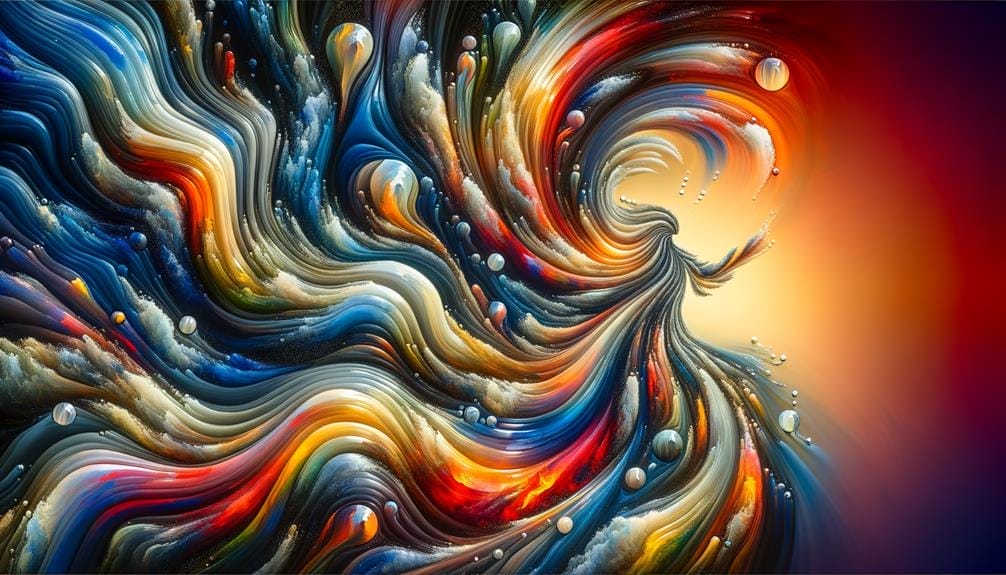
To achieve stunning resin art effects with Liquid Glass Epoxy, you can create colorful resin swirls by mixing in various pigments or adding alcohol ink.
By experimenting with different colors and techniques, you can achieve unique and eye-catching designs in your resin artwork.
The combination of Liquid Glass Epoxy's crystal clear finish and the vibrant colors of the resin and alcohol ink will result in mesmerizing and stunning resin art effects.
Colorful Resin Swirls
For achieving stunning resin art effects with colorful resin swirls, consider using Liquid Glass Deep Pour Epoxy for its crystal clear finish, high gloss, and shine.
To create vibrant and unique designs, follow these techniques:
- Prepare the surface: Ensure the surface is clean and level to achieve an even and professional-looking result.
- Mix and pour: Follow the instructions provided by Liquid Glass Depot for proper mixing and pouring. Avoid overmixing to minimize the formation of air bubbles.
- Create swirls: Add colored resin to the clear epoxy and use a sweep back technique to create swirls. This can be done by pouring the colored resin onto the surface and using a tool to create the desired patterns.
Remember to work in an ambient temperature environment to optimize the curing process and ensure proper adhesion.
With these liquid glass epoxy techniques, you can achieve stunning resin art effects with colorful resin swirls.
Resin and Alcohol Ink
Achieve stunning resin art effects by incorporating alcohol inks into your resin creations.
To start, prepare your working surface by covering it with plastic sheeting to ensure easy cleanup.
Next, mix your desired amount of Casting Resin according to the directions for that product. Pour the resin onto the surface, making sure to cover the sides or bottom as needed.
Now, it's time to add the alcohol inks. Drip, swirl, or blow the inks onto the resin surface to create unique patterns and designs. Experiment with different colors and techniques to achieve colorful and vibrant effects.
Let the resin cure in your particular heat source and allow it to reach the desired depth. Once cured, the resin will be glass clear and any bubbles that remain can be removed using a heat source.
Keep in mind that the resin may feel tacky after 24 hours, but it will continue to cure over time.
Incorporating alcohol inks into your resin art not only adds color and vibrancy but also helps with the adhesion of the liquid to a solid.
Take your time and let your creativity flow as you create stunning resin art with alcohol inks.
Adding Pigments and Dyes to Liquid Glass Epoxy

When incorporating pigments and dyes into liquid glass epoxy, it's important to follow the recommended guidelines for optimal color distribution and avoid over-pigmenting the mixture. To achieve the best results, here are some key points to keep in mind:
- Determine the amount of epoxy needed using the Coverage Chart provided. This will help ensure that you have the right proportions of epoxy and pigment for your project.
- Add the color towards the end of the mixing process. This will help ensure even distribution of the color and prevent over-pigmenting, which can result in a darker color than desired.
- Keep the mixture moving slowly during the mixing process. Liquid Glass Depot Epoxy provides a long work time, but it's important to avoid mixing for more than 12 minutes. This will help prevent the mixture from becoming tacky before pouring.
Once you have mixed the epoxy and pigment, pour it into a clean and level surface. Allow the epoxy to cure at least 70 degrees Fahrenheit or above, as increased heat can help speed up the curing process. After pouring, gently disturb the surface with a heat gun or torch to remove any bubbles.
Tips for Avoiding Bubbles and Imperfections
To achieve a flawless and bubble-free finish, it's essential to take certain precautions and follow specific techniques during the epoxy application process.
One of the key factors to consider is the working environment. Make sure the surface is clean, dry, and at least 70 degrees. This will help prevent bubbles and imperfections from forming during the epoxy pour.
Before applying the seal coat, it's important to clean the surface with Isopropyl Alcohol 90%+. This will remove any contaminants or dust particles that could cause bubbles or imperfections in the epoxy.
During the pour, use a heat gun to remove air bubbles from the mixture. Gently sweep the heat gun back and forth over the surface to release trapped air and achieve a smooth finish.
For deep pour applications, avoid over-clamping the wood substrate. Over-clamping can create imperfections and prevent slight shifting, which may occur as the epoxy cures.
After the epoxy has been poured, allow the surface to cure for up to 72 hours in a dust-free environment. This will ensure that the epoxy has fully cured and will result in a flawless and bubble-free finish.
Curing and Finishing Techniques
Ensure a smooth and flawless finish for your epoxy project by implementing proper curing and finishing techniques. To achieve the desired results, follow these steps:
- Prepare the working environment:
- Before applying the seal coat, ensure that the working environment is clean, dry, and at least 70 degrees.
- This will help to promote proper adhesion and prevent any potential issues during the curing process.
- Clean the surface with Isopropyl Alcohol 90%+ to remove any contaminants and ensure a clean canvas for your epoxy project.
- Remove air bubbles and ensure a smooth surface:
- After pouring the epoxy, use a heat gun to gently remove any air bubbles that may have formed.
- This will help to create a smooth and even surface.
- Allow the epoxy to cure for up to 72 hours in a dust-free environment, ensuring that no disturbances occur during this time.
- Consider deep pour techniques:
- If you're working on a project that requires a deeper pour, such as river tables, it's important to raise the mold off a flattened surface using saw horses or 44s.
- This will allow for slight shifting and prevent over-clamping of the wood substrate.
Frequently Asked Questions
How Do You Apply Liquid Glass Epoxy?
To apply liquid glass epoxy, start by preparing the surface and cleaning it with isopropyl alcohol. Mix the resin and activator according to the instructions, then pour it into the mold. Use a heat gun to remove air bubbles and allow it to cure.
What's the Difference Between Liquid Glass and Epoxy Resin?
Liquid Glass® epoxy offers a deeper pour capability and exceptional durability compared to standard epoxy resin. It provides a crystal-clear finish and is versatile for various applications. The difference lies in the depth, clarity, and performance.
How Long Does Liquid Glass Epoxy Take to Harden?
Liquid glass epoxy typically takes 12-24 hours to harden, fully curing in 48-72 hours. Factors like temperature and humidity can affect hardening time. To accelerate hardening, use a heat gun. Proper mixing and post-curing techniques are important for optimal hardness.
What Is the Ratio for Liquid Glass Epoxy?
The ratio for liquid glass epoxy is 2 parts resin to 1 part activator. Make sure to mix the epoxy for at least 5 minutes, followed by 3 more minutes after transferring to a new container.
Conclusion
In conclusion, mastering the techniques of liquid glass epoxy can unlock a world of possibilities in creating stunning and durable surfaces.
By following the proper preparation and application techniques, as well as avoiding bubbles and imperfections, you can achieve a crystal clear finish that's as smooth as glass.
With its deep pour capabilities and bubble-less technology, liquid glass epoxy is the key to transforming countertops, river tables, and artwork into works of art that shine like diamonds.
So dive into the world of liquid glass epoxy and unleash your creativity today!

