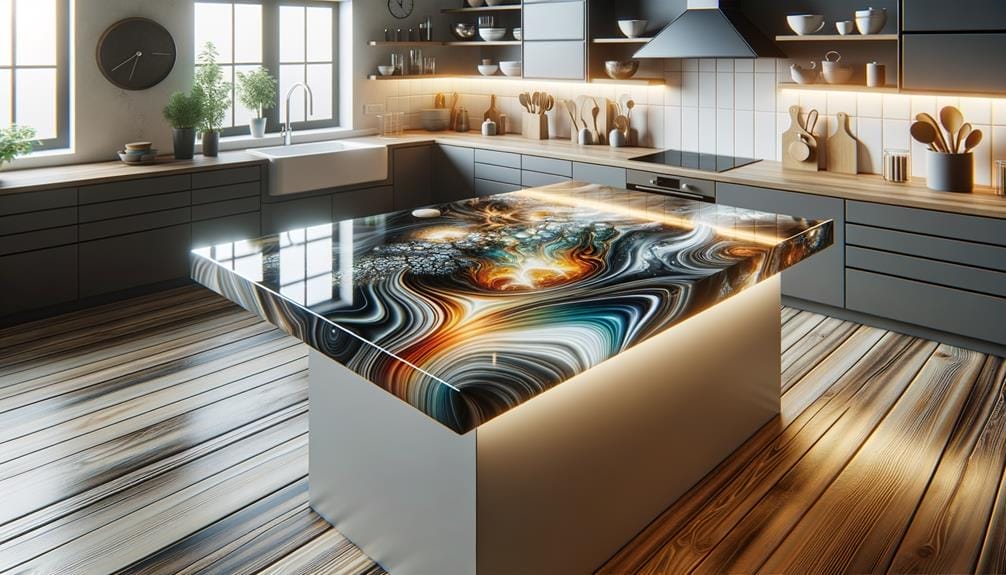
Are you tired of your dull and outdated countertops? Look no further than epoxy resin for a transformative solution that will leave you amazed.
This incredible product has taken the home improvement world by storm, offering a range of benefits that will make you rethink your current countertop situation.
But what exactly is epoxy resin, and why is it the ideal choice for your countertops?
Let’s explore the advantages, application process, and design possibilities of epoxy resin and discover how it can revolutionize your kitchen or any other space in your home.
Get ready to elevate your countertops to a whole new level of style and sophistication.
Key Takeaways
- Epoxy resin for countertops offers bubble-free and easy application, making it user-friendly.
- It is a safe and odorless option for countertop surfaces.
- Epoxy resin provides heat and scratch resistance, ensuring durability and longevity.
- With a wide range of color options, epoxy resin offers versatility in design for countertops.
What Is Epoxy Resin?
Epoxy resin, a versatile material suitable for various projects, is a high-quality coating with impressive properties and a wide range of applications. When it comes to countertops, epoxy resin offers an excellent solution. This durable material provides a smooth and shiny finish that can revamp old surfaces and transform them into stunning focal points. The resin boasts a coating thickness of 1/16′, ensuring durability and longevity. It also has a working time of 60 minutes, allowing for ample time to complete the application process. With a curing time of 8-12 hours for the primer and 16-24 hours for the main coat, epoxy resin ensures a strong and stable surface.
One of the standout features of epoxy resin is its self-venting capability, which eliminates air bubbles during the curing process. This ensures a smooth and flawless finish. Additionally, the resin is easy to use, with a simple 2:1 mixing ratio of resin to hardener. This user-friendly ratio allows for precise measurements and consistent results. Furthermore, epoxy resin is BPA-free, odorless, and solvent-free, making it safe for indoor use.
When it comes to color options, epoxy resin offers a wide range of choices to suit any style or preference. Whether you prefer bold and vibrant hues or subtle and elegant tones, there’s a color option for every design. To enhance the shopping experience, epoxy resin also provides accessories, professional tutorials, and free shipping on orders over $50. With its versatility, durability, and easy application process, epoxy resin is a top choice for countertops.
Advantages of Epoxy Resin for Countertops
With its stunning visual appeal and wide range of color options, epoxy resin for countertops offers a versatile and durable solution for transforming your kitchen or bathroom surfaces.
Here are some advantages of using epoxy resin for countertops:
- Bubble-Free and Easy to Use: The self-venting feature and easy 2:1 mixing ratio make epoxy resin for countertops bubble-free and straightforward to use, ensuring a smooth and professional finish.
- Safe and Odorless: Epoxy resin for countertops is BPA-free, odorless, and solvent-free, making it a safer and healthier option for indoor use. You can enjoy your new countertops without worrying about harmful fumes or odors.
- Heat and Scratch Resistance: Epoxy resin provides excellent heat resistance, preventing any damage from hot pots or pans. It’s also highly scratch-resistant, ensuring that your countertops stay looking beautiful for years to come.
- Versatility and Durability: Epoxy resin can be used for various projects, such as countertops, shower walls, vanities, floors, river tables, and artwork. It offers a durable and long-lasting solution thanks to its scratch resistance and zero VOC properties.
Revamp your kitchen or bathroom with epoxy resin for countertops, and enjoy the benefits of its stunning visual appeal, ease of use, safety, and durability.
Choosing the Right Epoxy Resin for Your Countertops
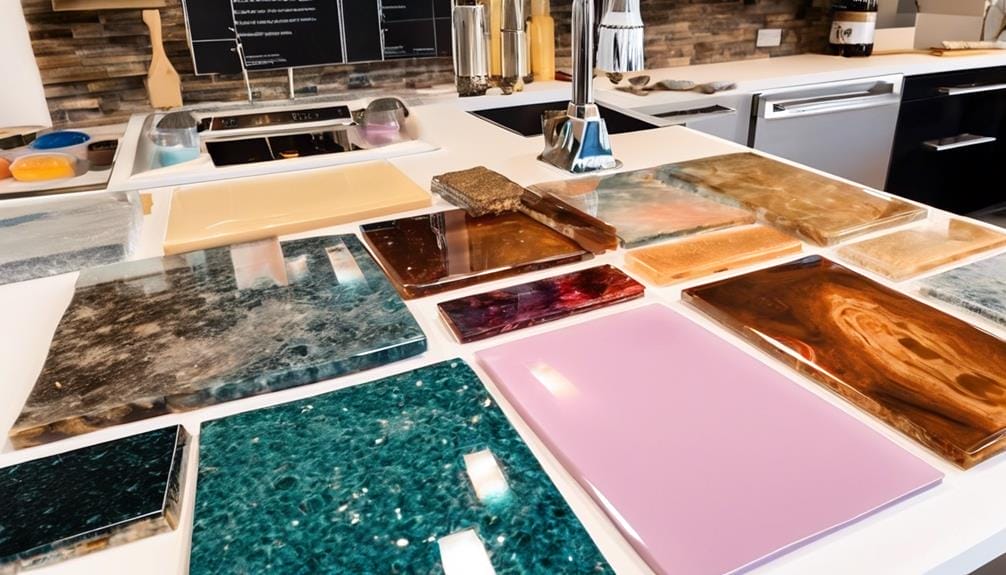
To ensure the best results for your countertops, it’s essential to select the appropriate epoxy resin carefully. When choosing the right countertop epoxy, there are several factors to consider.
First, look for a product that has received high customer ratings and reviews. This indicates that it has been tested and proven to deliver satisfactory results.
Additionally, consider the color options available. A wide range of colors allows you to create eye-catching and stunning countertops that will revamp your kitchen or workspace.
Furthermore, it’s important to choose a countertop epoxy that’s versatile and durable. Look for a product that’s heat-resistant, scratch-resistant, and impact-resistant. This will ensure that your countertops can withstand daily wear and tear.
It’s also advisable to select a countertop epoxy that has zero VOC (volatile organic compound). This means that it’s environmentally friendly and safe for use in your home.
Preparing Your Countertops for Epoxy Resin Application
To prepare your countertops for epoxy resin application, start by thoroughly cleaning the surface to remove any dust, dirt, or residues.
Next, sand the countertops to create a rough surface that will enhance the adhesion of the epoxy resin.
After sanding, fill any cracks or holes with an appropriate filler and ensure it’s completely dry before proceeding.
Additionally, apply a primer specifically designed for use with epoxy resin to ensure proper adhesion and curing.
Lastly, tape off any areas you want to protect from the epoxy resin application, such as edges and surrounding surfaces.
Cleaning the Surface
Thoroughly clean your countertop surface with soap and water to remove any dirt, grease, or debris, ensuring a pristine base for the application of epoxy resin. Here are some important steps to follow when cleaning the surface:
- Use a degreaser: To ensure the surface is completely free of any oils or residues, use a degreaser specifically designed for countertops.
- Lightly sand the surface: By lightly sanding the surface, you create a better bond for the epoxy resin, helping it adhere more effectively.
- Wipe down with a tack cloth: After sanding, it’s crucial to wipe down the surface with a tack cloth to remove any remaining dust or particles, as these can affect the final result.
Remember to ensure the surface is completely dry before applying the primer and main coat of epoxy resin.
Following these cleaning steps will help guarantee a smooth and flawless application of epoxy resin for your countertops.
Sanding the Countertops
Sanding the countertops is an essential step in preparing them for the application of epoxy resin. This process ensures a smooth and clean surface for optimal adhesion. To begin, use fine-grit sandpaper and sand the countertops thoroughly. Pay close attention to corners, edges, and any imperfections that may need extra sanding. This creates a slightly rough surface, which helps the epoxy adhere better.
After sanding, it’s crucial to clean the countertops thoroughly to remove any dust or debris. Failure to do so may compromise the adhesion of the epoxy. Properly sanding the countertops is key to achieving a professional and flawless result. By following the sanding process carefully, you’ll ensure that the epoxy resin bonds effectively, creating a durable and long-lasting finish.
Applying Primer Coat
After properly sanding the countertops, the next step in preparing them for the application of epoxy resin is to apply the included Epoxy Primer, which is crucial for ensuring optimal adhesion and a durable finish.
To achieve the best results, follow these steps:
- Stir the Epoxy Primer thoroughly and transfer it into a paint tray.
- Apply a thin layer of the primer onto the surface using a paint roller or brush.
- Allow the primer to dry for 8-12 hours, ensuring a proper bond with the countertop.
Step-by-Step Guide to Applying Epoxy Resin on Countertops
To begin the process of applying epoxy resin on countertops, start by ensuring that the surface is clean and free of any debris. Use a mild detergent and warm water to clean the countertop thoroughly. Once clean, dry the surface completely using a lint-free cloth.
Next, apply a thin layer of epoxy primer onto the countertop surface. This primer is typically included in the epoxy resin kit. Use a brush or roller to evenly spread the primer, making sure to cover the entire surface. Allow the primer to dry for 8-12 hours before moving on to the next step.
Now, it’s time to mix the epoxy resin and hardener. Follow the manufacturer’s instructions and mix the two components in a 2:1 ratio. It’s important to thoroughly blend the resin and hardener to ensure a proper chemical reaction.
Once the epoxy resin mixture is ready, apply it to the countertop surface. Use a brush or roller to spread the resin evenly, covering the entire area. Pay attention to any edges or corners to ensure full coverage.
After applying the epoxy resin, let it cure according to the manufacturer’s instructions. This usually takes around 24-48 hours. During this time, make sure the countertop is in a well-ventilated area to allow for proper drying.
Tips and Tricks for a Successful Epoxy Resin Countertop Project
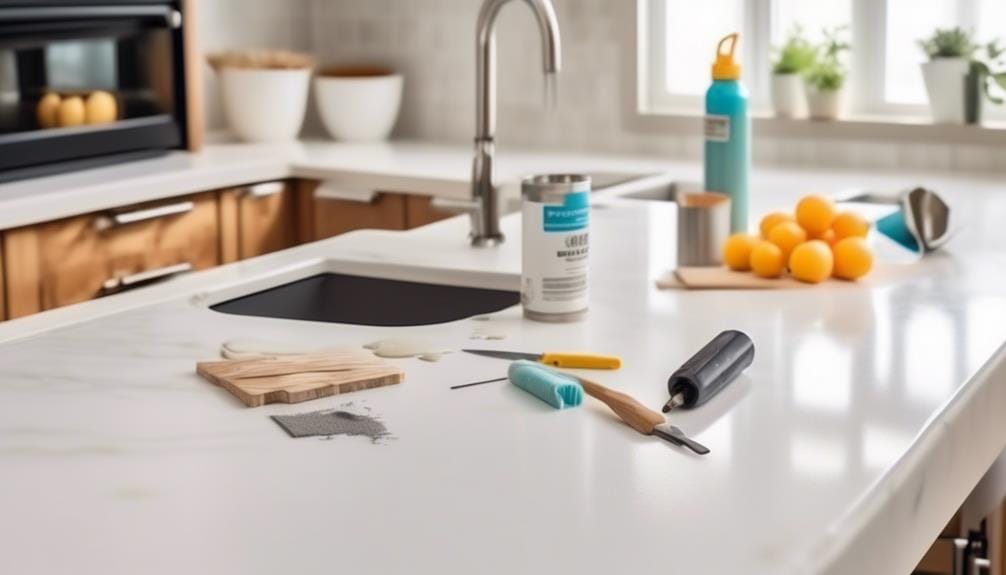
To ensure a successful epoxy resin countertop project, there are several key points to keep in mind.
First, proper surface preparation is essential, including controlling temperature and humidity.
Additionally, it’s crucial to use the correct mixing ratio of resin and hardener and ensure thorough blending to avoid any curing issues.
Lastly, employing proper application techniques, such as taping the edges and incorporating colorants, will help achieve a professional and visually appealing finish.
Surface Preparation
Properly preparing the surface is crucial for achieving a successful epoxy resin countertop project, ensuring adhesion and a smooth finish. Here are some important tips to keep in mind:
- Start by sanding the surface to remove any existing coatings or imperfections. This will create a rough texture that allows the epoxy resin to adhere properly.
- Clean the surface thoroughly to remove any dust, dirt, or debris. A clean surface will help the epoxy resin to bond effectively.
- Apply a primer included in the epoxy resin kit. Allow it to dry for 8-12 hours before proceeding with the main coat. The primer helps to enhance adhesion and durability.
- Tape the edges of the countertop to prevent epoxy run down, which can ruin the finish.
- Mix the epoxy resin and hardener in a 2:1 ratio, following the manufacturer’s instructions. This ensures proper curing and a strong bond.
- Ensure accurate temperature and surface conditions for application.
Follow professional step-by-step tutorials to achieve the best results.
Mixing Ratios
For a successful epoxy resin countertop project, achieving the correct mixing ratios is crucial. The recommended ratio for epoxy resin for countertops is a simple 2-part resin to 1-part hardener. This carefully balanced combination ensures proper curing and optimal results.
To achieve flawless results, it’s important to thoroughly blend the resin and hardener, ensuring that no streaks or clumps are present. Additionally, if you desire a more customized look, you can add colorants to the mixture for stunning and eye-catching countertop designs.
To prevent resin rundown during application and curing, it’s recommended to tape the edges of the countertop. Following the recommended temperature and surface condition guidelines for primer and main coat application is also essential to achieve the best results.
Proper Application Techniques
Achieving a flawless epoxy resin countertop requires precise application techniques that yield optimal results. To ensure success, follow these tips and tricks:
- Apply the epoxy primer included in the kit onto the surface and allow it to dry for 8-12 hours for optimal adhesion.
- Tape the edges of the countertop to prevent epoxy rundown during application.
- Mix the resin and hardener in a 2:1 ratio, thoroughly blending the components before applying the epoxy resin mixture onto the surface.
To enhance the visual appeal of your countertop, incorporate colorants into the epoxy resin mixture for stunning and eye-catching effects. Additionally, consider utilizing high-quality flow additives to achieve flawless results.
To prevent soot stains on the resin, apply a thin layer of primer onto the surface and allow it to dry for 8-12 hours before adding the main coat.
Maintenance and Care for Epoxy Resin Countertops
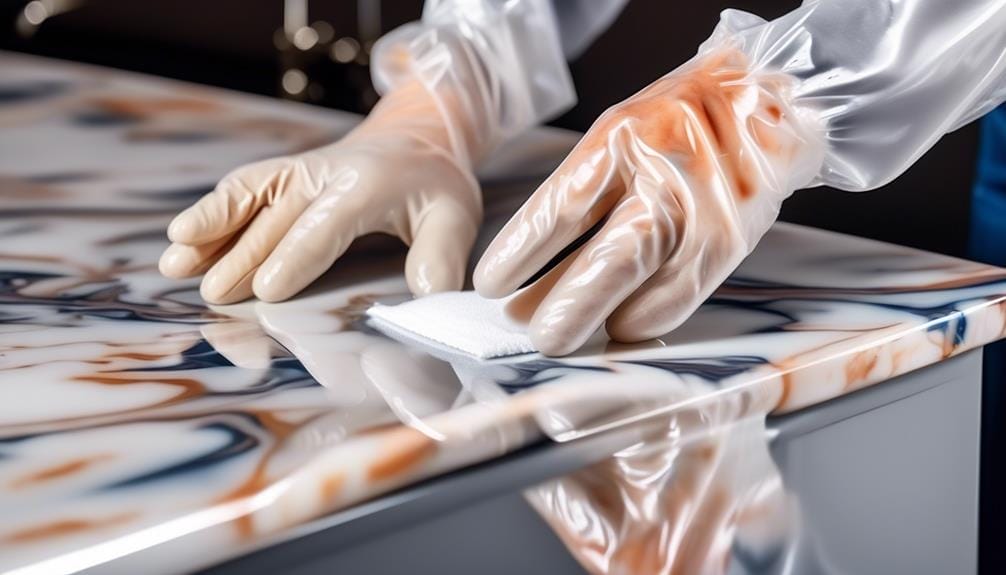
To properly maintain and care for your epoxy resin countertops, it’s essential to follow a few key guidelines.
Regular cleaning is important to remove dirt and grime that can accumulate on the surface. Use mild soap and water to wipe down the countertops, avoiding abrasive cleaners or scouring pads that could scratch the epoxy.
When dealing with hot pans or dishes, always use trivets or hot pads to protect the epoxy from heat damage.
Applying a fresh coat of sealant every few years will help maintain the glossy finish and protect against wear and tear.
It’s also crucial to wipe up spills promptly to prevent staining and preserve the pristine appearance of the countertops.
How to Repair Damaged Epoxy Resin Countertops
To repair damaged epoxy resin countertops, begin by cleaning the damaged area and removing any loose or chipped epoxy resin. Once the area is clean and free of debris, you can proceed with the repair process.
Here are the steps to follow:
- Prepare a new batch of epoxy resin according to the manufacturer’s instructions. It’s important to follow the recommended mixing ratios and curing times for the best results.
- Apply the new resin to the damaged area, ensuring it’s level with the rest of the countertop. Use a tool such as a putty knife or a spatula to spread the resin evenly. Make sure to cover the entire damaged area and blend it seamlessly with the surrounding surface.
- Allow the repaired area to cure for the recommended time before using the countertop. This will ensure that the resin sets properly and achieves its maximum strength.
- After the epoxy resin has fully cured, sand the repaired area to smooth any rough edges or imperfections. Start with a coarse grit sandpaper and gradually move to a finer grit for a polished finish.
- Finally, polish the repaired area using a polishing compound to blend it seamlessly with the rest of the countertop surface. This will give it a smooth and glossy appearance.
Epoxy Resin Countertop Design Ideas and Inspiration
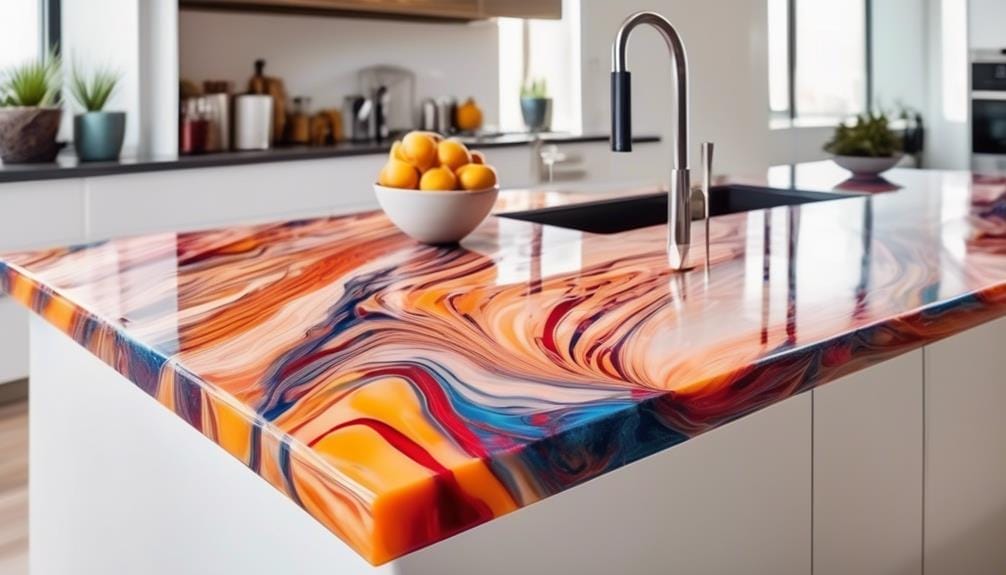
After successfully repairing your damaged epoxy resin countertops, it’s time to explore exciting design ideas and find inspiration for your new countertop surface.
Epoxy resin for countertops offers a wide range of design possibilities, allowing you to create a stunning and unique look for your kitchen or bathroom. With epoxy resin kits available in metallic, solid, and stone finishes, you can achieve a variety of aesthetic effects that will enhance the overall appearance of your countertops.
One popular design idea is to incorporate metallic epoxy resin into your countertop surface. This creates a captivating and luxurious look that can mimic the appearance of precious metals like gold or silver. The metallic flakes in the epoxy resin catch the light, adding depth and dimension to the countertop. This design option is perfect for those looking to make a bold statement in their kitchen or bathroom.
If you prefer a more natural look, consider using a stone epoxy resin for your countertops. This allows you to recreate the look of granite or marble at a fraction of the cost. Stone epoxy resin offers a realistic texture and color variation, giving your countertops a high-end and sophisticated appearance.
In addition to color options, epoxy resin for countertops also provides durability and functionality. It’s heat and scratch-resistant, making it suitable for everyday use in the kitchen. Its versatility extends beyond countertops, as it can also be used for shower walls, vanities, floors, river tables, and artwork.
To find inspiration for your epoxy resin countertop design, consider browsing online resources, such as websites and social media platforms, where you can find photos and ideas from other homeowners who’ve used epoxy resin in their projects. Professional tutorials are also available to guide you through the design process and ensure a satisfactory outcome.
When shopping for epoxy resin kits, look for reliable suppliers that offer a hassle-free shopping experience and a wide range of accessories and services. By choosing high-quality epoxy resin and following proper application techniques, you can achieve a beautiful and long-lasting countertop surface that will enhance the aesthetic appeal of your space.
Epoxy Resin Vs. Other Countertop Materials: a Comparison
Epoxy resin surpasses other countertop materials in its wide range of colors and patterns, providing homeowners with unparalleled design possibilities. When comparing epoxy resin to other countertop materials, it becomes evident that epoxy resin offers several advantages that make it a superior choice for homeowners.
Consider the following points:
- Versatile Design Options: Epoxy resin offers an extensive range of colors and patterns, including metallic, solid, and stone effects. This versatility allows homeowners to create unique and personalized designs that suit their individual style and taste.
- Durability and Practicality: Epoxy resin provides a durable, scratch-resistant, and heat-resistant surface, ensuring a long-lasting and practical countertop solution. It can withstand daily wear and tear, making it suitable for high-traffic areas.
- Easy Customization: Unlike other materials, epoxy resin allows for easy customization. Homeowners can revamp their old countertops by applying a layer of epoxy resin, transforming them into stunning focal points. Additionally, epoxy resin can be poured directly onto countertops, creating eye-catching designs and textures.
Frequently Asked Questions About Epoxy Resin for Countertops
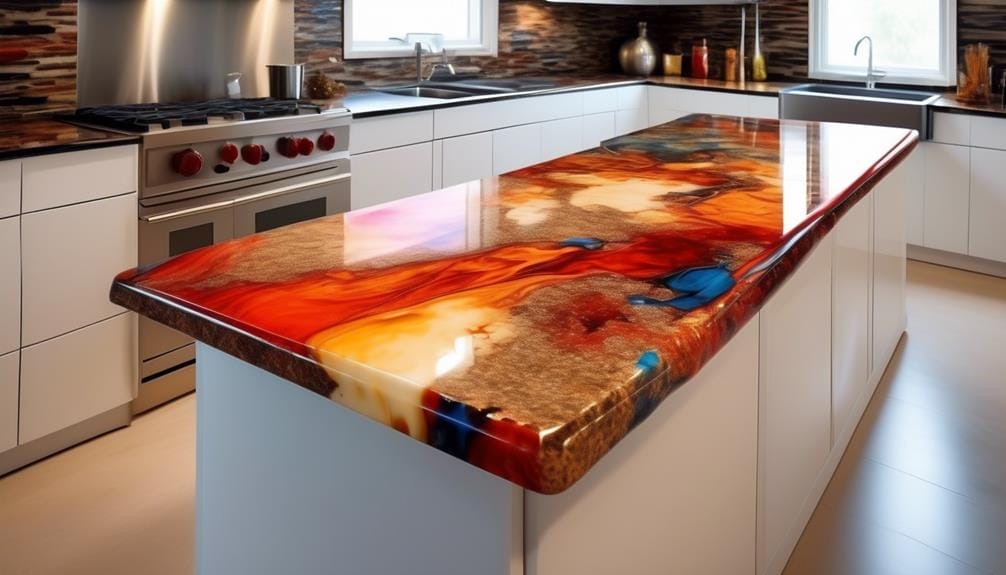
For those considering epoxy resin for their countertops, you may have some common questions about its application and usage. Here are the answers to some frequently asked questions about epoxy resin for countertops.
- What are the recommended temperature and surface conditions for applying the primer?
To ensure proper adhesion, it’s recommended to apply the primer in temperatures between 70-80°F (21-27°C) and a relative humidity below 75%. The surface should be clean, dry, and free from any dust, grease, or contaminants.
- How long does the primer need to dry before applying the main coat?
The drying time for the primer can vary depending on the specific product and environmental conditions. It’s generally recommended to wait for at least 4 to 6 hours, or until the primer is completely dry, before applying the main coat.
- Are there specific instructions for preventing epoxy rundown when applying the main coat?
Yes, to prevent epoxy rundown, it’s important to apply the main coat in thin and even layers. Avoid excessive pouring or pooling of the epoxy resin, as it can lead to sagging or drips. Use a brush or roller to spread the epoxy evenly and remove any excess before it cures.
- Can the epoxy resin be used for shower walls and vanities as well?
Yes, epoxy resin can be used for shower walls and vanities. However, it’s important to ensure proper ventilation and follow the manufacturer’s instructions for application and curing.
- Are there any shipping restrictions for the epoxy resin products?
Some epoxy resin products may have shipping restrictions due to their chemical composition or flammability. It’s advisable to check with the manufacturer or supplier regarding any specific shipping regulations or requirements.
Conclusion: Transform Your Countertops With Epoxy Resin
With the knowledge gained from the frequently asked questions about epoxy resin for countertops, you’re now ready to explore the transformative potential of epoxy resin for your own countertops.
Here are three reasons why epoxy resin is the perfect choice for your countertop transformation:
- Stunning Finishes: Epoxy resin allows you to easily transform old and worn-out countertops into stunning, eye-catching pieces. With a wide range of color options available, including Moss Green, Azure Blue, Flame Copper, and more, you can personalize your countertops to match your style and taste.
- Flawless Application: Say goodbye to bubbles and imperfections. High-quality flow additives ensure a flawless, bubble-free finish while being odorless, solvent-free, and BPA-free for safe indoor use. Detailed step-by-step tutorials and professional support make the application process easy and hassle-free, even for beginners.
- Durable and Heat-Resistant: Epoxy resin not only revolutionizes the appearance of your countertops but also enhances their durability. The high-performance coating is scratch-resistant and heat-resistant, making it perfect for everyday use in the kitchen or bathroom.
Frequently Asked Questions
Is Epoxy Resin Good for Countertops?
Yes, epoxy resin is an excellent choice for countertops. It offers durability, heat and scratch resistance, and customizable designs. Compared to alternative materials, it provides a high-quality finish and is easy to use.
How Long Does Epoxy Resin Countertop Last?
Epoxy resin countertops typically last 20-30 years or more with proper care. Regular maintenance, cleaning, and avoiding heat and harsh chemicals can extend their lifespan. Resealing and occasional repairs can further increase durability.
How Much Does It Cost to Epoxy Coat a Countertop?
The cost to epoxy coat a countertop can range from $200 to $800, depending on the size and material. Factors like labor and custom colors can add to the price. Epoxy finish offers durability and resistance to scratches and heat.
What Is the Best Resin to Use on Countertops?
The best resin to use on countertops is epoxy resin. It offers a high-quality finish that is heat-resistant, scratch-resistant, and odorless. Plus, it provides a wide range of color options for customization.
Conclusion
Transform your countertops with epoxy resin and experience the perfect combination of versatility and durability. With its high gloss finish and stunning color combinations, your countertop will stand out in any space.
The easy application and self-venting formula ensure a flawless result every time. Choose epoxy resin for countertops and enjoy a BPA-free, odorless, and solvent-free solution that’s safe for indoor use.
Revamp your old countertops with confidence and create a beautiful and functional surface that will last for years to come.

