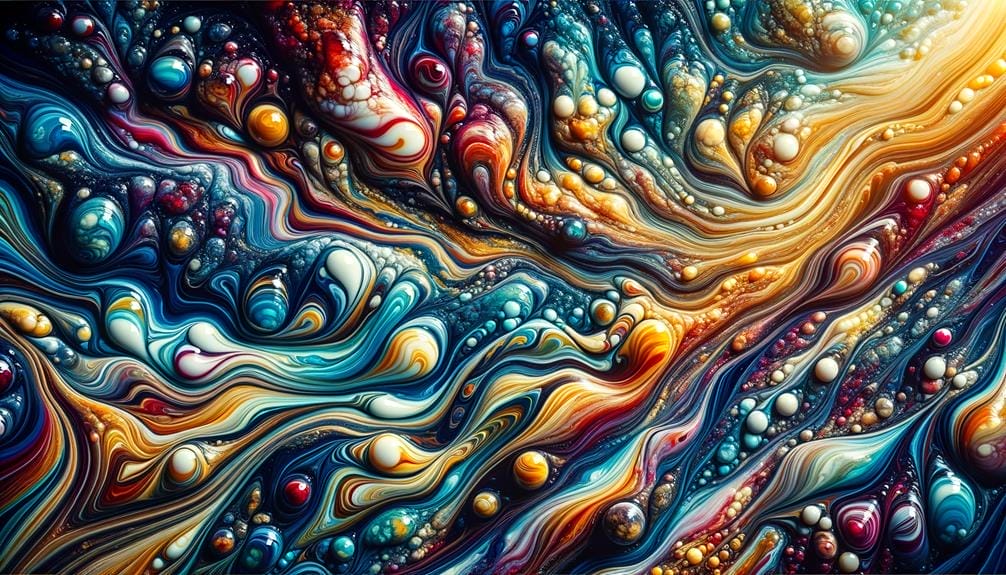
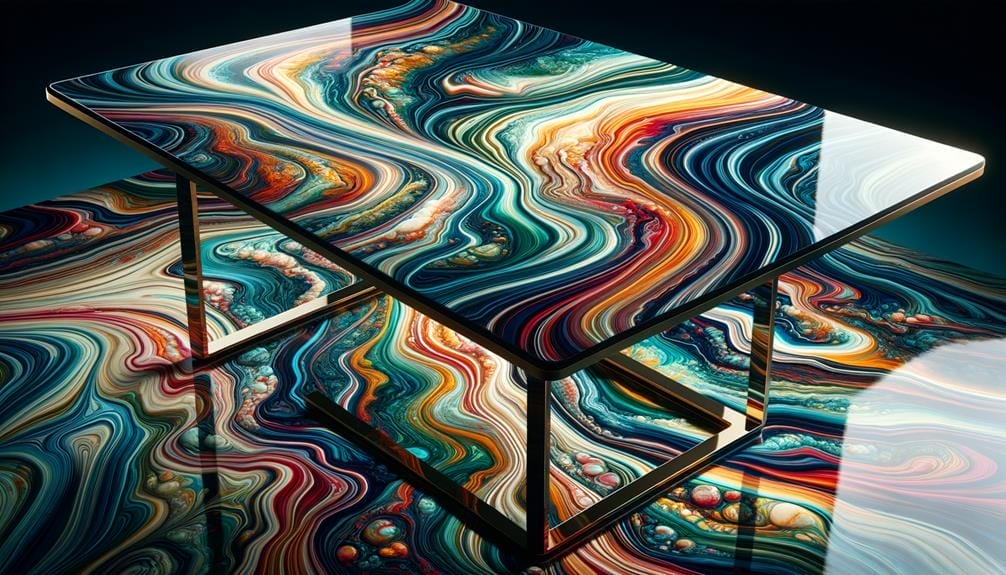
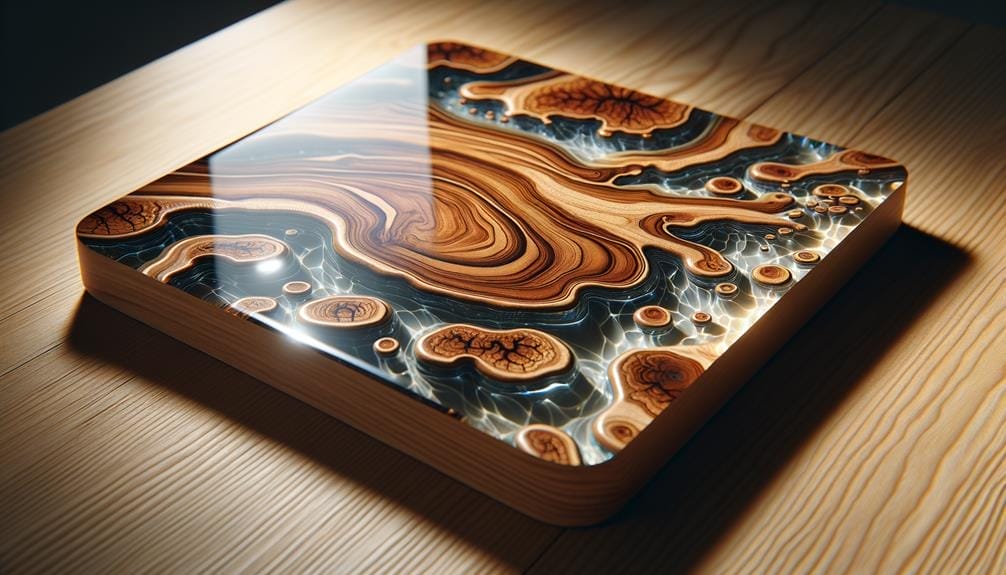
Like a painter with a palette of endless colors and a sculptor with a block of clay, you have the power to transform liquid glass epoxy into a masterpiece of your own creation. By customizing it with colors and textures, you can elevate your projects to new heights of creativity and personalization.
But how exactly can you achieve these stunning effects? How do you mix and combine the colorants? What techniques can you use to add textures?
In this discussion, we will explore the captivating world of customizing liquid glass epoxy, unlocking the secrets to creating mesmerizing colors and captivating textures that will leave you inspired and eager to dive deeper into this artistic realm.
Key Takeaways
- Liquid glass epoxy offers a wide range of customization options, including the ability to add different colors, textures, and personalized elements.
- When choosing color options for liquid glass epoxy, it is important to consider using colorants specifically made for epoxy resin and to experiment with different brands to find the perfect shades.
- Textured finishes can be achieved by incorporating materials like sand, pebbles, or glass beads, and by using techniques like stippling, sponging, or dragging.
- Mixing colors in liquid glass epoxy involves experimentation with different colorants, such as mica powder, pigment pastes, alcohol inks, and liquid pigments, to achieve stunning effects and enhance the overall look of epoxy projects.
Benefits of Customizing With Liquid Glass Epoxy
When it comes to customizing your projects, the benefits of using liquid glass epoxy are truly unmatched. Epoxy resin is a versatile material that can be transformed into a liquid form, allowing for easy application and customization.
One of the main advantages of using liquid glass epoxy is the ability to add color to your projects. With a wide range of colors available, including metallic, glittery, and solid shades, you can create stunning and vibrant designs that will stand out. Whether you want to pour a single color or create intricate patterns with multiple colors, liquid glass epoxy allows you to unleash your creativity and achieve the desired look.
In addition to color, customizing with liquid glass epoxy also offers the benefit of texture variations. By manipulating the pouring technique or adding additional materials, you can create different effects such as a smooth, glossy finish or dimensional textures. This allows you to add depth and visual interest to your projects, making them more visually appealing and unique.
Furthermore, customizing liquid glass epoxy allows you to personalize your projects by embedding or layering personalized text, patterns, and images. Whether you want to add your name, a logo, or a special design element, liquid glass epoxy provides a seamless and durable way to incorporate these elements into your creations.
Exploring Color Options for Liquid Glass Epoxy
To explore the vibrant world of color options for liquid glass epoxy, let's dive into the array of possibilities that can elevate your projects to new levels of creativity and visual appeal. When it comes to tinting epoxy resin, there's a wide range of colorants available, each offering unique effects and characteristics. Mica powder, pigment pastes, alcohol inks, and liquid pigments are just a few options to consider.
One important factor to keep in mind is the transparency of the tinted epoxy resin. The choice of colorants, thinning agents, and the presence of air bubbles can all affect the final outcome. For consistent and translucent results, alcohol inks are often recommended. Compared to options like food coloring and acrylic paints, alcohol inks offer more reliable and predictable results.
When selecting tinting materials for your liquid glass epoxy, it's essential to use dyes specifically made for epoxy resin. Experimenting with different brands can help you find the perfect color options for your projects. It's also important to avoid materials that may cause cloudiness or fading over time, ensuring that your creations maintain their vibrant and long-lasting appeal.
Superclear® Epoxy Systems offers Designer Art Resin, a high-quality option suitable for beginners and experienced artists alike. With its glass-like sheen and limitless possibilities, you can truly unleash your creativity and bring your visions to life. By exploring the vast array of color options available, you can customize your liquid glass epoxy to create stunning and unique pieces that are sure to impress.
Creating Textured Finishes With Liquid Glass Epoxy
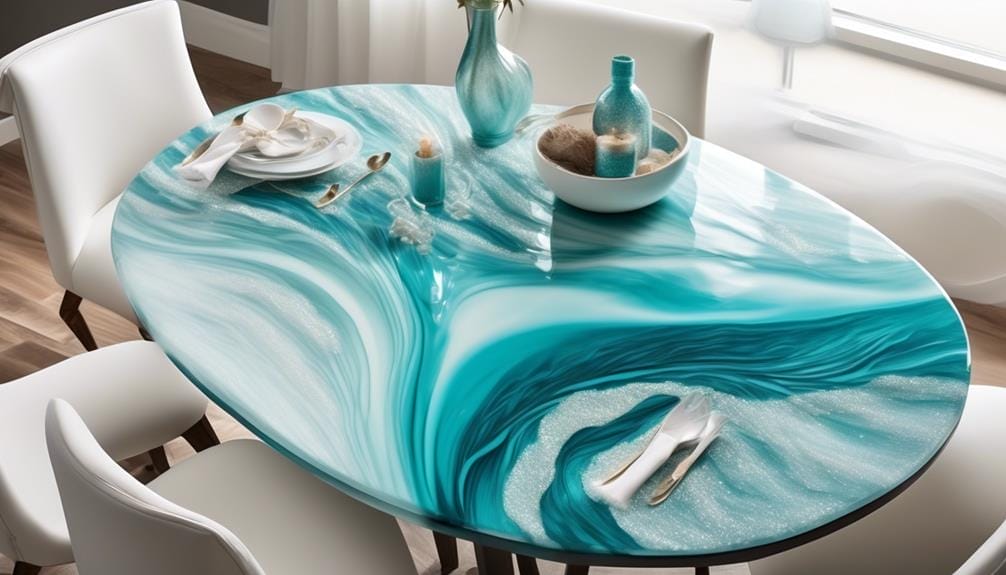
Now that we've explored the vibrant world of color options for liquid glass epoxy, let's shift our focus to the exciting realm of creating textured finishes that will add depth and dimension to your epoxy projects. With liquid glass epoxy, you have the power to transform your resin art into a masterpiece of texture.
Here are four ways to achieve textured finishes with liquid glass epoxy:
- Incorporate materials: Add materials like sand, pebbles, or glass beads to your epoxy to create a textured surface. By embedding these materials into the epoxy, you can achieve a unique and tactile finish that adds interest to your artwork.
- Experiment with techniques: Try techniques like stippling, sponging, or dragging to create different textures in your liquid glass epoxy projects. These techniques involve manipulating the epoxy with tools or applying it in specific ways to achieve a variety of textured effects.
- Play with metallics: Incorporating metallic powders or pigments into your liquid glass epoxy can produce stunning textured effects with a metallic sheen. These metallic elements can add a touch of glamour and sophistication to your resin art.
- Explore different application tools: Experiment with different brushes, sponges, or trowels to apply your liquid glass epoxy. Each tool will create a different texture, allowing you to achieve a range of finishes in your artwork.
Techniques for Mixing Colors in Liquid Glass Epoxy
Mixing colors in liquid glass epoxy opens up a world of endless possibilities for creating vibrant and captivating resin art. With the right techniques, you can achieve stunning effects that will enhance the overall look of your epoxy projects.
There are several colorants you can experiment with, such as mica powder, pigment pastes, alcohol inks, and liquid pigments.
Mica powder is a popular choice for adding a glittery or metallic shine to your epoxy resin. It works especially well when you want to create a dimensional look in your projects. By incorporating different shades of mica powder, you can achieve unique color variations that will make your artwork stand out.
Pigment pastes are another great option for adding colors and textures to liquid glass epoxy. These pastes allow you to create interesting visual effects, such as web-like patterns or ocean wave cells. By blending different pigments together, you can create custom colors that suit your artistic vision.
When using alcohol inks and dyes, it's important to exercise caution. These colorants can be quite potent, and adding too much can cause curing issues and affect the transparency of the epoxy. Start with small amounts and gradually add more as needed, ensuring that you achieve the desired color without compromising the integrity of the resin.
Using Mica Powder for Vibrant Epoxy Colors
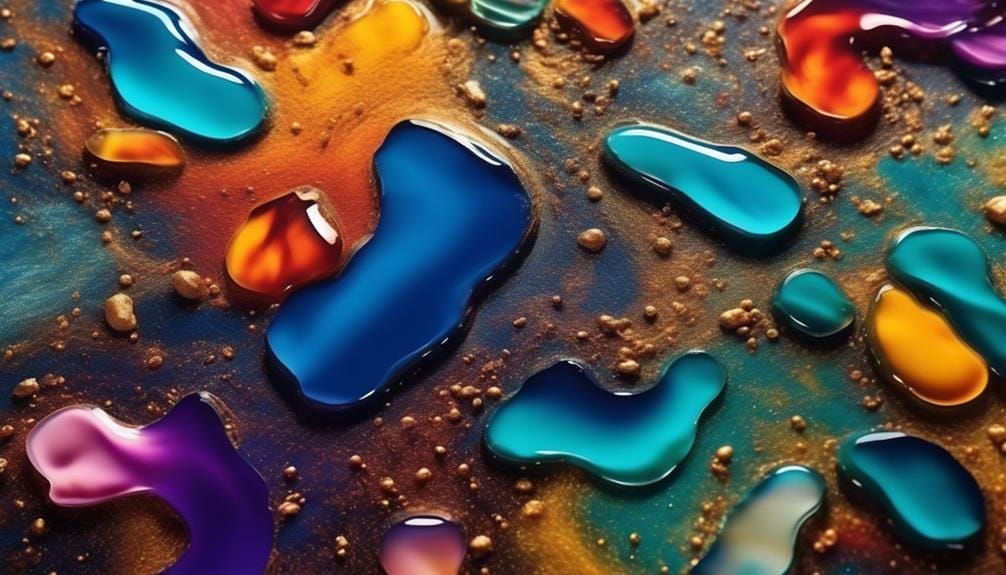
For vibrant and eye-catching epoxy colors, mica powder is your go-to natural colorant with a fine texture that mixes thoroughly with the resin. Here's why using mica powder for your epoxy projects is a game-changer:
- Dazzling Shine: Mica powder provides a glittery or metallic shine to your epoxy creations, giving them a mesmerizing and dimensional look. It adds a touch of elegance and uniqueness that will make your projects stand out.
- Endless Possibilities: With mica powder, you can unleash your creativity and create vibrant and unique colors. It can be used on its own or in combination with other colorants, allowing you to achieve a wide range of shades and effects. The possibilities are truly limitless.
- Consistency is Key: When using mica powder, thorough mixing is crucial to ensure consistent and even coloring throughout your epoxy. Take your time to blend it properly, and you'll be rewarded with a flawless and vibrant finish.
- Eye-Catching Results: Mica powder is perfect for projects that require a vibrant and eye-catching finish. Whether you're creating stunning jewelry, captivating artwork, or stunning resin crafts, mica powder will add that extra touch of brilliance that will leave everyone in awe.
Enhancing Epoxy Resin With Pigment Paste
Ready to take your epoxy resin projects to the next level?
Enhancing epoxy resin with pigment paste opens up a world of possibilities for color options and texture. With pigment paste, you can create vibrant, multi-dimensional colors that truly stand out.
Experiment with different amounts and techniques to achieve the desired effects, whether you want to add depth and dimension or create eye-catching patterns.
Let's dive into the world of pigment paste and discover how it can elevate your epoxy creations.
Color Options for Epoxy
To enhance the color of your epoxy resin, explore the vibrant possibilities of using pigment pastes. These thick, viscous colorants not only add rich hues to your liquid glass epoxy but also create unique textures that add depth and interest to your projects.
Consider using mica powder, a natural colorant with a fine texture that provides a glittery or metallic shine, for a dazzling effect.
Alcohol inks and dyes, on the other hand, offer subtle, translucent coloring effects perfect for achieving a transparent look in your epoxy creations.
If you prefer a smooth, even color, liquid pigments are your best bet. They blend seamlessly into the resin, creating a flawless finish that can be either translucent or opaque, depending on the amount added.
With these color options, customizing your epoxy resin has never been more exciting.
Adding Texture to Epoxy
Enhancing the texture of your epoxy resin is a delightful endeavor when incorporating the captivating qualities of pigment paste. By adding color to your epoxy resin, you not only enhance its visual appeal but also create interesting textures that can take your projects to the next level.
Pigment pastes, with their thick and viscous consistency, allow you to build color strength in your resin, giving it a vibrant and dynamic look. You can also experiment with alcohol inks and dyes, which provide a subtle, translucent coloring effect, perfect for adding depth and dimension to your epoxy creations.
Additionally, mica powder, derived from ground stone, can be used to create a glittery or metallic shine, adding a touch of elegance to your textured epoxy projects.
With these options, you have the ability to customize your epoxy resin and add both color and texture to your creative endeavors.
Techniques for Applying Pigment
To achieve stunning and vibrant colors in your epoxy resin projects, explore a variety of techniques for applying pigment, allowing you to unleash your creativity and enhance the visual appeal of your creations. Here are four techniques you can use to add color to your epoxy resin projects:
- Alcohol Inks: These versatile inks create beautiful, translucent coloring effects in epoxy resin. They're perfect for projects that require a delicate touch of color.
- Eye Candy Pigments: These high-quality pigments offer a wide range of vibrant colors and metallic finishes. Mix them into your epoxy resin for a stunning, eye-catching look.
- Resin Dye: Specifically designed for epoxy, resin dyes provide intense, concentrated colors that can be easily mixed into your resin. They offer excellent color saturation and are available in a wide range of shades.
- Acrylic Paints: If you want to achieve opaque colors in your epoxy resin, acrylic paints are a great option. Mix them into your resin for bold and solid color effects.
Remember to experiment with different techniques and combinations of pigments to create unique and captivating designs. And if you want to manipulate the pigments further, you can use a heat gun to create interesting patterns or textures in your epoxy resin.
Achieving Translucent Effects With Alcohol Ink & Dye
For a touch of subtle, translucent color in your epoxy resin projects, consider experimenting with alcohol inks and dyes. These alcohol-based coloring agents can be used to tint epoxy and create beautiful, transparent effects. When using alcohol inks or dyes, it's important to add only a small amount to the epoxy resin to avoid any curing issues or cloudiness. The goal is to achieve a transparent coloring effect that adds a delicate touch of color to your project.
To achieve the best translucent effects, it's recommended to use specific dyes for epoxy and alcohol inks. These dyes are specially formulated to work well with epoxy resin, ensuring that you get the desired transparent effect without any unwanted side effects. It's also important to note that different brands and formulas of alcohol inks and dyes may produce different results. Therefore, it's necessary to experiment with different options to find the perfect combination that suits your project.
If you're looking for a wider range of colors, you can also consider using food coloring to tint epoxy resin. However, keep in mind that food coloring may not provide the same level of transparency as alcohol inks or dyes. So, if you're aiming for a truly translucent effect, it's best to stick with alcohol-based options.
Adding Depth With Liquid Pigment in Liquid Glass Epoxy

Liquid pigment is a game-changer when it comes to adding depth and dimension to your epoxy resin projects. Here's why:
- Seamless Blending: When you mix liquid pigment with epoxy, it seamlessly blends into the resin, creating a smooth and even color. This ensures that your project looks professional and polished.
- Translucency and Opacity: The amount of liquid pigment you add to the epoxy determines the level of translucency or opacity in the final result. Whether you want a subtle hint of color or a bold statement piece, liquid pigment gives you the flexibility to achieve the desired effect.
- Vibrant Customization: Liquid pigments can be combined with other colorants, such as alcohol ink or dye, to create vibrant and customized colors. Whether you're going for a bright and bold LED Epoxy Bar Top or a subtle and elegant Deep Pour Epoxy, liquid pigment allows you to unleash your creativity.
- Consistency Matters: High-quality liquid pigments don't dilute the epoxy or affect its consistency. This ensures that your epoxy resin maintains its strength and durability, giving you a finished product that will stand the test of time.
The Versatility of Supercolors in Epoxy Resin
With the endless creative possibilities that Supercolors offer, your epoxy resin projects will truly come to life with vibrant and unique colors that add depth and dimension. Supercolors provide a versatile way to customize liquid glass epoxy, allowing you to create a wide range of visual effects. Whether you want to add a glittery or metallic shine, create textures and visual depth, or achieve subtle, translucent colors, Supercolors have got you covered.
Mica powder is a popular choice for adding a glittery or metallic shine to epoxy resin. It comes in a variety of colors and can be mixed with the epoxy to create stunning visual effects.
Pigment pastes, on the other hand, are perfect for creating textures and visual depth. By mixing different pigment pastes together or applying them in layers, you can achieve a three-dimensional look in your epoxy resin projects.
If you prefer a more subtle and translucent color, alcohol inks and dyes are the way to go. These Supercolors provide a watercolor-like effect, allowing light to pass through the epoxy and creating a beautiful, ethereal look.
For solid, even colors, liquid pigments are the ideal choice. They blend seamlessly with epoxy resin, ensuring that you achieve a smooth and consistent color throughout your project.
The versatility of Supercolors in epoxy resin truly knows no bounds. From creating subtle, transparent effects to bold, vibrant hues, these colorants offer endless possibilities for customizing your liquid glass epoxy.
Applying Customized Liquid Glass Epoxy to Surfaces
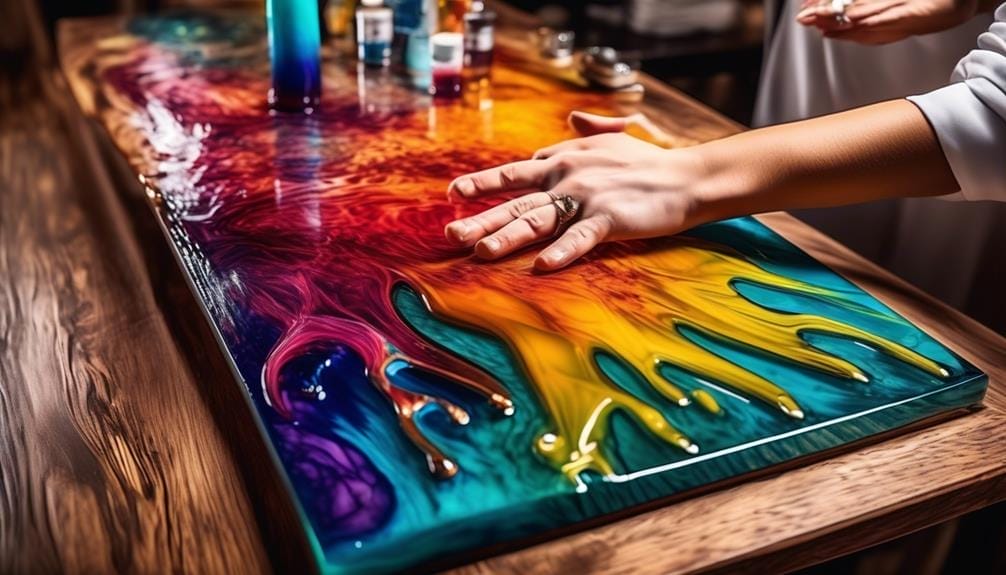
To ensure a successful application of customized liquid glass epoxy to surfaces, it's crucial to properly prepare the surface. Here are four important steps to follow when applying the epoxy to your desired surface:
- Clean the surface: Begin by thoroughly cleaning the surface you plan to apply the epoxy to. Remove any dust, dirt, or grease that may hinder adhesion. A clean surface will ensure a strong bond between the epoxy and the surface.
- Sand the surface: After cleaning, lightly sand the surface to create a rough texture. This will help the epoxy adhere better, providing a stronger bond. Use fine-grit sandpaper and be sure to remove any sanding residue before proceeding.
- Mix the epoxy: Follow the instructions provided with your chosen epoxy resin to properly mix the two components together. It's essential to mix them in equal parts and stir thoroughly until a uniform color is achieved. This step is crucial for the epoxy to cure correctly.
- Apply the epoxy: Pour the mixed epoxy onto the prepared surface and spread it evenly using a brush or a spreader. Make sure to cover the entire surface, paying attention to any corners or edges. Pop any bubbles that may have formed and allow the epoxy to cure according to the recommended time for a smooth, glossy finish.
Showcasing Unique Creations With Customized Liquid Glass Epoxy
After successfully applying customized liquid glass epoxy to your desired surface, it's time to showcase your unique creations and marvel at the stunning color and texture options you've chosen. With customizing liquid glass epoxy, you have the freedom to unleash your creativity and bring your vision to life.
One of the most exciting aspects of customizing liquid glass epoxy is the wide range of colors available. Whether you prefer bold and vibrant hues or subtle and soothing shades, there's a colorant for every preference. Mica powder, for example, provides a mesmerizing metallic shine, while pigment pastes can create captivating web effects or ocean wave cells. For a transparent coloring effect, alcohol inks and dyes can be used, but it's crucial to measure the amounts carefully to avoid any curing issues.
Textures also play a vital role in showcasing your unique creations. By experimenting with different techniques, you can achieve various textures, from smooth and glossy finishes to mesmerizing patterns. By combining multiple colors and layering techniques, you can create depth and dimension in your artwork.
To ensure the desired results, it's essential to find the right balance between tinting materials and resin. Proper research and testing will help you understand how different colorants and textures interact with the liquid glass epoxy, allowing you to achieve the perfect outcome.
Now, it's time to proudly display your one-of-a-kind creations, whether it's a vibrant abstract painting, a stunning tabletop, or a personalized piece of jewelry. Let your imagination run wild, and let your customized liquid glass epoxy creations captivate everyone who sees them.
Frequently Asked Questions
How Do You Color Liquid Epoxy?
To color liquid epoxy, mix in pigments for vibrant hues. Try techniques like marbling or using metallic powders for a unique finish. Experiment with natural dyes to achieve subtle tones. Get creative and customize your epoxy project with stunning colors!
How Do You Tint Liquid Glass Epoxy?
To tint liquid glass epoxy, you can get creative by exploring natural dyes, experimenting with metallic pigments, and incorporating glitter for a shimmering effect. Achieve vibrant hues and unique textures with these techniques.
Can You Add Color to Epoxy Resin?
Yes, you can add color to epoxy resin. There are various pigment options available, including dyes and metallic powders. You can create marbled effects and achieve translucent or opaque finishes with vibrant hues.
Can I Mix Acrylic Paint With Epoxy?
Yes, you can mix acrylic paint with epoxy to add color. However, it may cause cloudiness if not dispensed properly. It's recommended to use specific dyes or alcohol inks for a consistent and vibrant result.
Conclusion
In conclusion, customizing liquid glass epoxy with colors and textures opens up a world of creative possibilities.
By utilizing colorants like mica powder and liquid pigments, you can achieve vibrant and unique effects in your epoxy resin projects.
While some may argue that customization adds complexity to the process, the level of sophistication and personalization it brings to your creations is well worth the effort.
So, dive into the world of customized liquid glass epoxy and let your imagination run wild.

