Are you looking to add a touch of elegance and durability to your next DIY project? Look no further than casting epoxy resin.
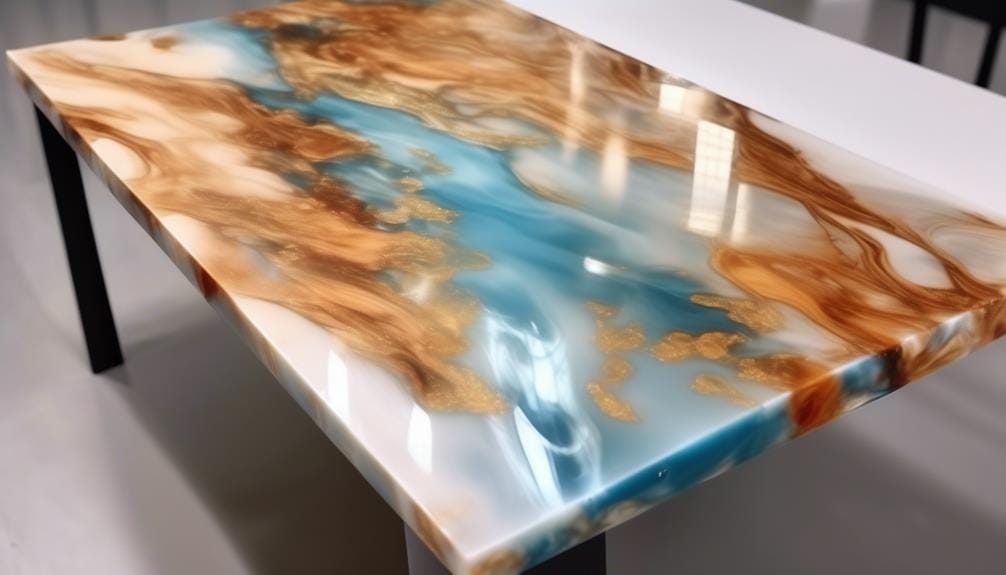
Imagine transforming a plain wooden tabletop into a stunning centerpiece with a glossy and crystal-clear finish that captures the essence of the wood grain.
But the beauty of casting epoxy resin extends far beyond just bar tops and tabletops. In this discussion, we will explore the endless possibilities of this versatile material and discover how it can elevate your artistic and functional projects to a whole new level.
So, let’s dive into the world of casting epoxy resin and unlock the secrets to creating truly remarkable pieces.
Key Takeaways
- There are different types of epoxy resin available, including casting epoxy and clear casting resin.
- Factors like cure time and depth of pour should be considered when choosing resin.
- Proper preparation of the mold, thorough mixing of resin and hardener, and following recommended tint percentages are important to avoid common mistakes.
- Achieving a smooth finish involves ensuring a clean surface, eliminating air bubbles using a heat gun or torch, applying multiple thin coats of resin, and allowing adequate curing time between layers.
Types of Epoxy Resin
There are several types of epoxy resin available, each serving different purposes and offering unique benefits.
One type is casting epoxy, which is specifically designed for projects like river tables and casting. It provides a smooth, clear finish that enhances the beauty of the materials used.
Another type is clear casting resin, which is ideal for creating transparent and glossy finishes. It’s often used in arts and crafts projects, as well as in jewelry making. Clear-casting resin allows for intricate designs and vibrant colors to be showcased.
When choosing an epoxy resin for casting, it’s important to consider factors such as cure time and depth of pour. Some casting epoxy resins offer options for 2 deep pour and 4 deep pour, each with different cure times. This allows for flexibility in project timelines and desired results.
Tools and Materials Needed
To begin your epoxy resin casting project, gather the necessary tools and materials. Here are five items that you’ll need:
- Epoxy Resin Kit: Choose a kit size that suits your project requirements. Options range from 0.75 to 6-gallon kits, catering to various casting and art projects. Consider the coverage provided by each kit size, which can range from 1.5 qt to 6 gal.
- Hardener: Select the appropriate hardener for your epoxy resin. You have the option of fast and slow-cure hardeners, each with different pot life and tack-free times. Make sure to follow the instructions provided by the manufacturer for the correct mixing ratio.
- Compatibility and Accessories: Before purchasing your epoxy resin kit, ensure that it’s compatible with any dispensing pumps you may plan to use. Some kits may require an accessory kit for enhanced functionality. Take note of the compatibility information provided by the manufacturer.
- Stirring Tools: You’ll need stirring tools to mix the epoxy resin and hardener thoroughly thoroughly. Consider using disposable stir sticks or plastic spatulas for easy cleanup.
- Safety Gear: It’s essential to prioritize safety during your casting project. Wear personal protective equipment such as gloves, safety glasses, and a respirator to protect yourself from any potential hazards.
Step-by-Step Casting Process

For the step-by-step casting process of epoxy resin, you’ll need to gather the necessary tools and materials mentioned in the previous subtopic. Once you have everything ready, you can begin the casting process.
First, prepare the mold by applying a mold release agent to ensure easy removal of the cured resin. This step is crucial in preventing the resin from sticking to the mold.
Next, mix the epoxy resin according to the manufacturer’s instructions. Make sure to measure the resin and hardener accurately to achieve the desired outcome. Thoroughly mix the components until they’re well incorporated.
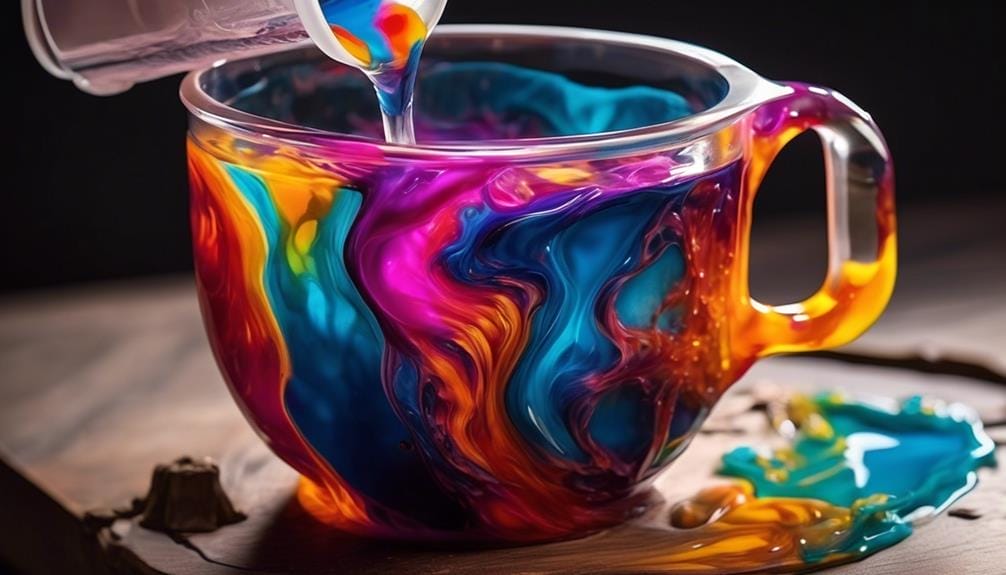
Once the resin is mixed, you can add any desired color pigments or additives. Stir them gently into the mixture, ensuring an even dispersion.
Now, slowly pour the resin into the prepared mold. Take care to avoid air bubbles by pouring the resin in a thin stream from a low height. You can also use a heat gun or torch to remove any bubbles that may have formed.
Allow the resin to cure according to the manufacturer’s instructions. This may take several hours or even days, depending on the specific resin used.
After the resin has fully cured, carefully remove it from the mold. Trim any excess resin and sand down any rough edges for a smooth finish.
Following these step-by-step instructions will help you achieve successful epoxy casting results for your artistic projects.
Common Mistakes to Avoid
When casting epoxy resin, it’s crucial to avoid common mistakes that can result in uneven curing, sticky spots, bubbles, cloudy finishes, and improper demolding. To ensure successful resin casting, here are five common mistakes you should avoid:
- Rushing the Mixing Process: Thoroughly mix the epoxy resin and hardener according to the manufacturer’s instructions. Inadequate mixing can lead to uneven curing and sticky spots in the finished product.
- Ignoring Environmental Factors: Take into account the temperature and humidity of your surroundings. High temperatures can accelerate curing and create bubbles, while low temperatures can slow down the curing process. Additionally, high humidity can cause cloudiness in the resin’s finish.
- Improper Mold Preparation: Properly prepare your mold before pouring the epoxy resin. Apply a suitable mold release agent to ensure easy demolding. Make sure the mold is clean and dry, as any moisture or debris can affect the final result.
- Overusing Tints: When adding tints to your epoxy resin, follow the recommended percentages. Excessive tint can interfere with the curing process, leading to improper curing and undesirable color variations.
- Inadequate Surface Preparation: Before pouring the epoxy resin, properly sand and finish the surface. This step ensures good adhesion and helps achieve the desired glossy or matte finish.
Tips for Achieving a Smooth Finish

Achieving a smooth finish with epoxy resin requires careful surface preparation and the use of specific techniques to eliminate imperfections. Before applying epoxy resin, it’s crucial to ensure that the surface is clean and free of dust or debris. Any contaminants can mar the final result and create an uneven finish.
To eliminate air bubbles and imperfections on the resin surface, you can use a heat gun or torch. The heat helps to release trapped air and creates a flawless surface.
It’s recommended to apply multiple thin coats of epoxy resin rather than one thick coat. This technique minimizes the risk of uneven or rough finishes. Between layers, sand the cured resin to create a smooth and level surface. This step is essential to achieve a professional-looking finish.
Lastly, allow adequate curing time between layers to prevent smudging or marring the resin. Patience is key to achieving a perfectly smooth finish with epoxy resin. By following these tips, you can achieve a glossy, flawless result.
Creating Unique Effects With Epoxy Resin
Innovative techniques and specialized products are essential to create stunning and one-of-a-kind effects with epoxy resin. With the right tools and methods, you can achieve mesmerizing effects that will captivate viewers. Here are some techniques to help you create unique effects with epoxy resin:
- Deep Pour: By using a deep pour technique, you can create a three-dimensional effect with your epoxy resin. This involves pouring a thick layer of resin, allowing it to cure, and then adding additional layers to build up the desired depth.
- Multiple Layers: Layering different colors and effects can create a visually striking result. You can achieve this by pouring multiple thin layers of resin, allowing each layer to cure before adding the next. This technique allows you to create depth and dimension in your resin pieces.
- Inlays: Incorporating various materials, such as wood, shells, or metallic flakes, into your epoxy resin can add texture and interest. These inlays can be placed directly into the resin before it cures, creating a unique and eye-catching effect.
- Swirls and Marbling: By mixing different colors of epoxy resin and gently swirling them, you can create beautiful marble-like patterns. This technique adds a touch of elegance and sophistication to your resin creations.
- Alcohol Inks: Adding alcohol inks to your epoxy resin can create vibrant and unpredictable effects. The inks spread and blend as the resin cures, resulting in unique and colorful designs.
Safety Precautions to Follow

To ensure your safety when working with epoxy resin, it’s crucial to follow proper safety precautions.
This includes wearing protective gear such as gloves, safety goggles, and a respirator to protect against skin contact, eye irritation, and inhalation of fumes.
Additionally, working in a well-ventilated area or using a fume hood will help minimize exposure to potentially harmful vapors and ensure proper air circulation.
Protective Gear Requirements
To ensure your safety while working with epoxy resin, it’s important to follow the proper protective gear requirements. Here are five essential safety precautions to keep in mind:
- Safety goggles: Always wear safety goggles to protect your eyes from epoxy resin splashes and fumes. This will prevent any potential eye injuries and keep your vision clear.
- Nitrile gloves: Use nitrile gloves to shield your skin from direct contact with epoxy resin. This will help prevent irritation or allergic reactions that may occur upon contact.
- Respirator: Wear a respirator with organic vapor cartridges in a well-ventilated area. This is crucial to avoid inhaling harmful fumes during resin mixing and casting, protecting your respiratory system.
- Work area protection: Cover your work area with a disposable plastic sheet or protective mat. This will prevent spills and protect surfaces from resin drips, ensuring cleanliness and minimizing damage.
- Clothing and footwear: Wear long-sleeved clothing and closed-toe shoes. This helps minimize skin exposure to epoxy resin and prevents accidental spills on your clothes, keeping you safe and your attire intact.
Proper Ventilation Measures
For optimal safety, ensure proper ventilation measures are in place when working with epoxy resin. Epoxy resin emits fumes during the casting and curing process that can be hazardous to your health if inhaled in high concentrations. To minimize exposure to resin fumes, it is essential to work in a well-ventilated area or use a fume hood. Additionally, wearing protective gear such as a respirator, gloves, and safety goggles is crucial to shield against potential inhalation and skin contact with resin and hardener fumes. Avoid working in confined spaces to prevent the buildup of harmful vapors and ensure a continuous flow of fresh air. Consider using air purifiers or exhaust fans to improve air quality further further and reduce the concentration of airborne particulates. Proper ventilation measures are vital to protect your health when working with epoxy resin.
| Ventilation Measures | Safety Precautions |
|---|---|
| Work in a well-ventilated area or use a fume hood | Minimize exposure to resin fumes |
| Wear a respirator, gloves, and safety goggles | Shield against inhalation and skin contact with fumes |
| Avoid working in confined spaces | Prevent the buildup of harmful vapors |
| Use air purifiers or exhaust fans | Improve air quality and reduce airborne particulates |
Inspiring Epoxy Resin Casting Ideas
With an array of epoxy resin categories available, such as Arts & Crafts, Alcohol Inks, and Tabletop & Bar, there are endless possibilities for inspiring epoxy resin casting ideas. Here are five ideas to get your creative juices flowing:
- Fusion Film: This flashy and formable textured inlay is perfect for jewelry and craft projects. Its versatility allows for unique and eye-catching designs.
- Tumblers Coating Epoxy Resin: Ideal for tumbler creators, this epoxy resin offers fast cure time, FDA compliance, and resistance to yellowing. Create stunning and durable designs on your tumblers.
- Virtual Workshops: The Epoxy Resin Store offers virtual workshops conducted by talented artists, crafters, and woodworkers. Learn valuable skills and techniques to enhance your epoxy resin casting projects.
- Deep Pour Resin: Specifically designed for deep pours like river tables, this resin offers two options with varying cure times. Create mesmerizing river-like designs on your tabletops or other large-scale projects.
- Arts & Crafts Epoxy Resin: This category offers a wide range of applications. From creating unique jewelry pieces to encapsulating flowers or other objects, the possibilities are endless.
Explore these ideas and let your imagination run wild. With the right epoxy resin, you can bring your creative vision to life and create stunning resin casting projects.
Frequently Asked Questions
What Is the Difference Between Epoxy Resin and Casting Resin?
Epoxy resin and casting resin differ in their viscosity, working time, and finish. The epoxy resin creates a clear, glossy surface and is ideal for coating, while casting resin fills molds and creates solid, opaque castings. Consider project requirements for best results.
Can Epoxy Resin Be Used for Casting?
Yes, epoxy resin can be used for casting. Its versatile applications make it an ideal choice. The benefits of using epoxy resin for casting include durability, strength, and the ability to create intricate and detailed designs.
Which Epoxy Resin Is Best for Casting?
The best epoxy resin for casting depends on factors like desired depth and clarity, cure time, pressure pot requirements, and mold characteristics. Consider these aspects to ensure a successful casting process.
How Long Does It Take for Casting Epoxy Resin to Cure?
Casting epoxy resin typically cures within 12 to 36 hours. Factors such as temperature, humidity, and product type influence the curing time. Follow the manufacturer’s instructions, accounting for depth and hardener, and allow for extra curing time to ensure a fully set piece.
Conclusion
In conclusion, casting epoxy resin offers endless possibilities for creating stunning and durable projects. By following the step-by-step casting process and avoiding common mistakes, you can achieve a smooth and glossy finish.
With proper safety precautions in place, you can explore unique effects and unleash your creativity. Whether it’s resin jewelry or bar tops, epoxy resin casting is a versatile and rewarding technique for showcasing the natural beauty of materials.


