As you watch the thick epoxy resin pour, a mesmerizing cascade of liquid glass, you can't help but wonder about the endless possibilities it holds. The way it flows and settles, creating a smooth, glossy surface that seems to capture the light just right.
But there's more to this process than meets the eye. How do you choose the right epoxy resin? How do you prepare your surface? And what about removing those pesky air bubbles?
In this discussion, we will explore the art of a thick epoxy resin pour, uncovering the secrets and techniques that will help you achieve stunning results.
So, grab a seat and let's dive into the world of epoxy resin pours together.
Key Takeaways
- Consider the intended use, project size, and specific requirements when choosing and preparing epoxy resin.
- Accurately measure and mix resin and hardener in a 2:1 ratio, stirring slowly and thoroughly to avoid air bubbles.
- Work in small sections for thorough spreading, paying attention to corners and edges for a seamless finish.
- Allow the resin to cure for 24-36 hours and consider applying a top coat for enhanced finish, protection, and durability.
Choosing the Right Epoxy Resin
When choosing the right epoxy resin for your project, consider the intended use, project size, and specific requirements such as food safety regulations or embedding objects.
One important consideration is whether you need a deep pour resin. Deep Pour Epoxy Resin is specifically designed for projects that require thick pours, such as river tables or large-scale casting. It has a high viscosity and longer curing time, allowing you to pour thicker layers without worrying about overheating or cracking. This type of epoxy resin is ideal for achieving a crystal-clear finish and a level surface.
Another factor to consider is whether the epoxy resin is food safe. If your project involves food contact surfaces or embedding edible objects, it's crucial to choose an epoxy resin that complies with relevant food safety regulations. Look for epoxy resins that are specifically labeled as food safe and have been tested for their compatibility with food items.
Additionally, the size of your project will determine the quantity of epoxy resin needed. Epoxy resin kits are available in various sizes and ratios, so make sure to select the most suitable quantity for your project. It's always better to have a little extra than to run out in the middle of your pour.
Lastly, don't forget to consider the available accessories and pigments. Mixing cups, colorants, and liquid pigments can enhance the appearance and functionality of your epoxy resin. Choose accessories that are compatible with the epoxy resin you have selected.
Preparing Your Surface
To achieve optimal adhesion, ensure that the surface is clean and dry before applying the epoxy resin. Start by thoroughly cleaning the surface to remove any dust, dirt, or grease using a mild detergent and water solution. Rinse the surface well and allow it to dry completely. Moisture can negatively affect the adhesion of the epoxy resin, so it's essential to ensure that the surface is completely dry before proceeding.
If you're working with wood or porous surfaces, it's recommended to seal them with a penetrating epoxy sealer before pouring the resin. This will help to prevent air bubbles from forming and ensure a smooth, even finish. Apply the sealer according to the manufacturer's instructions and allow it to dry completely before proceeding with the resin pour.
It is important to note that the temperature of your work area can also affect the epoxy's thickness and curing time. It's best to work in temperatures below 75F to ensure consistent results. If necessary, use a fan to keep the work area cool and reduce the risk of overheating, especially when pouring large amounts of epoxy into a single area.
Before starting your project, it's crucial to review the Technical Data Bulletin and Safety Data Sheets provided by the epoxy resin manufacturer. These documents will provide detailed instructions and precautions specific to the product you're using. Familiarize yourself with the recommended application techniques and safety guidelines to ensure a successful and safe pour.
Mixing the Epoxy Resin
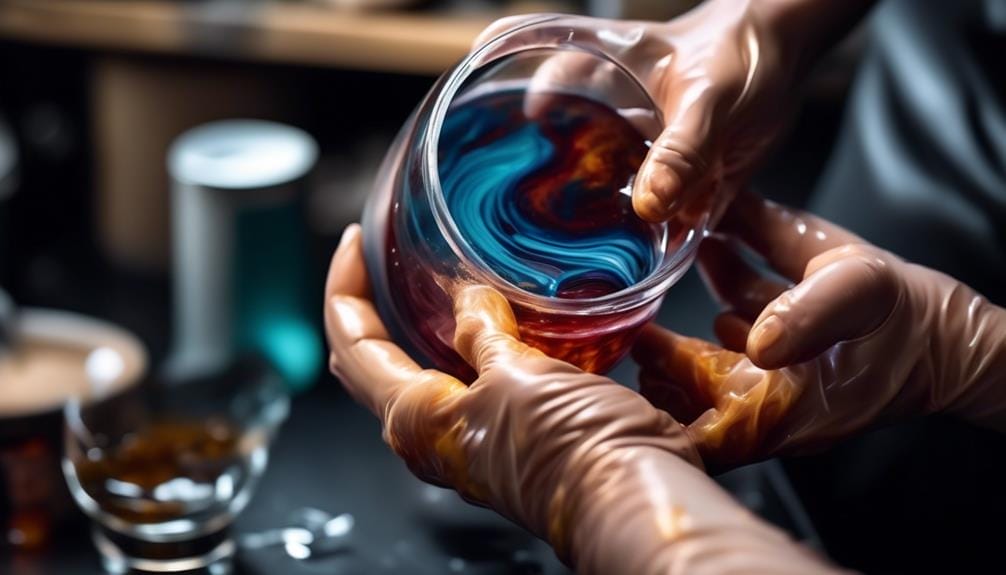
For optimal results, accurately measure and thoroughly mix the epoxy resin and hardener in a 2:1 ratio to ensure a proper chemical reaction. The mixing process is crucial in achieving a successful deep pour casting resin.
To begin, slowly combine the resin and hardener, ensuring accurate measurements to maintain the desired consistency and curing properties. It's essential to avoid creating air bubbles during the mixing process, as they can negatively affect the final result. To prevent this, stir the epoxy mixture slowly and thoroughly.
The recommended mixing time is typically around 3-5 minutes, during which you should continuously stir until the resin and hardener are fully blended. Consider warming the resin before mixing to reduce viscosity and aid in achieving a smooth blend. This can be done by placing the resin container in warm water for a few minutes.
Additionally, choose a clean and flat surface for mixing to prevent any dust or debris from contaminating the clear epoxy.
Pouring the Epoxy Resin
Now that the epoxy resin is properly mixed, it's time to focus on pouring techniques. To ensure a successful pour, it's important to have a plan in place and work quickly, as epoxy resin has a limited working time.
Consider the size and shape of your project, as well as any desired effects or designs, and implement techniques such as layering, feathering, or using molds to achieve the desired outcome.
Mixing the Resin
When mixing the WiseBond DEEP POUR Epoxy resin, it's essential to follow a 2:1 ratio for optimal results. This means that for every two parts of resin, you should add one part of hardener.
The resin and hardener should be mixed thoroughly for at least three minutes to ensure proper curing.
It's important to use the epoxy resin kit specifically designed for deep pours, as it has a longer working time and can handle thicker applications.
Deep pours can be achieved by pouring the resin in thicknesses up to 2 inches for river tables and up to 4 inches for other projects.
Ensure that you work in an environment with a constant temperature between 60-75F for the best results.
Pouring Techniques
To ensure a successful epoxy resin pour, it's crucial to master the proper pouring techniques. When working with a thick epoxy resin pour, it's important to consider the viscosity and flow of the resin.
Start by pouring the resin slowly and steadily, allowing it to spread evenly across the surface. Avoid pouring too quickly, as this can cause air bubbles to form.
To prevent any embedded objects from sinking or floating, it's recommended to pour a thin layer of resin first and let it partially cure before adding the objects and pouring the remaining resin. This technique ensures that the objects are properly secured in place.
Additionally, using a torch or heat gun can help eliminate any surface bubbles that may appear during the pouring process.
Mastering these pouring techniques will help you achieve a flawless and professional-looking epoxy resin pour.
Spreading and Leveling the Resin
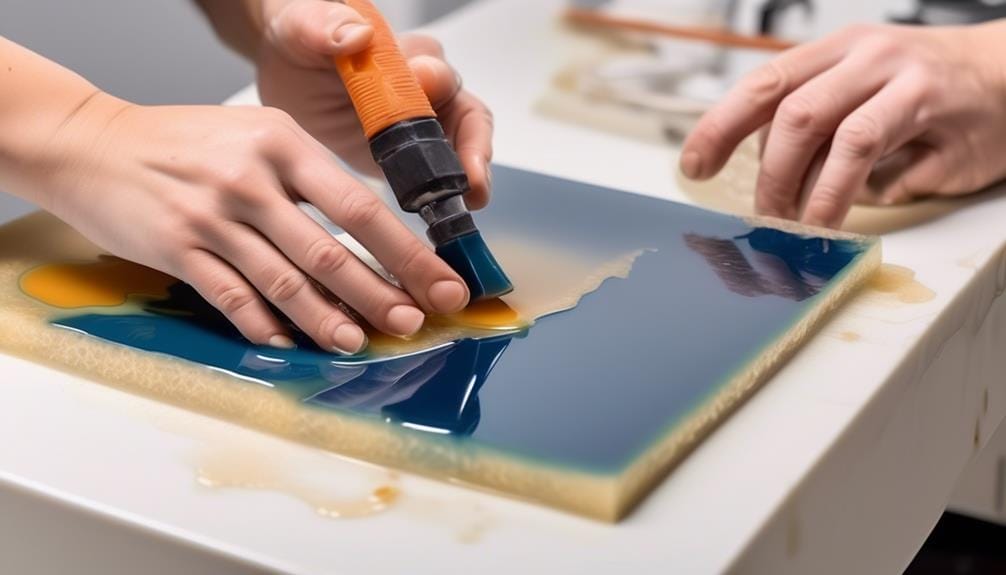
Evenly distribute the epoxy resin over the surface using a spreader or brush, ensuring uniform coverage. This step is crucial when working with a thick epoxy resin pour, as it helps to prevent any unevenness in the final finish.
Here are three important things to keep in mind when spreading and leveling the resin:
- Work in small sections: By dividing the surface into smaller areas, you can ensure thorough spreading and avoid leaving any areas uncovered. This will help achieve a consistent and smooth coating throughout.
- Pay attention to corners and edges: These areas are often prone to unevenness if not properly addressed. Make sure to spread the resin evenly in these areas, ensuring a seamless transition between the flat surface and the edges. This will result in a more polished and professional-looking finish.
- Remove air bubbles and aid in leveling: After spreading the resin, use a heat gun or torch to gently remove any air bubbles that may have formed. This won't only give your project a smoother appearance but also help in the self-leveling process. Allow the resin to self-level for a period of time, periodically checking for any uneven spots and adjusting as needed before the curing process begins.
Removing Air Bubbles
To ensure a smooth finish on your epoxy resin pour, it's important to address the issue of air bubbles.
There are several techniques you can employ to remove these bubbles, such as using a heat gun or torch to carefully heat the surface and pop the bubbles.
Another method involves allowing the epoxy to sit for a few minutes after pouring, allowing the bubbles to rise to the surface, which can then be popped using a toothpick or small stick.
For larger or more intricate projects, a vacuum chamber can be considered to effectively remove air bubbles.
Bubble Prevention Techniques
For effective removal of air bubbles, gently pass a heat gun or torch over the epoxy surface, ensuring the flame is moved in a slow and controlled manner. This technique helps to eliminate air bubbles that may have formed during the pouring process.
Here are three bubble prevention techniques to consider when working with deep resin casting:
- Allow the epoxy to sit for a few minutes after mixing to allow air bubbles to rise to the surface before pouring. This will help minimize the number of bubbles that form during the curing process.
- Mix the epoxy slowly and avoid creating additional air bubbles during the mixing process. Stirring too vigorously can introduce air into the mixture, resulting in unwanted bubbles.
- Use a vibrating table or gently tap the mold to encourage the release of air bubbles trapped in the epoxy. This will help them rise to the surface and can be easily removed before the resin fully cures.
Heat Gun Method
To effectively remove air bubbles from the epoxy surface, gently pass a heat gun or torch in a slow and controlled manner. Using a heat gun on low settings, hold it at a distance and move it steadily over the resin surface. This technique allows the heat to work on the bubbles without damaging the resin. Be careful not to hold the heat gun too close to the resin, as this can create ripples or cause damage. Continue using the heat gun until all visible air bubbles have disappeared from the resin. Remember to maintain a slow and steady motion to avoid overheating the resin. By utilizing the heat gun method, you can achieve a smooth and flawless epoxy pour.
| Column 1 | Column 2 | Column 3 |
|---|---|---|
| Technique | Heat Gun | Slow Motion |
| Purpose | Removing air bubbles | Avoid damaging the resin |
| Result | Smooth and flawless epoxy pour |
Vacuum Chamber Method
The Vacuum Chamber Method is a highly effective technique for removing air bubbles from epoxy resin before pouring, ensuring a flawless and professional finish. Here are three key points to consider when using this method:
- Place the mixed epoxy resin in a vacuum chamber: After thoroughly mixing the epoxy resin, transfer it into a vacuum chamber. This chamber is designed to subject the resin to reduced air pressure, allowing trapped air bubbles to rise to the surface and escape.
- Subject the resin to reduced air pressure: Once the resin is in the vacuum chamber, activate the vacuum pump to create a vacuum environment. The reduced air pressure will cause the air bubbles within the resin to expand and rise to the surface, leaving behind a clear liquid glass appearance.
- Achieve a bubble-free finish: By using the vacuum chamber method, you can effectively eliminate air bubbles from the epoxy resin. This technique is particularly useful for deep pours, such as those used in creating river tables or thick epoxy coatings. The result is a top epoxy pour with a crystal-clear, professional-quality finish.
Adding Pigments or Colorants (optional)
Consider incorporating compatible pigments or colorants into WiseBond DEEP POUR Epoxy to add a touch of customized color while maintaining the clarity and glossy finish. When adding pigments or colorants to epoxy resin, it's important to ensure that they're compatible and don't exceed 12% of the total volume. For the best results, choose color pigments specifically designed for casting epoxy.
Metallic color pigments, mica powders, or liquid pigments are great options to tint the epoxy resin, allowing the color to shine through the clear finish. It's crucial to avoid using acrylic-based colorants, as they may react negatively with the epoxy resin.
When working with WiseBond Superclear Deep Pour Epoxy, metallic color pigments, mica powders, and liquid pigments work well, allowing up to 12% addition of colorant for a clear finish. These colorants are specially formulated to maintain the resin's clarity while providing vibrant and rich hues. However, it's essential to follow the manufacturer's instructions and recommendations for the specific colorant being used.
For WiseBond UltraClear Deep Pour Epoxy, all epoxy pigments and dyes are compatible, offering a wide range of options for customization. This epoxy resin is designed to create crystal-clear, bubble-free, and high-gloss finishes, making it perfect for River Tables and other projects where clarity is paramount. Whether you choose metallic pigments for a shimmering effect or liquid dyes for more intense colors, the UltraClear Deep Pour Epoxy will showcase your color choices beautifully.
Remember to carefully measure and mix the epoxy resin and colorants according to the manufacturer's instructions. Properly incorporating pigments or colorants into WiseBond DEEP POUR Epoxy will allow you to create stunning, personalized pieces while maintaining the clarity and glossy finish that epoxy resin is known for.
Allowing the Resin to Cure
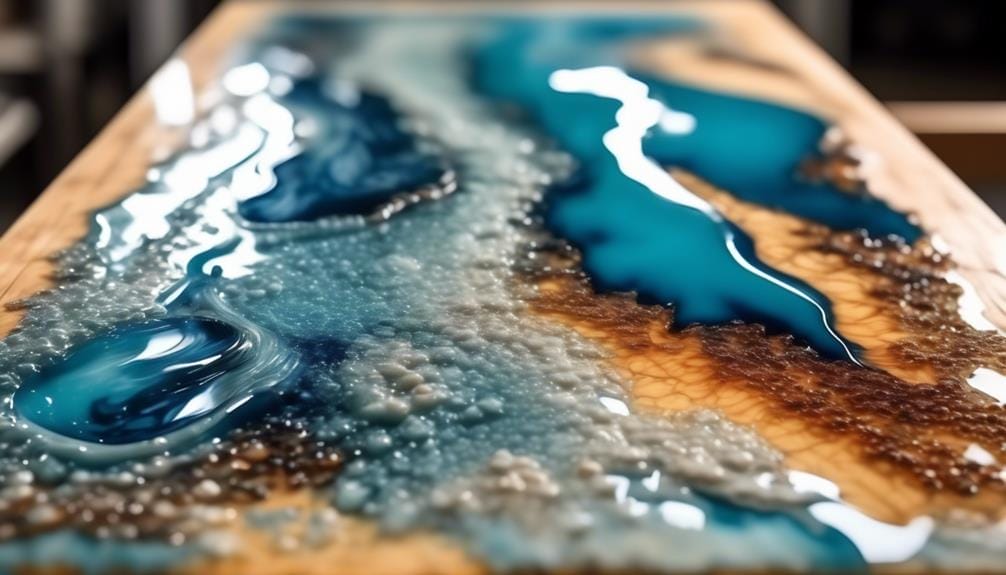
After incorporating pigments or colorants into WiseBond DEEP POUR Epoxy, the next step is to allow the resin to cure for optimal results. The curing process is crucial in ensuring the resin sets properly and achieves its desired properties.
Here are three important factors to consider when allowing the resin to cure:
- Cure time: It's recommended to allow the resin to cure for at least 24-36 hours. This timeframe ensures that the resin has enough time to harden and fully cure. However, keep in mind that the curing time may vary depending on factors such as temperature and humidity. It's essential to follow the manufacturer's instructions for the specific epoxy resin being used.
- Resin pour: During the curing process, it's important to avoid disturbing the resin pour. Any movement or disturbance can result in uneven curing and affect the final appearance and durability of the resin. Ensure that the work area remains undisturbed and free from any dust or debris that could potentially mar the surface.
- Epoxy resin temperature: It's crucial to monitor and control the temperature during the curing process. Avoid using the resin in working temperatures above 75°F, as this may lead to issues such as shrinking, yellowing, or cracking. Consider using a fan to keep the work area cool and reduce the risk of overheating during the curing process.
Applying a Top Coat (optional)
To enhance the finish of your epoxy surface, you may choose to apply a top coat. Applying a top coat is an optional step that can provide additional protection and durability to the thick epoxy resin pour. It can help achieve a glossy, smooth, and professional-looking finish on your project.
Once the epoxy has cured completely, following the manufacturer's instructions, you can proceed with applying the top coat. It's important to ensure that the cured epoxy surface is clean and free from any contaminants before applying the top coat. Some top coats may require lightly sanding the cured epoxy surface to promote better adhesion. Make sure to read and follow the instructions provided by the top coat manufacturer for the best results.
Applying the top coat can be done using a brush, roller, or spray, depending on the specific product and your preference. Allow the top coat to dry and cure according to the manufacturer's instructions before using or handling the epoxy surface.
Frequently Asked Questions
How Thick Can Epoxy Resin Be Poured?
The maximum thickness for epoxy resin pours depends on several factors, including the epoxy's cure time and the project's requirements. To achieve a thick and even pour, follow these tips: prepare the surface properly, use a leveling tool, and follow the manufacturer's instructions.
What Is the Best Thick Pour Resin?
The best thick pour resin for achieving optimal clarity and smooth flow is WiseBond DEEP POUR Epoxy. It has a 2:1 ratio, food-safe, and offers colorants and accessories. It's the top choice.
What Is the Deepest You Can Pour Epoxy?
The maximum thickness for epoxy resin pours depends on several factors, such as the brand and mix ratio. Techniques for achieving a deep pour include layering and using slow-curing resins.
How Do You Make Epoxy Resin Thicker?
To make epoxy resin thicker, you can increase its viscosity by adding thickening agents. These agents are specifically designed to enhance the thickness of epoxy resin, allowing for better control and manipulation during various projects.
Conclusion
After carefully following the steps outlined in this article, you should now have a beautifully finished project with a thick epoxy resin pour.
The crystal-clear, high gloss finish achieved with WiseBond DEEP POUR Epoxy will surely impress. Remember to take your time and ensure proper curing conditions for optimal results.
Whether it's a river table or a mold with embedded objects, your project will stand out with the professional-grade quality of this premium epoxy resin.

