You may be wondering why surface preparation is such an important step when applying liquid glass epoxy.
Well, let me assure you that taking the time to prepare the surfaces properly will ensure a smooth and long-lasting finish.
In this discussion, we will explore the various steps involved in preparing surfaces for liquid glass epoxy application.
From cleaning and sanding to filling in cracks and imperfections, we will cover it all.
So, if you want to achieve professional-looking results and avoid any potential issues down the line, keep reading.
Key Takeaways
- Proper surface preparation is crucial for a strong and durable epoxy bond.
- We clean and dry the surfaces before application, remove contaminants, and ensure optimal adhesion.
- Sanding with 80-grit aluminum oxide paper creates a suitable texture for epoxy adhesion.
- Choosing the right primer and applying it correctly enhances adhesion and surface preparation efficiency.
Importance of Surface Preparation
Proper surface preparation is essential for achieving a strong and durable epoxy bond. When it comes to applying liquid glass epoxy, the importance of surface preparation can’t be overstated. To ensure a successful application, you must prepare the surfaces thoroughly.
This involves cleaning and drying the bonding surfaces to remove any contaminants that may hinder adhesion. Grease, mold release, or any other substances must be eliminated using appropriate solvents.
It’s also crucial to create a suitable texture for epoxy adhesion. This can be achieved by sanding the bonding surfaces with 80-grit aluminum oxide paper. By doing so, you provide a roughened surface that allows the epoxy to grip and bond effectively.
Additionally, it’s vital to ensure that the surfaces are completely dry before applying the epoxy. Any moisture present can compromise the strength of the bond.
Cleaning the Surface
Before applying epoxy, it’s crucial to clean the surface to ensure optimal adhesion properly. Start by using Isopropyl Alcohol 90%+ to remove any dirt, grease, or contaminants that may be present. Make sure the surface is completely dry to prevent any adhesion issues or contamination.
Additionally, sanding the bonding surfaces with 80-grit aluminum oxide paper will create a textured surface that enhances epoxy adhesion.
Surface Preparation Techniques
To ensure optimal adhesion, it’s essential to thoroughly clean the surface with Isopropyl Alcohol 90% + before applying the seal coat. This will remove any contaminants, such as grease or mold release, that could hinder the adhesion process. Make sure the surface is dry before proceeding.
To create a good texture for adhesion, sand the bonding surfaces with 80-grit aluminum oxide paper. This will provide a rough surface for the epoxy to bond to.
In confined spaces, it’s recommended to accelerate the drying process with a heat gun or fans. This will ensure that the bonding surfaces are completely dry before applying the epoxy.
Importance of Proper Cleaning
As you move forward in the epoxy application process, ensuring a clean surface becomes paramount for achieving optimal adhesion and a durable, long-lasting finish. Proper cleaning of the surface is essential to remove any contaminants that can hinder the bond of the liquid glass epoxy.
To start, use isopropyl alcohol as a solvent to clean the surface thoroughly. Make sure your surface is dry before proceeding, as moisture can affect the epoxy’s ability to adhere properly.
Additionally, sanding the surface with 80-grit aluminum oxide paper creates a textured surface for the epoxy to grip onto. This step is crucial for ensuring a strong chemical bond between the liquid glass epoxy resin and hardener.
Sanding for Proper Adhesion
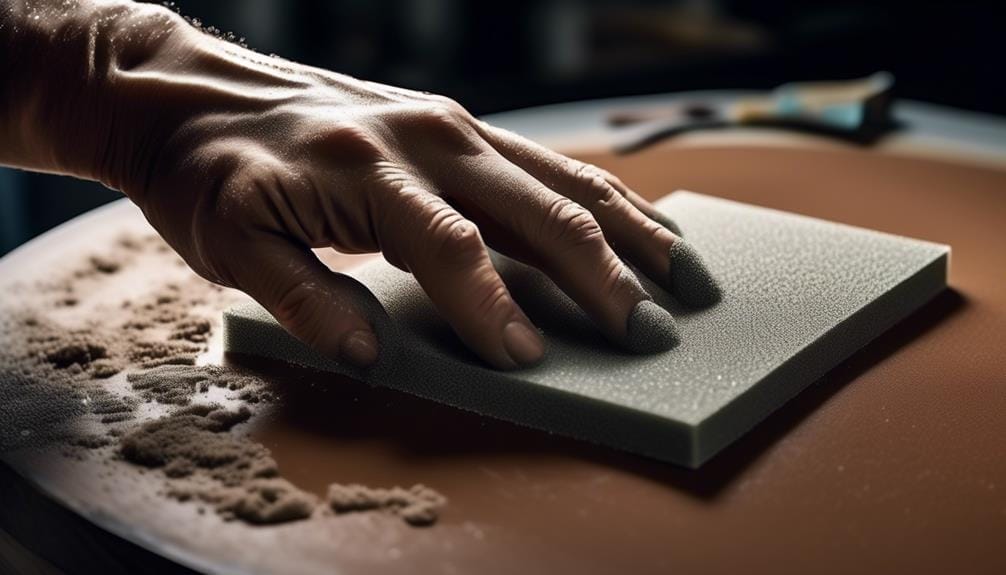
For optimal adhesion, it’s essential to sand the bonding surfaces using 80-grit aluminum oxide paper, creating a textured surface that promotes a strong bond with the epoxy. Here are a few important steps to follow when sanding for proper adhesion:
- Clean the bonding surfaces: Before sanding, make sure the surfaces are clean and free of any contaminants. Use an appropriate solvent like isopropyl alcohol to remove any dirt, grease, or residue.
- Choose the right sandpaper: Use 80-grit aluminum oxide paper to sand the surfaces. This grit size is ideal for creating the necessary texture for the epoxy to adhere to.
- Sand in a back-and-forth motion: When sanding, sweep the sandpaper back and forth over the surface. This motion helps to create an even and textured surface, ensuring better adhesion.
- Remove any loose particles: After sanding, use a clean cloth or brush to remove any loose particles from the surface. This will prevent them from interfering with the epoxy application.
Filling in Cracks and Imperfections
After sanding the bonding surfaces to create a textured surface for optimal adhesion, the next step is to address any cracks and imperfections on the surface.
Before applying the liquid glass epoxy, it’s crucial to fill in these cracks and imperfections to ensure a smooth and even final result.
Start by thoroughly cleaning the surface to remove any dirt, debris, or contaminants that could affect the epoxy’s adhesion. Once the surface is clean and dry, use an appropriate filler or putty to fill in the cracks and imperfections. Make sure to choose a filler that’s compatible with the material of the surface and follows the manufacturer’s instructions for application.
After applying the filler, allow it to dry completely. Once dried, sand the filled areas to ensure they’re level with the surrounding surface and to remove any excess filler, creating a seamless finish. This step is crucial to achieve a professional-looking result.
After sanding, inspect the surface for any remaining imperfections or uneven areas. If any are found, repeat the filling and sanding process until the surface is smooth and even.
Taking the time to fill in cracks and imperfections properly will ensure a flawless and long-lasting liquid glass epoxy application.
Choosing the Right Primer
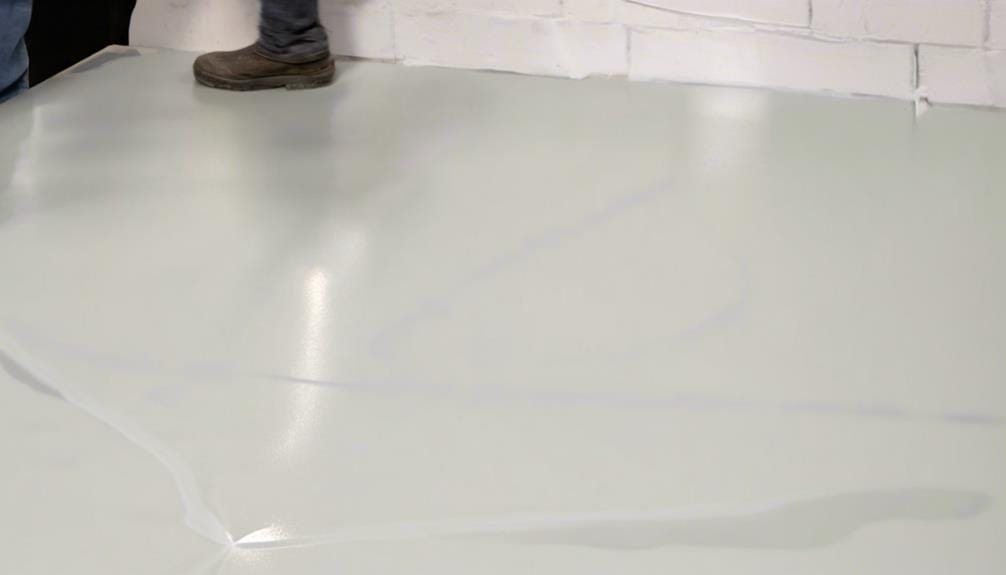
When choosing the right primer for your epoxy application, consider the different types available and their suitability for the surface you’re working with.
Evaluate if a specific primer is needed for non-porous surfaces and ensure compatibility with the liquid glass epoxy.
Additionally, prioritize a primer that offers good coverage, penetration, and quick drying properties to promote optimal adhesion and efficient surface preparation.
Primer Types for Epoxy
To ensure successful adhesion, it’s crucial to select the appropriate primer type for the epoxy application, considering the characteristics of the substrate. The right primer can enhance the bond between the liquid glass epoxy and the surface, providing a strong and durable finish. Here are four primer types to consider for epoxy application:
- Epoxy-compatible primers: These primers are specifically designed to be used with epoxy and are formulated to promote adhesion between the epoxy and the surface. They’re suitable for a wide range of substrates and provide excellent bonding properties.
- Non-epoxy-compatible primers: These primers aren’t designed for use with epoxy and may not provide optimal adhesion. It’s important to choose a primer that’s compatible with epoxy to ensure a strong bond.
- Surface-specific primers: Some primers are formulated for specific surfaces, such as metal, concrete, or wood. These primers are tailored to enhance adhesion on those particular substrates and should be chosen accordingly.
- Manufacturer-recommended primers: Manufacturers often provide specific recommendations for primers to be used with their epoxy products. It’s important to follow these guidelines to achieve the best results and ensure proper adhesion.
Application Techniques for Primer
To choose the right primer for epoxy application, it’s essential to consider the surface material and its condition, ensuring compatibility and strong adhesion for the liquid glass epoxy to adhere properly.
When selecting a primer, look for one that offers good coverage and even application for the best results. The primer should also be suitable for the specific application technique and environment in which the liquid glass epoxy will be used.
This will ensure that the primer effectively prepares the surface, allowing the epoxy to adhere securely. Additionally, verify that the primer is compatible with the liquid glass epoxy to avoid any potential issues.
Taking these factors into account will help you choose the right primer and achieve a successful epoxy application.
Applying the Primer
To properly prepare your surface for the application of epoxy, begin by cleaning the surface with Isopropyl Alcohol 90%+, ensuring a clean and debris-free canvas for the primer. This step is crucial for achieving proper adhesion and a smooth finish.
Once the surface is clean, you can proceed with applying the primer. Here are the steps to follow:
- Mix the primer: Combine the correct ratio of resin and activator for the primer. Make sure to follow the manufacturer’s instructions for the specific product you’re using. Stir the mixture for at least 5 minutes to ensure thorough blending.
- Transfer and continue stirring: After mixing, transfer the primer to a new container. This helps prevent any unmixed or settled components from being applied to the surface. Stir the primer for an additional 3 minutes to ensure it’s well-mixed and ready for application.
- Apply the primer: Use a brush or roller to apply the primer directly to the surface. Work in small sections, ensuring even coverage and avoiding any drips or puddles. Please pay attention to corners and edges, making sure they’re adequately coated.
- Allow curing time: After applying the primer, allow it to cure for up to 72 hours in a dust-free environment. This curing time is essential to ensure that the primer fully bonds to the surface and creates a strong foundation for the liquid glass epoxy.
Sanding the Primer
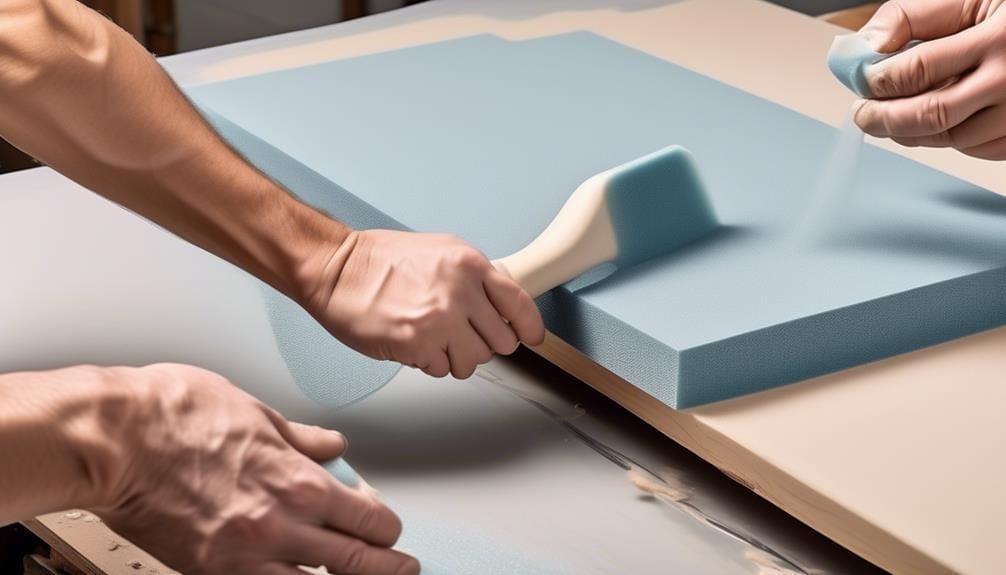
Sanding the primer creates a rough surface to enhance the adhesion of the liquid glass epoxy. Before you begin sanding, make sure that the primer is completely dry. This is essential to prevent any issues with the application.
To achieve the desired roughness, use a fine-grit sandpaper. Gently sand the primer in a back-and-forth motion, taking care not to apply too much pressure that could damage the surface. For even and consistent sanding, consider using a sanding block. This will help you maintain control and ensure that the entire surface is sanded evenly.
As you sand, periodically check the surface to ensure that you’re achieving the desired roughness. Once you have finished sanding, wipe off the sanding dust with a clean, dry cloth. This step is crucial to remove any debris that could interfere with the adhesion of the liquid glass epoxy.
Now that the primer is sanded and the surface is clean, you’re ready to move on to the next step of the liquid glass epoxy application process.
Removing Dust and Debris
Before proceeding with the application of the liquid glass epoxy, it’s crucial to clean the surface to remove all dust and debris thoroughly. This step is essential to ensure proper adhesion and a smooth, flawless finish.
To effectively remove dust and debris from the surface, follow these steps:
- Use a vacuum or compressed air: Start by using a vacuum or compressed air to remove loose dust and debris from the surface. This will help eliminate larger particles that may be present.
- Wipe down with a damp cloth or tack cloth. Next, wipe down the surface with a damp cloth or tack cloth. This will help remove any remaining dust and debris that the vacuum or compressed air may have missed. Make sure to use a clean cloth and avoid using excess moisture that could damage the surface.
- Inspect closely for remaining particles: After wiping down the surface, inspect it closely for any remaining particles. Look for fine dust or debris that may still be present.
- Remove remaining particles: If you find any remaining particles, use a lint-free cloth or a soft brush to remove them gently. Be careful not to scratch or damage the surface while doing so.
Ensuring a Smooth Surface

For a flawlessly smooth surface, it’s important to take certain measures before applying the epoxy. By following these steps, you can ensure that your liquid glass epoxy application will result in a professional and polished finish.
First, clean the surface thoroughly with Isopropyl Alcohol 90%+. This will remove any dirt, grease, or debris that could interfere with the adhesion of the epoxy. A clean surface is essential for achieving a smooth and even finish.
Next, use sawhorses or 44s to raise the mold of the flattened surface. This prevents the epoxy from sticking to the working area and ensures that the surface remains smooth. By keeping the mold elevated, you eliminate the risk of imperfections caused by the epoxy adhering to the substrate.
In some cases, wood may require a seal coat to prevent air bubbles and create a smooth surface before pouring the epoxy. Applying a seal coat can help to seal any pores in the wood and create a barrier that prevents air from escaping during the curing process.
To ensure an even cure and prevent imperfections, use an oscillating fan to distribute heat evenly across the surface. This will help the epoxy cure smoothly and without any blemishes.
Final Inspection and Touch-ups
During the final inspection, carefully examine the epoxy surface for any imperfections or blemishes. This step is crucial to ensure a flawless finish.
Here are some important points to consider during the final inspection and touch-up process:
- Touch-up visible flaws: If you come across any imperfections or irregularities on the epoxy surface, it’s essential to address them before the final application. Use a small amount of liquid glass epoxy to touch up these areas and ensure that they blend seamlessly with the rest of the surface.
- Blending the touch-up application: When applying the liquid glass epoxy for touch-ups, pay close attention to blending it with the surrounding surface. This will help create a consistent and uniform appearance.
- Removing air bubbles: During the touch-up process, air bubbles may form. To eliminate them, use a heat gun to warm the surface gently. The heat will allow the air bubbles to rise and escape, resulting in a smooth and bubble-free finish.
- Thorough final inspection: Once the touch-ups have been made, perform a comprehensive final inspection. Check the entire surface for any remaining imperfections or areas that require further touch-ups. This step is crucial to ensure that the desired results have been achieved and that the surface is ready for use.
Frequently Asked Questions
How Do You Prepare a Surface for Epoxy Resin?
To prepare a surface for epoxy resin, start by ensuring it is clean and free of debris. Properly sand the surface, fill any cracks, and use a primer if necessary. Apply a base coat, remove existing coatings, and ensure the surface is level. Use a tack cloth to remove any dust, then apply a sealant. Allow for proper curing time.
How Do You Apply Liquid Glass Epoxy?
To apply liquid glass epoxy, clean the surface with Isopropyl Alcohol, mix the resin and activator thoroughly, then use a heat gun to remove air bubbles. Let it cure for 72 hours for best results.
Can You Put Epoxy Over Epoxy Without Sanding?
Yes, you can put epoxy over epoxy without sanding if the existing epoxy is fully cured and in good condition. However, it is important to ensure proper adhesion and bonding between layers for a smooth finish.
What Surfaces Can You Put Epoxy On?
You can put epoxy on wood, concrete, metal, and plastic surfaces. It is also suitable for tile, glass, leather, fabric, countertops, and ceramic materials. Ensure proper preparation before applying epoxy for optimal results.
Conclusion
Congratulations!
After carefully following these detailed and precise instructions, you’ve successfully prepared your surfaces for liquid glass epoxy application.
Your attention to detail and technical expertise have ensured a clean and dry environment, resulting in a flawless finish.
Now, sit back and admire the irony of the process – the meticulous preparation required to achieve a seemingly effortless and beautiful result.
Well, I am done!

