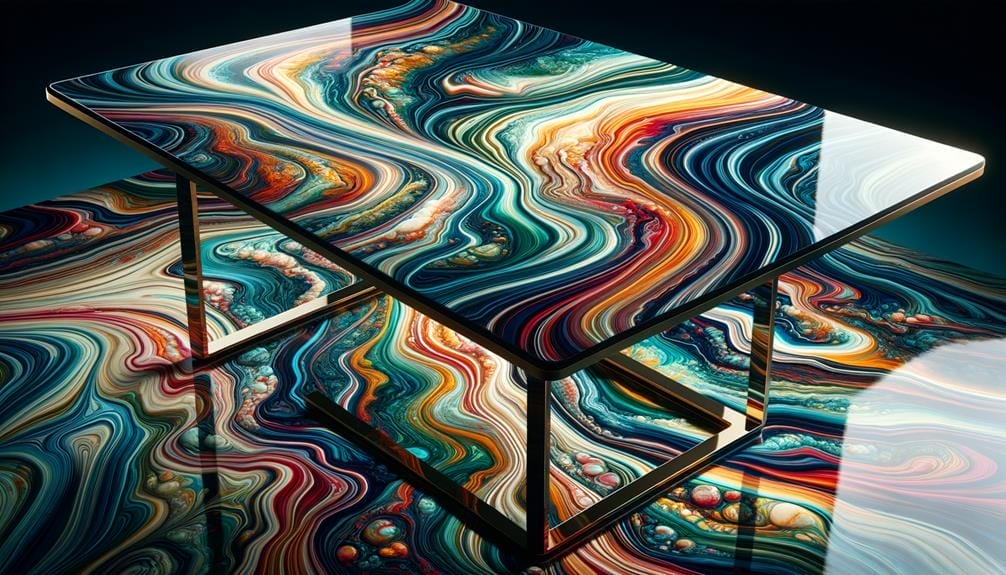
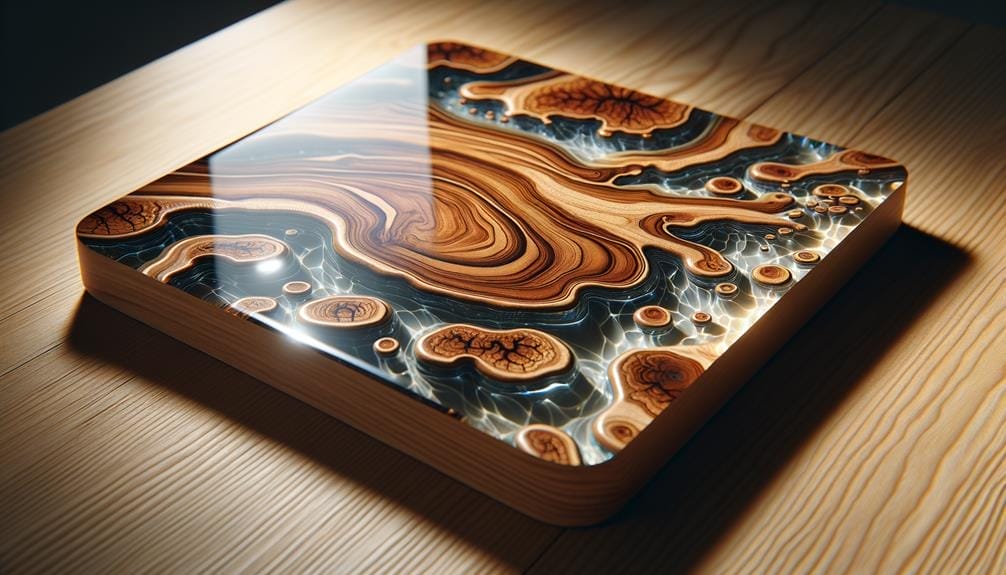
Imagine a flawless surface that gleams like glass, reflecting light and capturing attention. When it comes to epoxy resin finishing techniques, the possibilities are endless.
From achieving glossy finishes to creating intricate textures, there is a wide array of techniques that can take your projects to the next level.
Whether you're a seasoned professional or just starting out, mastering these techniques will elevate your craftsmanship and bring a touch of perfection to your creations.
So, where do you begin?
Key Takeaways
- Use a variable speed buffer, polishing pads, and polishing compound for glossy finishes.
- Focus on creating a clear and glossy finish for glass-like effects.
- Sand the surface with coarse and fine grit sandpaper, and apply sealant, cutting compound, and ultra-gloss compound for achieving a smooth surface.
- Incorporate pigments, dyes, or mica powders into the resin for desired color effects, and experiment with different combinations and concentrations for unique finishes.
Glossy Finishes
To achieve a glossy finish on your epoxy resin surface, follow these precise and detailed steps.
Polishing is a crucial part of the finishing process that requires the right technique and attention to detail.
Begin by ensuring you have the necessary tools and supplies on hand. You'll need a variable speed buffer, polishing pads, and a high-quality polishing compound specifically designed for epoxy resin surfaces.
Before starting the polishing process, it's essential to note that using a buffer tool can generate enough heat to damage the epoxy. To prevent this, beginners should learn to recognize when the epoxy needs to cool down before resuming polishing. This will help avoid any potential mishaps and ensure a smooth and glossy finish.
Once you're ready to begin, attach a soft polishing pad to the buffer and apply a small amount of the polishing compound. Work in small sections, applying light pressure as you move the buffer in a circular motion. This will help to evenly distribute the compound and remove any imperfections or dullness from the surface.
Continue polishing until the desired level of glossiness is achieved. Take your time and pay attention to any areas that may require additional attention.
Glass-like Effects
To achieve a glass-like effect with epoxy resin, you need to focus on creating a clear and glossy finish. This involves enhancing the depth and clarity of the resin by using high-quality polishing compounds and following a meticulous approach.
Clear and Glossy Finish
You can achieve a clear and glossy finish with a glass-like effect on your epoxy resin surface by following a step-by-step polishing process using the right tools and supplies.
To start, ensure that the epoxy surface is properly prepared by sanding it with progressively finer grits until it's smooth and free of imperfections.
Once the surface is ready, apply a high-gloss polishing compound and use a variable-speed polisher with a medium/medium-hard smooth foam polishing pad.
Begin polishing at a low speed and gradually increase it as you work your way across the surface. Pay attention to any areas that may require extra attention.
After completing the polishing process, assess the results to ensure a clear and glossy finish.
This technique will add a professional touch to your epoxy resin surface.
Enhancing Depth and Clarity
For a truly stunning glass-like effect that enhances the depth and clarity of your epoxy resin surface, consider employing the following techniques:
- Use a variable-speed polisher with a medium/medium-hard smooth foam polishing pad. This combination helps achieve a clear and glossy finish.
- Employ a high-gloss polishing compound to enhance the depth and clarity of the epoxy resin surface.
- Apply a small amount of polishing compound and gradually increase the polisher speed, moving it in a methodical manner.
- Conduct a second pass of polishing if necessary, and wipe off any remaining residue with a microfiber cloth.
Achieving a Smooth Surface
Building on the techniques discussed for enhancing depth and clarity, achieving a smooth surface on your epoxy resin masterpiece is crucial to create those highly sought-after glass-like effects. To achieve this, a systematic sanding and polishing approach is required. Here is a step-by-step guide to help you achieve a mirror-like finish:
| Step | Technique |
|---|---|
| 1 | Begin by sanding the surface with coarse sandpaper to remove any imperfections or rough spots. |
| 2 | Progress to finer grit sandpaper to smoothen the surface further. |
| 3 | Apply a sealant to the surface to ensure a smooth and even finish. |
| 4 | Use a cutting compound to remove any remaining scratches or blemishes. |
| 5 | Finish off with an ultra-gloss compound to achieve that glass-like shine. |
Remember to be patient, pay attention to detail, and use consistent polishing techniques to achieve the desired results.
Color Techniques
Now let's talk about the exciting world of color techniques in epoxy resin finishing.
One way to achieve your desired color effects is by incorporating pigments, dyes, or mica powders into the resin.
Experimenting with different color combinations and concentrations will allow you to create unique and personalized finishes.
You can also explore techniques like marbling, layering, and blending to create intricate and visually appealing color patterns.
Pigment Mixing
To achieve vibrant and customized colors in your epoxy resin projects, start by using pigments specifically designed for epoxy resin. Here are some techniques for mixing pigments into your resin:
- Mix small amounts of pigment into the resin to achieve the desired color intensity. Start with a small amount and gradually add more as needed to avoid overpowering the resin.
- Experiment with different combinations of pigments to create custom colors and effects. Try mixing primary colors to create a wide range of shades.
- For example, mix equal parts of blue and yellow pigments to create a vibrant green color.
- You can also mix different shades of the same color to create a gradient effect.
- Keep in mind that some pigments may affect the curing time and transparency of the resin. Test different pigments before using them on your final project to ensure the desired results.
Resin Layering
For achieving stunning and dynamic color effects in your epoxy resin projects, explore the technique of resin layering.
Resin layering involves pouring multiple layers of epoxy resin, each with a different color, to create a mesmerizing visual depth and dimension.
To begin, prepare your epoxy resin according to the manufacturer's instructions and divide it into separate containers. Add your chosen pigments or dyes to each container, making sure to mix thoroughly to achieve a consistent color.
Start by pouring a thin layer of your first colored resin into your mold or project surface. Allow it to partially cure before adding the next layer.
Repeat this process with your remaining colors, building up the layers gradually.
The result will be a captivating piece that showcases your creativity and mastery of epoxy resin finishing techniques.
Texture Enhancements
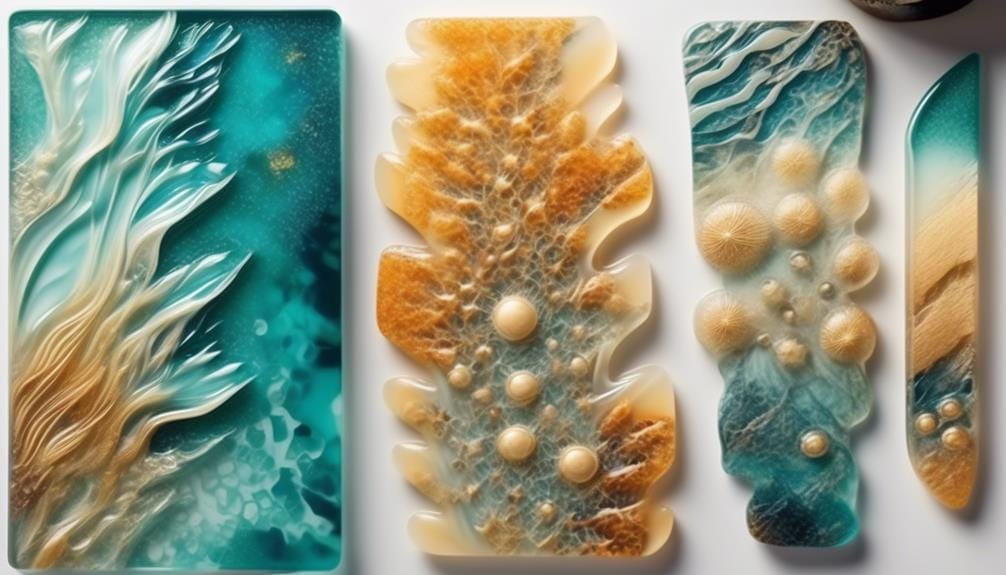
Incorporating texture into epoxy resin surfaces can be achieved using a variety of materials and techniques, resulting in visually captivating and tactile art pieces or functional items.
Here are some techniques and materials you can use to enhance the texture of your epoxy resin finishes:
- Natural Elements:
Incorporating natural elements like dried flowers, leaves, or shells into your resin can add a unique texture to your piece. These elements can be embedded into the resin layers or arranged on the surface before pouring the resin.
- Metallic Powders:
Adding metallic powders, such as mica or gold dust, to your epoxy resin can create a shimmering and textured effect. These powders can be mixed into the resin or applied on top of cured layers for a metallic finish.
- Acrylic Paints:
Using acrylic paints in combination with epoxy resin allows for the creation of textured effects such as marbling, swirling, or abstract patterns. These paints can be dripped, poured, or manipulated with tools to achieve the desired texture.
Layering Methods
Now let's talk about the exciting possibilities of color blending techniques and adding metallic accents through layering methods in epoxy resin finishing.
By carefully blending different pigments and dyes in each layer, you can create stunning gradients, ombre effects, and intricate patterns that add depth and dimension to your artwork.
Additionally, incorporating metallic accents like gold, silver, or copper flakes in certain layers can bring a touch of elegance and shimmer to your resin finishes.
These layering techniques allow for endless creativity and the opportunity to achieve truly unique and eye-catching results in your epoxy resin projects.
Color Blending Techniques
To create stunning and dynamic color blends in epoxy resin finishing, experiment with layering different colors in a controlled and precise manner. Here are some color blending techniques to help you achieve beautiful results:
- Use transparent dyes or pigments: Transparent colors can add depth and dimension to your blends, allowing light to pass through and create a mesmerizing effect.
- Practice pouring and blending: Start with small amounts of resin and practice pouring and blending to master the control and precision required for seamless color transitions.
- Consider creating test pieces: Before applying your color blends to larger projects, create test pieces to refine your technique and explore different color combinations.
- Embrace creativity and improvisation: Color blending offers endless possibilities for artistic expression, so don't be afraid to experiment and try new techniques.
Adding Metallic Accents
For a captivating and luxurious touch, elevate your epoxy resin projects by incorporating mesmerizing metallic accents through layering methods.
Adding metallic accents to your epoxy resin creations can create stunning effects and add depth and dimension to your finished pieces. To achieve this, start by pouring a base layer of resin and allowing it to partially cure.
Once the base layer is tacky, you can sprinkle metallic powders or apply alcohol inks in desired patterns or swirls.
Next, pour another layer of resin on top, ensuring that the metallic accents are fully covered. This layering technique allows the metallic accents to be suspended within the resin, creating a mesmerizing and eye-catching effect.
Experiment with different metallic pigments and inks to achieve various finishes, from subtle shimmer to bold and lustrous metallic designs.
Adding metallic accents through layering methods is a fantastic way to enhance the visual appeal of your epoxy resin projects and showcase your creativity and skill in epoxy resin finishing techniques.
Embedding Objects
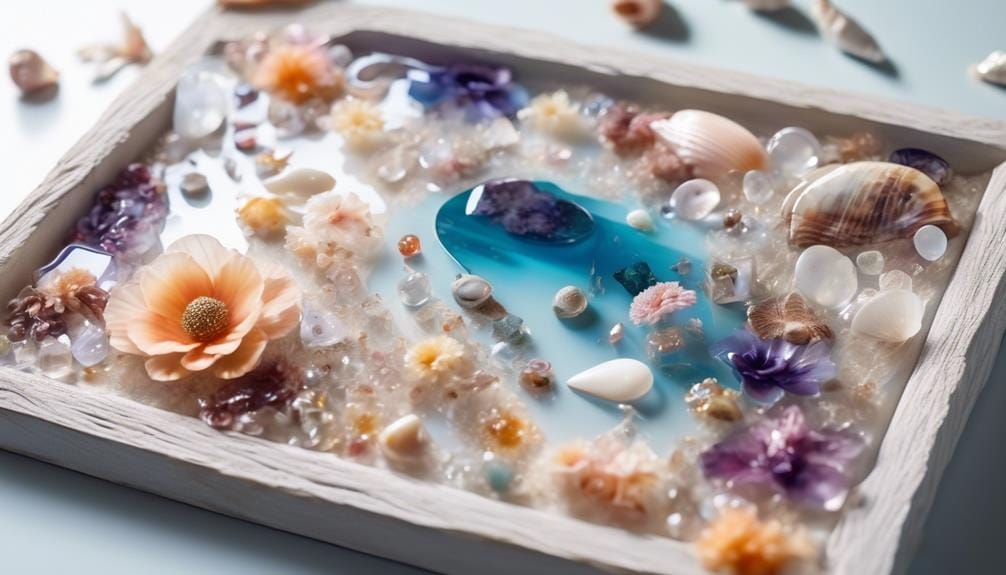
Consider enhancing your epoxy resin projects with unique and personalized touches by embedding small objects such as flowers, coins, or trinkets. Embedding objects in epoxy resin can add depth and interest to your creations.
Here are some tips to help you achieve the best results when embedding objects:
- Choose the right objects: Select small items that are suitable for embedding, such as dried flowers, small charms, or meaningful trinkets. Avoid using objects that may react with the resin or lose their color over time.
- Placement and layering: Carefully arrange and layer your objects within the resin to create visually appealing effects. Experiment with different arrangements to achieve the desired aesthetic. Consider creating a focal point by placing a larger object in the center.
- Seal and secure: Ensure that the embedded objects are fully sealed and secured in the resin to prevent any shifting or movement. This can be done by applying a thin layer of resin over the objects or using a sealant beforehand.
- Test and experiment: Don't be afraid to try different objects and arrangements to find what works best for your projects. Explore various combinations and techniques to achieve unique and stunning results.
Creating Depth and Dimension
Enhance the visual appeal of your epoxy resin creations by creating depth and dimension through the use of layering techniques and incorporating various textures and objects within the resin.
One technique that can help achieve this is the deep pour method. By pouring a thick layer of epoxy resin, typically around 1/4 inch or more, you can create a sense of depth that adds interest and dimension to your artwork. The deep pour allows the resin to settle and self-level, creating a smooth and glossy surface.
To further enhance the depth, you can add pigments, metallic powders, or alcohol inks to the resin. These additives create visual variations within the layers, giving the artwork a multidimensional effect.
Experimenting with different pouring techniques, such as the dirty pour or resin wave pour, can also add visual depth and dimension. These techniques involve pouring multiple colors of resin together, allowing them to blend and create unique patterns.
Incorporating different textures and embedding objects at various levels within the resin can further enhance the dimensionality of your artwork. Whether it's adding layers of dried flowers, shells, or even small trinkets, these objects create interesting focal points and add depth to your resin creations.
Achieving a Mirror Finish
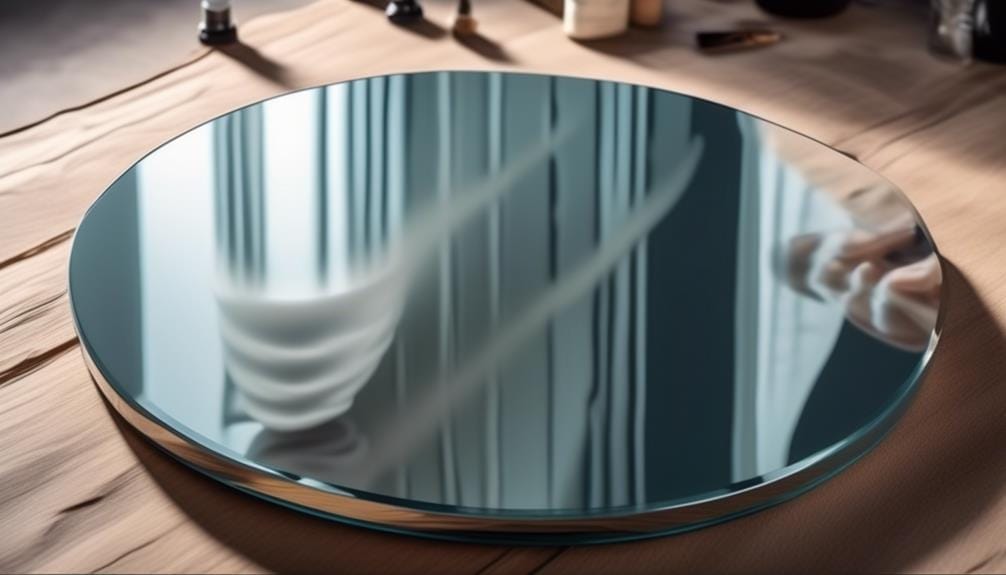
To achieve a mirror finish on your epoxy resin artwork, thorough sanding with various grits is necessary to remove any scratches or imperfections. This process requires patience and attention to detail, but the end result is well worth the effort. Here are the steps to achieve a mirror finish:
- Start with a coarse sandpaper, such as 120 grit, and sand the surface of your resin piece in a circular motion. This will help to even out any uneven areas and remove any large imperfections.
- Gradually work your way up to finer grit sandpapers, such as 400, 800, and 1200. Each time you switch to a finer grit, sand the surface in a different direction to ensure an even finish.
- Once you have achieved a smooth surface, it's time to move on to the polishing stage. Apply a coarse cutting compound to a soft cloth and gently rub it onto the surface in circular motions. This will help to remove any remaining scratches and bring out the shine.
- After using the cutting compound, switch to an ultra-gloss polishing compound. Apply it to a clean cloth and buff the surface of your resin artwork until it achieves a mirror-like finish.
Polishing Techniques
To achieve a high-quality mirror finish on your epoxy resin artwork, mastering the proper polishing techniques is crucial. Polishing epoxy resin requires a careful and precise approach to ensure a clear and glossy surface.
Before beginning the polishing process, it's important to assess the epoxy surface and determine if any sanding is required. Once you have gathered the necessary tools, such as a buffer tool and polishing pads, you can begin preparing the surface by cleaning it thoroughly. Make sure to remove any dust or debris that may affect the final result.
When polishing, it's essential to work in small sections and use light pressure to avoid generating excess heat. This can lead to surface damage or unevenness. Move the buffer tool in a circular motion and gradually increase the speed as you progress. Regularly check the surface to ensure that you're achieving the desired level of clarity and glossiness.
Sealing and Protecting the Surface
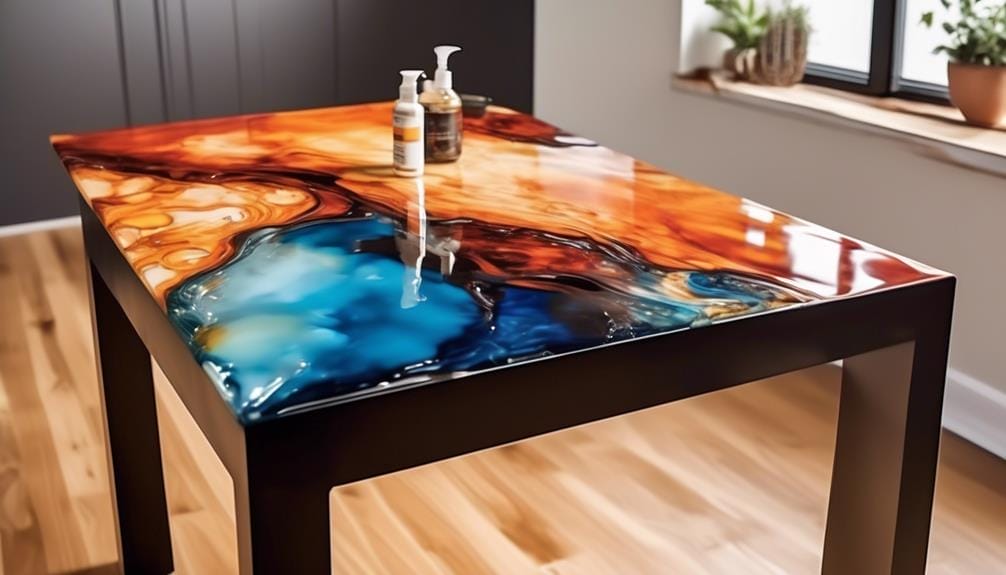
To ensure long-lasting durability and a flawless finish, properly sealing and protecting the surface of your epoxy resin artwork is essential. Sealing the surface not only enhances the appearance of your artwork but also prevents any damage caused by moisture, UV rays, and scratches.
Here are two important steps to follow when sealing and protecting the surface:
- Clean the Surface:
- Before applying any sealant, make sure the surface is clean and free from dust, dirt, and debris. Use a lint-free cloth and a mild detergent to gently clean the surface.
- Rinse the surface thoroughly and allow it to dry completely before proceeding to the next step.
- Apply a Protective Sealant:
- Choose a high-quality, non-yellowing sealant specifically designed for epoxy resin surfaces. This will provide a protective barrier and help maintain the clarity and color of your artwork.
- Using a foam brush or a lint-free cloth, apply the sealant evenly across the entire surface. Make sure to follow the manufacturer's instructions regarding drying times and multiple coats if necessary.
Troubleshooting Common Issues
If you encounter any issues while working with epoxy resin, there are several troubleshooting techniques that can help you resolve common problems.
One common issue is the need for sanding. Before deciding to sand, assess the surface for scratches and blemishes. This will help you determine if sanding is necessary.
Another issue that may arise is overheating during polishing. To prevent this, monitor the surface temperature and let it cool if it gets too hot during the polishing process.
Air bubbles can also be a problem during mixing and pouring. To handle this, use a heat gun to remove bubbles and work in a well-ventilated area to prevent new ones from forming.
Debris falling into the epoxy during curing can also cause issues. To avoid this, monitor your project closely and consider covering it during the curing process.
Finally, achieving a flawless finish may be a challenge. To overcome this, use a blowtorch to maintain a flawless finish and thoroughly sand the project to identify any imperfections.
Advanced Finishing Techniques
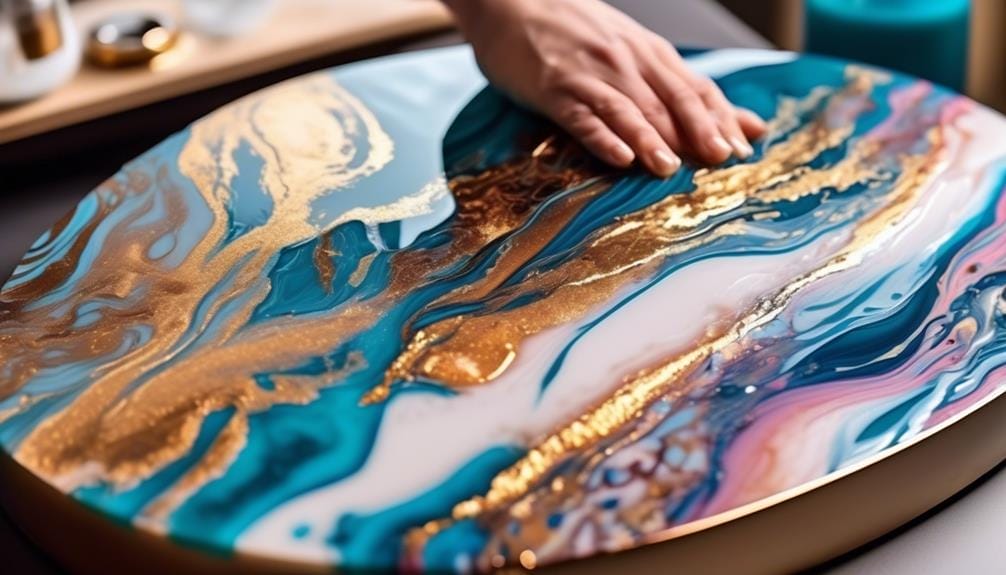
For a flawless and professional-looking finish, employ advanced techniques when working with epoxy resin. To achieve the best results, follow these steps:
- Systematic Sanding Approach:
- Start by assessing the surface roughness and choose an appropriate grit sandpaper.
- Begin sanding with the coarsest grit and gradually work your way up to finer grits.
- Use a sanding block or orbital sander to ensure even pressure and consistent results.
- Two-Step Polishing Process:
- After sanding, employ a two-step polishing process to enhance the resin's shine.
- Apply a coarse cutting compound to remove any scratches or imperfections.
- Follow with an ultra-gloss polishing compound to bring out a high-gloss finish.
- Mirror Finish:
- To achieve a mirror-like finish, wipe the surface clean of any dust or debris.
- Buff the resin using a soft cloth or polishing pad in circular motions.
- This process may be time-consuming, but the end result is well worth the effort.
Understanding these advanced epoxy resin finishing techniques will help you create a durable and impressive finish.
By investing time and effort into polishing, you can achieve a glossy surface that's equivalent to approximately 50 coats of lacquer.
Frequently Asked Questions
How Do You Get the Best Finish on Epoxy Resin?
To get the best finish on epoxy resin, start by sanding with varying grits, then inspect for scratches. Seal the wood before polishing with coarse cutting and ultra-gloss compounds. Wipe clean and buff for a mirror shine.
How Do I Get a Smooth Finish With Epoxy?
To get a smooth finish with epoxy, start by pouring the resin carefully and evenly. Then, use sanding techniques to remove imperfections. After that, polish it using specific compounds and techniques for a clear and glossy result.
Can Epoxy Resin Be Sanded and Polished?
Yes, epoxy resin can be sanded and polished. Before polishing, assess the surface for scratches or blemishes. If needed, sand the surface first. Then, use buffing techniques to achieve a smooth finish.
How Do You Smooth Edges on Epoxy Resin?
To smooth edges on epoxy resin, start by sanding with progressively finer grits. Then, use flame polishing to heat the surface and create a glossy finish. Finally, buff with a soft cloth for a smooth and professional-looking result.
Conclusion
In conclusion, mastering epoxy resin finishing techniques is essential for achieving glossy and professional-looking surfaces in various projects. Sanding, polishing, and applying a protective coating can transform imperfections into smooth and glass-like effects.
By experimenting with color techniques, texture enhancements, and layering methods, one can create unique and captivating finishes. Remember to polish with a high-gloss compound and seal the surface for added protection.
With practice and attention to detail, anyone can achieve stunning results using these advanced finishing techniques.

