Imagine transforming a plain, ordinary piece of wood into a mesmerizing work of art, with a sleek, glass-like finish that seems to go on forever. That's the magic of DIY Deep Pour Epoxy.
This technique allows you to create stunning, eye-catching pieces that will leave everyone in awe. But how do you achieve such a breathtaking result? What supplies do you need? What are the secrets to a successful pour?
In this discussion, we will explore all these questions and more, guiding you through the process of creating your own DIY Deep Pour Epoxy masterpiece. Get ready to unlock the secrets of this captivating technique and take your woodworking projects to new heights.
Key Takeaways
- Deep pour epoxy allows for pours up to 2 inches thick, while traditional table top epoxy is limited to thin layers of 1/8 inch.
- Safety precautions should be followed when working with epoxy resin, including wearing a respirator, gloves, and taping off the pour area.
- It is important to adhere to the recommended maximum pour depth to ensure proper curing and prevent issues like overheating and excessive bubbles.
- The curing time for epoxy can vary, so it is important to follow the manufacturer's instructions for mixing and curing, and allow sufficient time for full curing.
Supplies
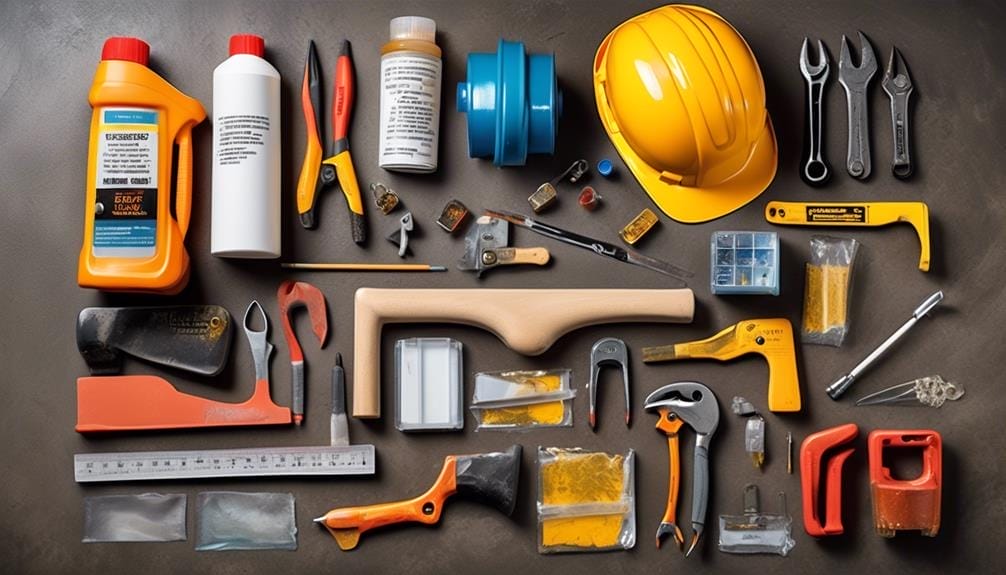
When working on a deep pour epoxy project, there are several supplies you'll need to ensure a successful outcome.
The main material required for this type of project is epoxy resin. This resin is specifically designed for deep pours, allowing you to create thick, glossy layers on your desired surface.
In addition to the resin, you'll also need a base material, such as wood, to pour the epoxy onto. To prevent the epoxy from sticking to the wood, it's important to use tuck tape to seal the form. This tape creates a barrier between the epoxy and the wood, ensuring easy removal once the project is complete.
Furthermore, you'll need a mixing cup to accurately measure and mix the epoxy resin and hardener. This is crucial for achieving the correct ratio and ensuring proper curing of the epoxy.
Lastly, a propane torch or heat gun is necessary to remove any bubbles that may form during the pouring process.
Epoxy Limits
When working with epoxy, it's important to understand its limitations. Epoxy thickness guidelines should be followed to ensure optimal results.
Maximum pour depth and consideration for curing time are crucial factors to keep in mind.
Epoxy Thickness Guidelines
To ensure optimal results when working with epoxy, it's crucial to understand the guidelines for epoxy thickness, also known as epoxy limits.
Deep pour epoxy allows for thicker layers, making it ideal for embedding objects. You can pour deep pour epoxy in layers up to two inches thick.
This is significantly thicker than traditional table top epoxy, which is limited to thin layers of 1/8 inch.
It's important to note that deep pour epoxy is specifically designed for projects that require embedding objects, while table top epoxy is meant for creating tabletops.
When working with deep pour epoxy, it's essential to follow the manufacturer's instructions for mixing and curing to achieve the desired results.
Maximum Pour Depth
The maximum pour depth for epoxy is determined by the specific type of epoxy resin used, allowing for thicker pours with deep pour epoxy compared to traditional table top epoxy. Understanding the maximum pour depth is crucial for achieving successful results in projects like river tables and resin art. Here are some key points to consider:
- Deep pour epoxy allows for pours up to 2 inches in a single application.
- Traditional table top epoxy is limited to thin layers of about 1/8 inch.
Adhering to the recommended maximum pour depth ensures proper curing. Exceeding the maximum pour depth can lead to issues like overheating and excessive bubbles. Deep pour epoxy is designed to handle thicker applications, making it suitable for projects that require a higher pour depth.
Consideration for Curing Time
Consider the curing time for epoxy as it plays a critical role in determining the maximum depth of the pour and ensuring a successful result. Different types of epoxy have varying curing times, so it is important to follow the manufacturer's instructions for mixing and curing. Deep pour epoxy, specifically designed for thick pours, has a long working time of up to 35 minutes. This extended curing time allows for intricate designs and vibrant pours. However, it is essential to note that epoxy has limitations on the maximum depth of the pour. This is due to the heat generated during the curing process. To help you understand the curing time limitations for different epoxy types, refer to the table below:
| Epoxy Type | Curing Time (approx.) |
|---|---|
| Deep Pour Epoxy | Up to 35 minutes |
| Standard Epoxy | 24 to 72 hours |
| Fast Curing Epoxy | 4 to 8 hours |
| UV Epoxy | Instant curing |
Safety First
For your own safety, always remember to wear a respirator or ensure that you're working in a well-ventilated area when handling epoxy resin. Epoxy resin can release harmful fumes during the curing process, so it's crucial to protect your respiratory system.
In addition to respiratory protection, gloves should also be worn to shield your hands from the messy resin. Here are some important safety precautions to consider when working with epoxy resin:
- Tape off the sides and bottom of the pour area to contain the epoxy and prevent it from spreading beyond the desired area.
- Make sure to purchase the appropriate safety equipment, such as gloves and a respirator, from a reputable hardware store.
- Before starting your project, clean your working space thoroughly to minimize the risk of contamination and ensure a safe environment.
- Have all necessary tools and supplies readily accessible to avoid unnecessary movements that could lead to accidents.
- Always follow the manufacturer's instructions and guidelines for handling and working with epoxy resin to ensure your safety and achieve the best results.
Build a Form
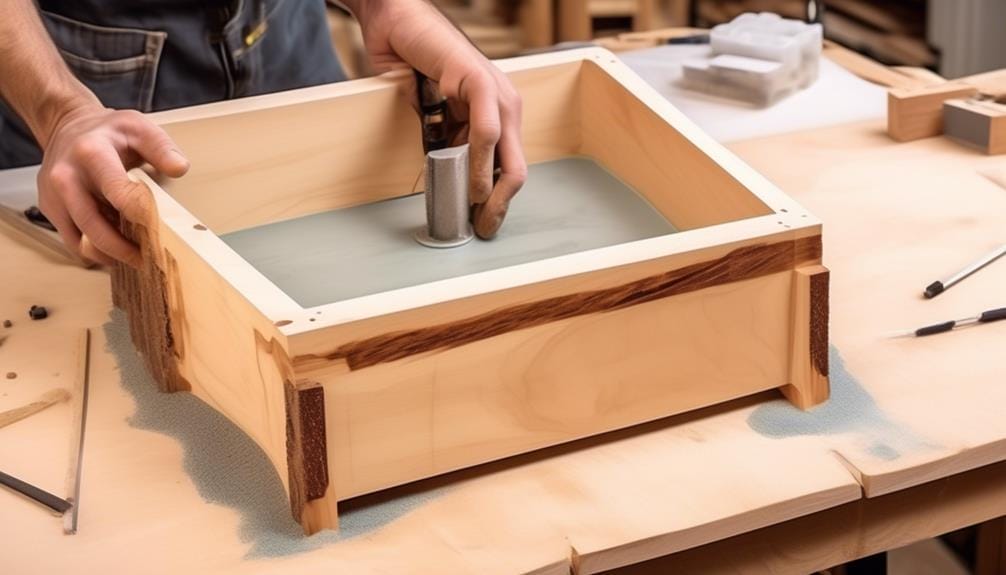
To successfully contain the epoxy and achieve the desired shape, it's crucial to build a form for your deep pour epoxy project. Building a form is necessary when working with deep pour epoxy, especially for large or river pours. The form acts as a barrier, preventing the epoxy from spreading out and ensuring that it stays in the desired area.
To start building the form, you'll need to seal the sides using caulk. This will help prevent any leaks during the epoxy pour, ensuring that the epoxy stays contained within the form. Additionally, tuck tape or sheathing tape should be applied to the bottom and sides of the form. This tape serves as a barrier between the epoxy and the form, preventing the epoxy from sticking and making it easier to remove the form once the epoxy has cured.
When building the form, it's important to ensure that it's level in all directions. This will help create an even epoxy surface and prevent any pooling or unevenness. Taking the time to build a sturdy and level form will greatly contribute to the success of your deep pour epoxy project.
Mix It Up
Now that you have successfully built a sturdy and level form to contain your deep pour epoxy, it's time to move on to the next step: mixing the epoxy components. Properly mixing the resin and hardener is crucial to ensure a successful and durable end result. Here are the key steps you need to follow:
- Gather your materials: Before you begin, make sure you have all the necessary materials on hand. This includes the deep pour epoxy resin and hardener, measuring cups, mixing containers, and stirring sticks.
- Measure accurately: Deep pour epoxy requires precise measurements to achieve the desired results. Use a digital scale to measure the resin and hardener in the correct ratio as specified by the manufacturer.
- Mix thoroughly: Pour the measured amounts of resin and hardener into a clean mixing container. Use a stirring stick to thoroughly mix the components together. Make sure to scrape the sides and bottom of the container to ensure uniform mixing.
- Avoid introducing air bubbles: When mixing, try to minimize the introduction of air bubbles into the epoxy mixture. Stir gently and avoid vigorous mixing or whipping.
- Take your time: Deep pour epoxy typically has a longer working time, allowing for up to 35 minutes of manipulation. Take advantage of this extended time to ensure thorough mixing and to pour the epoxy into your form without rushing.
Following these steps will help you achieve a well-mixed deep pour epoxy mixture, ensuring a successful and professional-looking end result.
Heat It Up
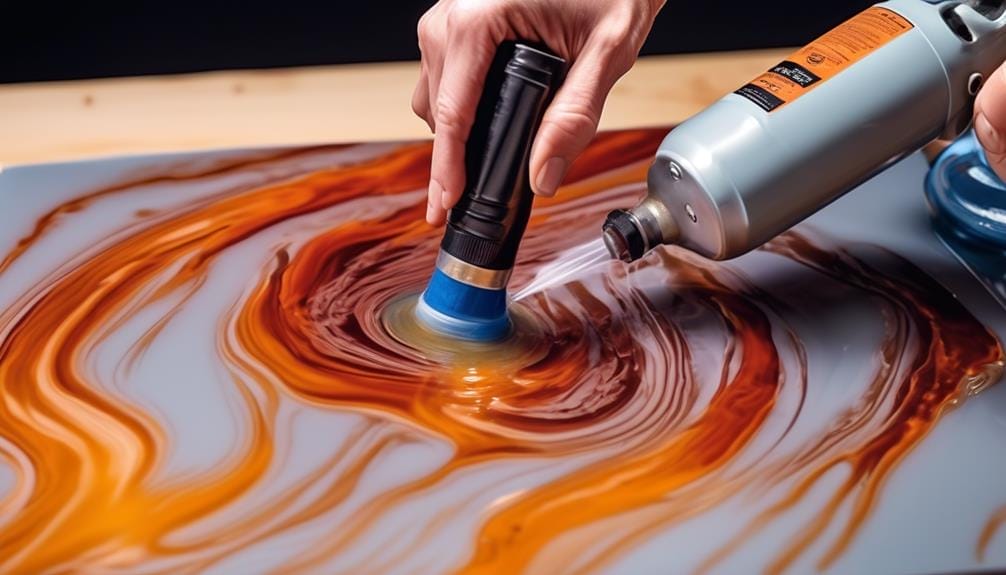
You can enhance the curing process and improve the overall quality of your deep pour epoxy by applying heat during the curing period. Heat can accelerate the chemical reaction between the resin and hardener, reducing the curing time and strengthening the epoxy's bond.
One effective way to apply heat to your deep pour epoxy is by using a heat gun. A heat gun emits a controlled stream of hot air that can quickly raise the temperature of the epoxy, promoting faster curing.
When using a heat gun, it's essential to maintain a safe distance from the epoxy surface to prevent overheating or scorching. Start by setting the heat gun to a low or medium temperature and gradually increase it if needed. Move the heat gun in a slow and sweeping motion, evenly distributing the heat across the epoxy surface.
Applying heat during the curing process is particularly beneficial for deep pour epoxy projects. The heat helps to reduce the exothermic reaction, which is the release of heat during the curing process. By minimizing the exothermic reaction, you can prevent excessive heat build-up and potential cracking or warping of the epoxy. Additionally, the heat promotes better flow and self-leveling properties, resulting in a smoother and more professional finish.
Remember to always follow the manufacturer's instructions and recommendations when using a heat gun with deep pour epoxy. Proper curing is crucial to ensure the strength, durability, and longevity of your epoxy project.
Curing the Epoxy
Properly curing the epoxy is essential to ensure its strength and durability. The curing process plays a vital role in transforming the liquid epoxy into a solid, hardened state. To achieve optimal results, follow these steps when curing your deep pour epoxy:
- Curing Time: The curing time for epoxy can vary depending on the specific product used. Refer to the manufacturer's instructions to determine the recommended curing time for your epoxy. It's important not to rush the process as insufficient curing time can lead to weak and brittle epoxy.
- Temperature Control: Maintain the curing temperature as per the manufacturer's instructions. Temperature fluctuations can affect the curing process and result in undesirable outcomes. Ensure that the curing environment is within the recommended temperature range to promote proper hardening of the epoxy.
- Minimize Disturbances: Avoid disturbing the epoxy during the curing process. Any movement or agitation can introduce imperfections, such as bubbles or uneven surfaces. Once the epoxy is poured, allow it to cure undisturbed to achieve a smooth and flawless finish.
- Patience is Key: Follow the recommended curing time before subjecting the epoxy to heavy use or finishing. Premature use can compromise the epoxy's strength and durability. Allow the epoxy sufficient time to cure fully, ensuring it achieves its maximum hardness and toughness.
Finishing the Epoxy
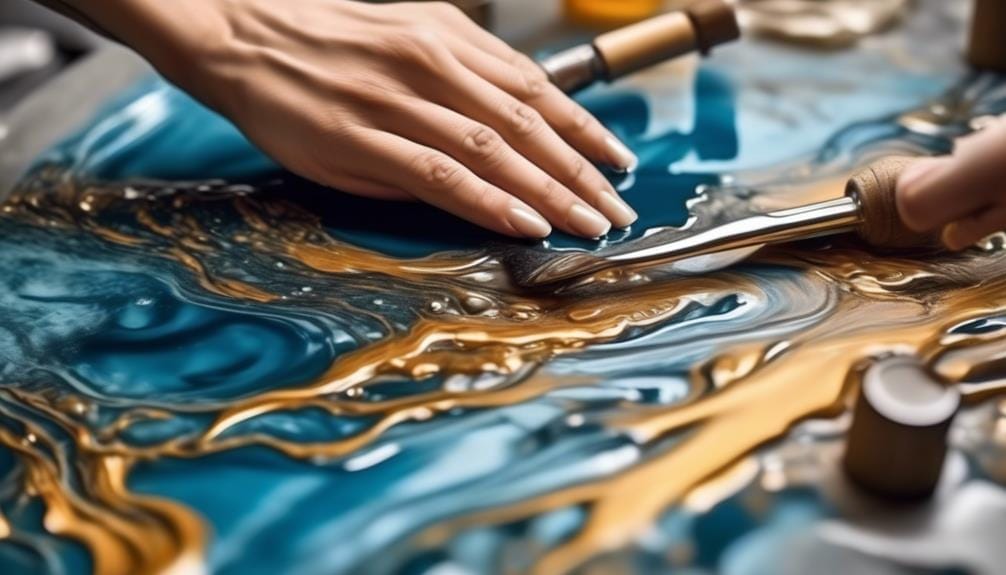
To achieve a professional-grade finish on your deep pour epoxy project, it's essential to follow the proper steps for finishing the epoxy.
After allowing the deep pour epoxy mixture to sit overnight and cure for 24-36 hours, it's time to begin the finishing process.
Start by planing the surface smooth, ensuring that both sides are even.
Sand the edges to create a smooth, polished look.
To achieve a glossy finish, use table top epoxy for the final coating.
Carefully mix the table top epoxy to avoid any air bubbles. If there are any bubbles present, use a blow torch or alcohol mist to remove them.
Pour the clear mixture evenly onto the surface from a height, allowing it to spread to the edges with the help of a spreader.
Mist the surface with alcohol to break up any remaining bubbles.
This process will give your deep pour epoxy project a vibrant, glossy finish without any translucency.
Follow these steps precisely to achieve a professional and polished look for your deep pour epoxy project.
Pro Tips
To achieve a successful deep pour epoxy project, it's crucial to pay attention to the mixing ratios and curing time.
Precise measurements and thorough mixing will ensure a strong and durable epoxy finish.
Additionally, allowing sufficient curing time is essential for the epoxy to fully harden and provide the desired results.
Mixing Ratios
For accurate and successful deep pour epoxy projects, it's crucial to carefully measure and mix the resin and hardener according to the recommended ratios provided by the manufacturer.
To ensure precise mixing ratios, consider the following tips:
- Deep pour epoxy resin generally has a mixing ratio of two parts resin to one part hardener by volume.
- Accurate measuring and mixing of the resin and hardener is crucial for a successful pour.
- Following the manufacturer's recommended mixing ratios and instructions is essential for achieving the desired results.
- Using a mixing cup with clearly marked measurements can help ensure the correct mixing ratios are maintained.
- Some epoxy resins may have different mixing ratios, so always refer to the specific product's instructions for the accurate ratio.
Curing Time
Allowing sufficient time for the deep pour epoxy resin to cure is crucial for achieving optimal results in your DIY deep pour epoxy project.
Patience is key, as the curing time typically takes around 3 days, with peak strength reached in two weeks.
It's important to avoid disturbing the curing process once the epoxy resin is poured. Refrain from adding additional resin after 24-36 hours to ensure proper curing.
Monitoring the curing process is essential to ensure it progresses as expected and to address any issues promptly.
Additionally, plan for subsequent layers as the walnut wood may absorb the epoxy, causing levels to drop. Be prepared to add more epoxy within the appropriate timeframe.
Once the epoxy resin is fully cured, carefully plane, sand, and finish the project to achieve a smooth and glossy surface.
Done
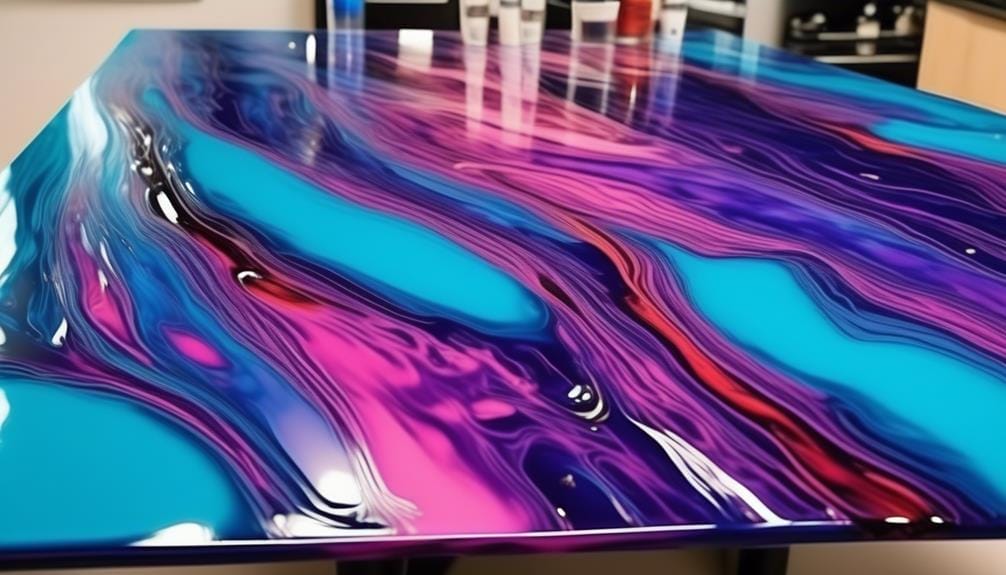
After completing the deep pour epoxy process, you can proceed to the next step in your project. The deep pour epoxy has now cured and is ready for you to admire and use.
Here are a few things to keep in mind now that you're done with your deep pour epoxy project:
- Take a moment to inspect your finished piece. Look for any imperfections or bubbles that may have formed during the curing process. If you notice any, you can sand them down or fill them in with a clear epoxy to achieve a smooth finish.
- Clean up your workspace. Deep pour epoxy can be messy, so make sure to wipe down any spills or drips. Dispose of any leftover epoxy and clean your tools according to the manufacturer's instructions.
- Protect your finished piece. Deep pour epoxy provides a durable and waterproof seal, but it's still important to take care of your project. Avoid placing hot objects directly on the surface and use coasters or trivets to prevent scratches.
- Enjoy your creation! Whether you've made a river table, resin art, coasters, or resin jewelry, take pride in your DIY deep pour epoxy project. Display it, use it, and share it with others.
- Get inspired for your next project. Now that you've successfully completed a deep pour epoxy project, let your creativity flow and explore new possibilities for your next DIY adventure.
Congratulations on completing your deep pour epoxy project!
Recommendations
Looking for some tips to ensure the success of your deep pour epoxy project? Here are some recommendations to help you achieve the best results.
First and foremost, proper surface preparation is crucial. Make sure the surface is clean, dry, and free from any contaminants that could interfere with adhesion.
Additionally, temperature control is important. The ideal temperature for working with deep pour epoxy is between 70-75°F (21-24°C). Extreme temperatures can affect the curing process and lead to undesirable outcomes.
When working with deep pour epoxy, it's essential to wear a respirator or work in a well-ventilated area. Epoxy resin emits fumes that can be harmful if inhaled, so proper safety precautions are a must.
For large or river pours, building a form with a level surface is necessary. This will help control the epoxy pour and create the desired shape. It's recommended to use a release agent on the form to prevent the epoxy from sticking.
Deep pour epoxy resin has a long working time of up to 35 minutes, allowing you to work at a comfortable pace without rushing. This makes it ideal for achieving a deep, vibrant pour with no translucency.
Additional Resources
To access a wealth of additional resources for your deep pour epoxy project, consider exploring the offerings from UltraClear.
With UltraClear, you can find a range of deep pour epoxy products in various sizes, perfect for any DIY project. Whether you're a beginner or have experience with epoxy, UltraClear provides online instructions and tutorials to guide you through the process.
Here are some additional resources you can find from UltraClear:
- Compare the value and time-saving benefits of buying from UltraClear. Their deep pour epoxy products are formulated to provide superior clarity, UV resistance, and self-leveling properties, ensuring professional-looking results.
- Explore the various molds available for creating coasters, trays, jewelry, and other resin crafts. UltraClear offers a wide selection of high-quality silicone molds that are durable and easy to use.
- Access a free eBook with insider information on epoxy resin. This comprehensive guide covers topics such as choosing the right epoxy, measuring and mixing techniques, and troubleshooting common issues.
- Join the UltraClear community and connect with other epoxy enthusiasts. Share your projects, ask questions, and gain inspiration from the creativity of others.
- Stay updated with the latest tips, tricks, and trends in the world of epoxy resin by subscribing to the UltraClear newsletter. Receive exclusive discounts, product updates, and project ideas delivered directly to your inbox.
Frequently Asked Questions
What Is the Deepest You Can Pour Epoxy?
To achieve the deepest epoxy pour, explore the maximum depth allowed by the product. Considerations for thicker pours include temperature control, proper mixing, and using a suitable mold. Tips for a flawless finish include removing air bubbles and allowing sufficient curing time.
What Is the Best Resin for Deep Pours?
The best resin for deep pours is determined by the project's requirements and personal preference. Some popular brands include ArtResin and Pro Marine Supplies. Tips and tricks, as well as common mistakes, vary depending on the specific resin being used.
Can You Pour Epoxy 2 Inches Thick?
Yes, you can pour epoxy 2 inches thick. To achieve this, use proper epoxy pouring techniques and choose a high-quality epoxy brand. Ensure surface preparation and temperature control for successful results.
Is Casting Resin Better Than Deep Pour Epoxy?
Casting resin offers versatility and faster curing times, but deep pour epoxy provides thicker layers and better protection. Consider the pros of casting resin and the cons of deep pour epoxy when choosing the right epoxy thickness.
Conclusion
As you conclude your DIY deep pour epoxy project, you may find yourself reflecting on the transformative power of this technique. Like a river flowing through a landscape, the epoxy resin has the ability to enhance the natural beauty of wood, creating a mesmerizing and glossy finish.
Through careful preparation and skilled execution, you have harnessed this power to craft a unique and stunning piece of art.
Embrace the depth and complexity of your creation, knowing that you have truly mastered the art of DIY deep pour epoxy.


