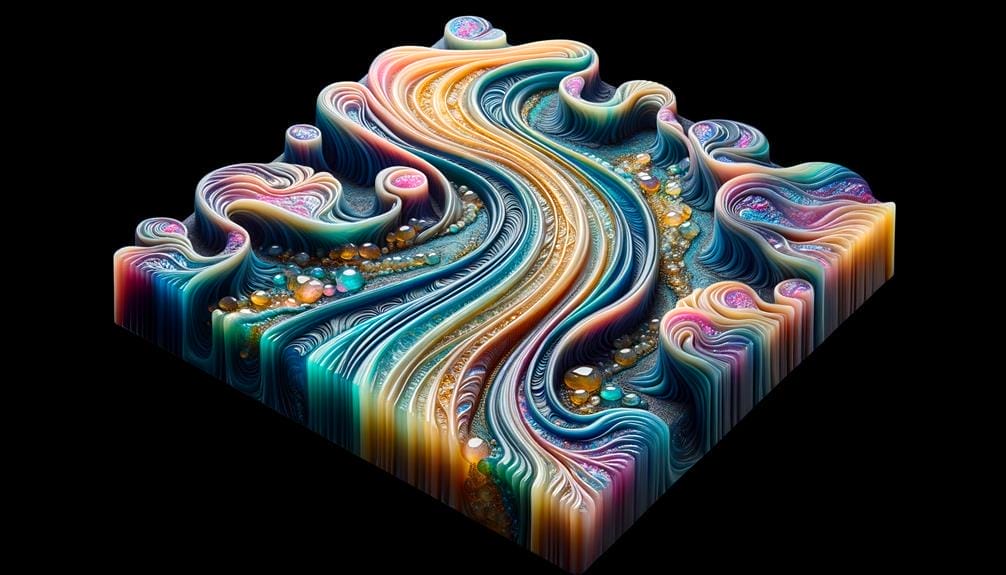
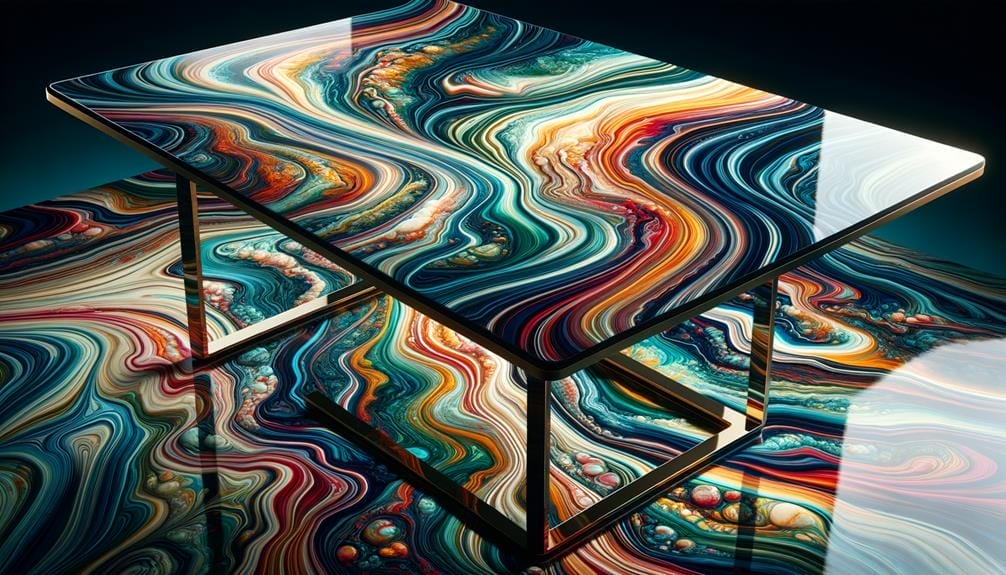
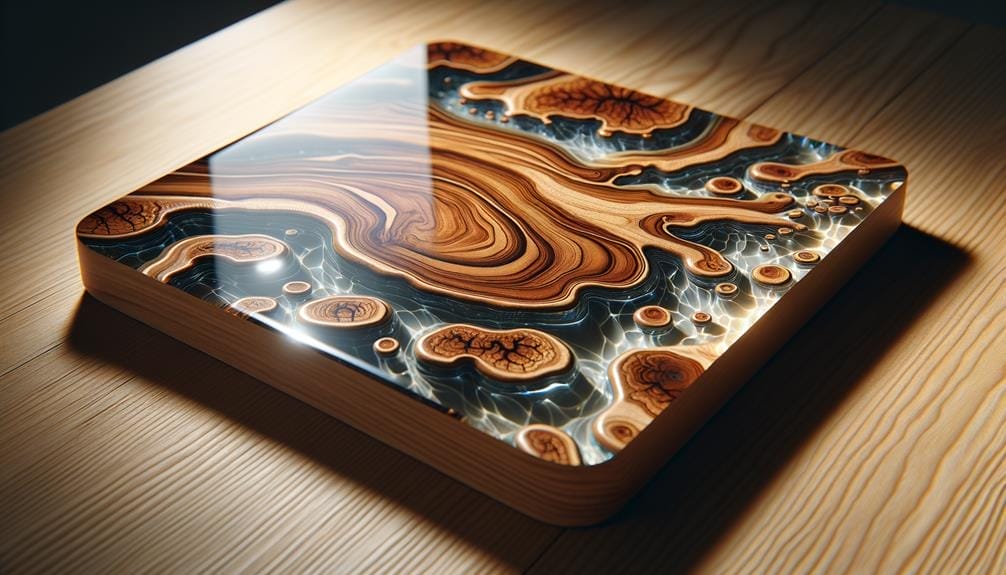
Are you tired of the same old plain and ordinary furniture in your home? Imagine transforming a simple wooden coffee table into a work of art that is both functional and visually stunning. With custom designs using liquid glass epoxy, you can achieve just that.
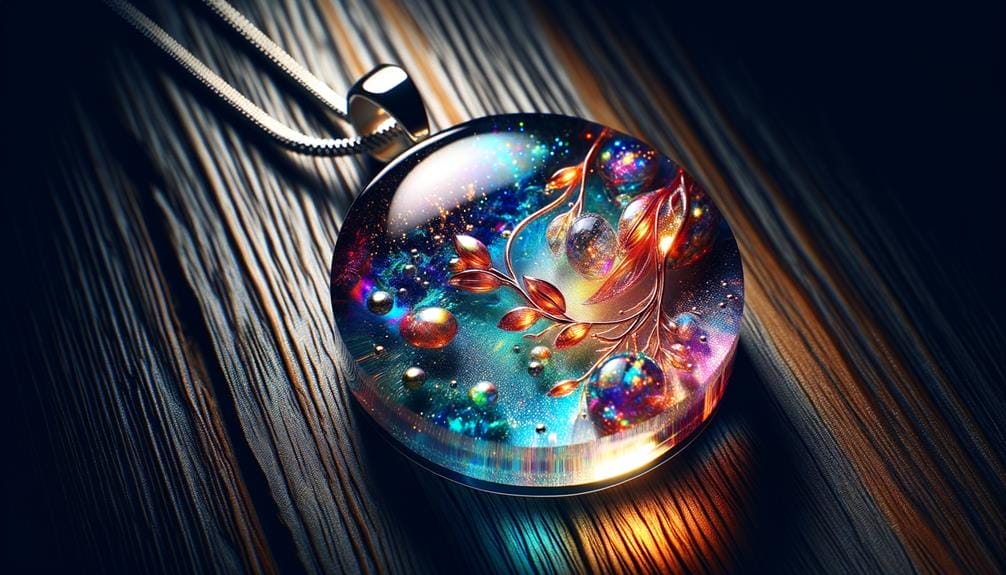
But it doesn't stop there. The possibilities are endless when it comes to creating one-of-a-kind jewelry pieces or captivating art pieces.
So, how exactly does liquid glass epoxy work its magic? Stay tuned to discover the secrets behind this innovative and versatile material that will leave you inspired to unleash your creativity.
Key Takeaways
- Liquid Glass Epoxy creates a glossy and smooth finish on any surface, making it ideal for custom designs.
- The epoxy allows for deep pours without bubbles or imperfections, ensuring a high-quality result.
- It provides durability and resistance to scratches and stains, making it suitable for functional items like tables and countertops.
- Liquid Glass Epoxy can be easily repaired if damaged, ensuring longevity and versatility in custom designs.
Benefits of Liquid Glass Epoxy
Liquid Glass Epoxy offers an irresistible combination of a glossy and smooth finish that will transform any surface into a work of art. This high-quality resin, also known as Liquid Glass or Epoxy Glass, is perfect for creating stunning custom designs. With its deep pour capabilities, it allows you to pour thick layers without worrying about bubbles or imperfections.
Whether you're working on a live edge table, a bar top, or a piece of jewelry, Liquid Glass Epoxy will give your project a professional and flawless look.
One of the key benefits of Liquid Glass Epoxy is its durability and long-lasting nature. Once cured, it becomes resistant to scratches and stains, ensuring that your masterpiece stays beautiful for years to come. And don't worry if accidents happen, as this epoxy can be easily repaired. Simply scrape off the damaged area, pour a fresh layer, and use a heat gun to remove any air bubbles.
To achieve the best results, proper mixing and preparation are crucial. Use a mold or create a barrier to contain the epoxy and ensure it stays in place. Before pouring, clean the surface with isopropyl alcohol to remove any dirt or oils. Then, mix the epoxy with its activator according to the instructions provided. Pour it onto the surface and use a heat gun to eliminate any remaining air bubbles. Finally, let it cure for the recommended time, and you'll be amazed at the stunning finish that Liquid Glass Epoxy provides.
Surface Applications for Liquid Glass Epoxy
For those looking to enhance the beauty and durability of their surfaces, the versatility of liquid glass epoxy opens up a world of possibilities. Whether you want to create a stunning tabletop or add a glossy finish to a serving tray, liquid glass epoxy can provide a deep and crystal clear finish that's both functional and aesthetically pleasing.
Here are some popular surface applications for liquid glass epoxy:
- Pour Epoxy Resin: Use liquid glass epoxy to create a smooth and level surface on tables, countertops, and other furniture pieces.
- Resin Charcuterie: Add a touch of elegance to your dining experience by using liquid glass epoxy to create a resin charcuterie board. The glossy finish will showcase the natural beauty of the wood while also providing a food-safe surface.
- Serving Tray: Transform a plain wooden tray into a statement piece by applying liquid glass epoxy. The added durability will ensure that your tray can withstand daily use.
- Decorative Elements: Liquid glass epoxy can also be used to create smaller decorative items such as coasters and keychains. The possibilities are endless when it comes to customizing designs with different pigments and additives.
To ensure a successful application, make sure to have the necessary tools on hand, including a heat gun, a dry bucket or cup, and a drill mixer set. Additionally, be mindful of scraping any unmixed material from the surface to achieve a flawless finish.
With liquid glass epoxy, you can elevate the look of any surface and enjoy a durable and stunning result.
Tools and Materials for Custom Designs
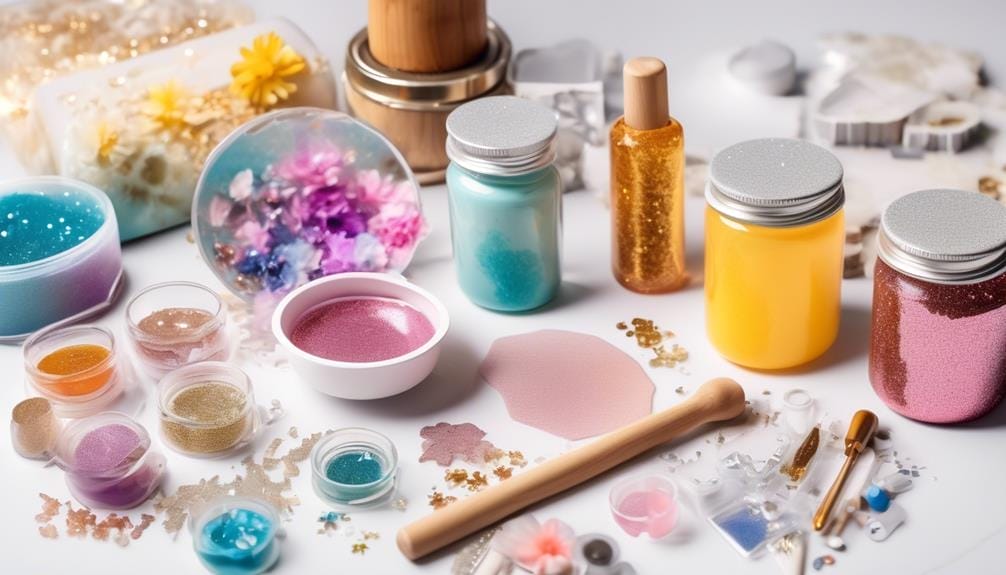
To embark on your journey of creating custom designs with liquid glass epoxy, you'll need an array of essential tools and high-quality materials. These tools will help you achieve professional-looking results and allow your creativity to shine through. Some of the essential tools you'll need include:
- Silicone molds
- Mixing containers
- Stirring sticks
- A heat gun
- Safety gear like gloves and goggles
These tools will ensure that you can work safely and efficiently.
When it comes to materials, there are a few key ones that are commonly used in custom designs with liquid glass epoxy. Wood planks are a popular choice for creating unique surfaces to pour the epoxy on. Liquid Glass® Deep Pour Epoxy and Superclear® Table Top Epoxy are high-quality options that will give you a flawless finish.
Proper mixing ratios and precise measuring are crucial for successful epoxy, resin, and liquid glass work. Make sure to follow the instructions carefully to achieve the desired results. Surface preparation is also important to ensure a smooth and even application. This may involve sanding the surface and cleaning it thoroughly before pouring the epoxy.
To avoid air bubbles in your custom designs, you can use a heat gun to gently remove any trapped air. If you do encounter air bubbles, you can use a stirring stick or a heat gun to pop them. Scraping any excess epoxy off the surface with a plastic sheeting can help achieve a clean and polished look.
Step-by-Step Process for Creating Custom Designs
As you continue your journey of creating custom designs with liquid glass epoxy, it's time to dive into the step-by-step process that will bring your artistic vision to life. Follow these guidelines to ensure a proper and successful epoxy resin serving:
- Prepare the surface:
Start by ensuring that the surface you'll be working on is clean, dry, and at least 70 degrees Fahrenheit. Use a plastic sheet to lay down and mark the required fields for your design. Sweep back and forth to remove any dirt or debris.
- Mix and pour:
Determine the amount of epoxy you'll need by referring to the coverage chart provided. Use a stir stick to mix the epoxy resin and activator thoroughly for at least 5 minutes. Once mixed, pour the mixture into the mold at your desired design.
- Remove air bubbles:
To remove any air bubbles, sweep back and forth with a heat gun. This will help the epoxy settle evenly and remove any soft spots and/or air bubbles from the surface.
- Cure and finish:
Allow the epoxy to cure for at least 24 hours, or as per the instructions provided. Once cured, scrape the sides and bottom of the mold to release the epoxy. Use a stir stick to scrape the bucket, ensuring no unmixed epoxy is left behind.
Tips and Techniques for Working With Liquid Glass Epoxy
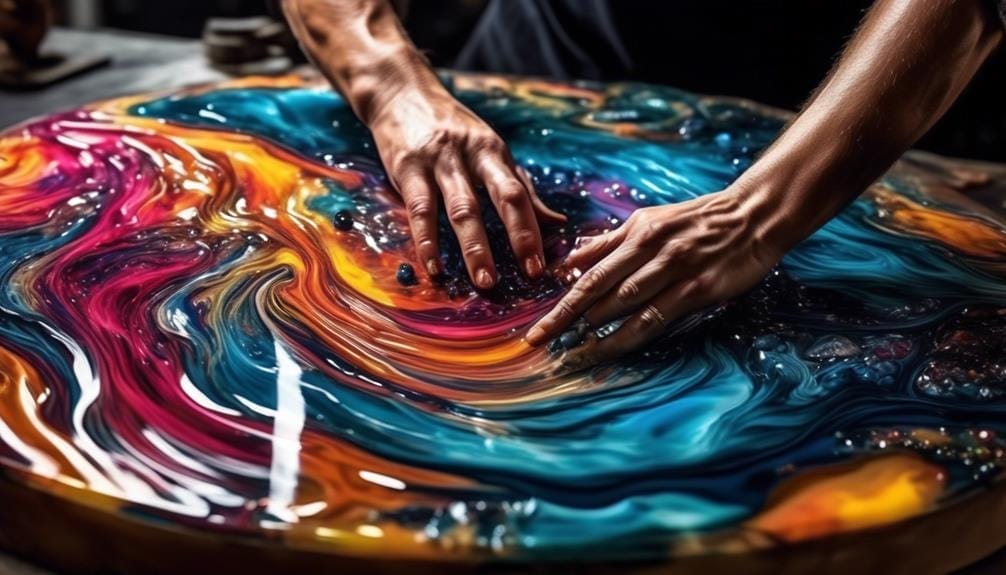
When working with liquid glass epoxy, it's crucial to pay attention to the mixing ratios to ensure proper curing and durability. Make sure to mix the epoxy and hardener in precise ratios as instructed by the manufacturer.
Additionally, applying the epoxy smoothly in thin coats will allow for better control and minimize the risk of overheating or cracking.
Lastly, don't forget to use heat guns or torches to remove any air bubbles that may form during the curing process, ensuring a flawless finish.
Mixing Ratios for Epoxy
For optimal curing and a strong, durable finish, precise measurement and thorough mixing of epoxy, resin, or Liquid Glass® Deep with hardener are essential. Following the correct mixing ratios is crucial to achieve the desired results. Here are some tips to ensure successful mixing:
- Make sure your surface is clean and free of dust or debris.
- Use either a stir stick or a measuring cup to accurately measure the epoxy and hardener.
- Mix the epoxy and hardener together thoroughly, making sure there are no streaks or unmixed portions.
- If you notice any bubbles in the mixture, use a heat gun to remove them gently.
Applying Epoxy Smoothly
To achieve a flawlessly smooth application of Liquid Glass Epoxy, master the art of technique and precision.
When working with Liquid Glass® Deep Pour, it's important to pour the mixture directly into your mold, ensuring that it covers the entire surface evenly.
Take your time and be patient, as the epoxy may take several hours to ensure a smooth result.
As the epoxy starts to get tacky, use a heat gun or torch to remove any air bubbles that may have formed.
Remember to scrape the sides of the mold to prevent any excess epoxy from pooling.
Place a sheeting below your project to catch any drips or spills.
Finally, make sure to keep the mixture directly above the surface, maintaining a minimum distance to prevent any unwanted drips or uneven areas.
With practice and attention to detail, you can achieve a flawlessly smooth surface with Liquid Glass Epoxy.
Preventing Air Bubbles
Mastering the art of preventing air bubbles is crucial when working with Liquid Glass Epoxy, ensuring a flawless and professional finish for your custom designs. To help you achieve this, here are some tips and techniques:
- Use a heat gun or torch: Apply heat to the surface to remove any air bubbles that may form during the curing process.
- Mix slowly and carefully: When combining the epoxy and hardener, mix them slowly to prevent air from getting trapped in the mixture.
- Pour in thin layers: To minimize the risk of air bubbles forming, pour the epoxy in thin layers instead of pouring it all at once.
- Consider using a pressure pot or vacuum chamber: These tools can help eliminate air bubbles from the epoxy by creating a controlled environment.
Inspiration for Custom Design Projects

Gain inspiration for your custom design projects by exploring the vibrant colors, intricate patterns, and captivating textures found in nature, personal experiences, cultural influences, and specific themes.
Nature is a limitless source of inspiration, with its breathtaking landscapes, diverse flora, and mesmerizing fauna. The vibrant hues of a sunset, the delicate petals of a flower, or the intricate patterns of a seashell can all spark creativity for your next project.
Similarly, personal experiences and memories hold immense potential for custom designs. The emotions and stories attached to these experiences can be translated into visual elements, creating unique and meaningful pieces.
Cultural influences, such as traditional art forms, architecture, or fashion, can also serve as a rich source of inspiration. By studying different design styles, techniques, and trends, you can infuse your work with a touch of cultural heritage.
Finally, specific themes or concepts can provide a focused direction for your custom design projects. Whether it's exploring a particular historical period, art movement, or a personal interest, diving deep into a specific theme can lead to innovative and captivating designs.
Frequently Asked Questions
Is Epoxy Resin the Same as Liquid Glass?
No, epoxy resin and liquid glass are not the same. Liquid glass epoxy is a specific type of epoxy resin that mimics the appearance of glass, offering a clear and glossy finish for a variety of artistic and functional projects.
How Long Does It Take for Liquid Glass Epoxy to Cure?
Liquid glass epoxy typically takes 24 to 72 hours to cure. Factors like temperature and pour thickness can affect curing time. To speed up the process, ensure a clean environment and follow instructions.
What Can You Do With Liquid Glass?
You can do so many things with liquid glass! Get creative and explore the artistic possibilities of resin crafts. Make unique jewelry, enhance furniture, create decorative pieces, and even coat surfboards for a glossy finish. The options are endless for your DIY projects!
How Do You Use Liquid Glass Epoxy?
To use liquid glass epoxy, start by applying it to your project with a brush or roller. Remember to follow safety precautions and allow sufficient curing time. Experiment with techniques and colors to create unique designs and enhance durability.
Conclusion
In conclusion, liquid glass epoxy offers a boundless world of beauty and creativity. Its durable and versatile nature allows for endless possibilities in custom designs.
From jewelry to furniture, the clear and glass-like finish enhances any piece with stunning effects and vibrant colors.
With the right tools and techniques, you can create personalized and artistic masterpieces that are sure to impress.
So dive into the world of liquid glass epoxy and let your imagination run wild!

