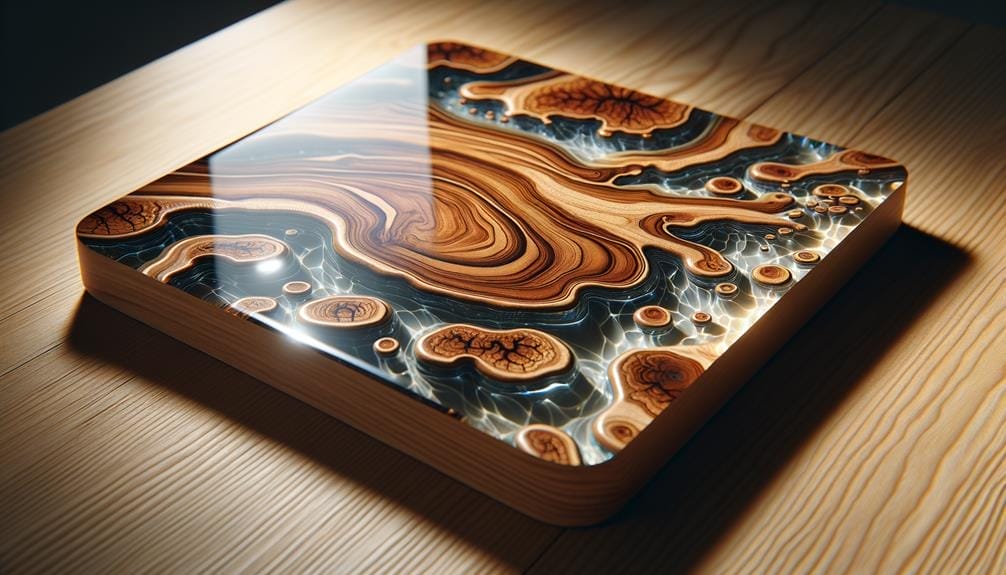
Dive into the mesmerizing world of epoxy resin casting, where you can turn ordinary materials into extraordinary works of art. Like a sculptor molding clay, you have the power to shape and create with this versatile material. But there’s more to casting with epoxy resin than meets the eye.
From selecting the right resin to mastering the art of curing, every step is crucial in achieving stunning results. So, grab your mixing cups and stirrers because this discussion will take you on a journey of exploration and discovery, unveiling the secrets to casting with epoxy resin.
Get ready to unlock your creativity and bring your visions to life.
Key Takeaways
- Choose the right epoxy resin for your casting project, considering factors such as clarity, color, mold size, complexity, and curing time.
- Properly prepare your mold by cleaning it thoroughly and applying a mold release agent to ensure easy removal of the cured resin.
- Avoid air bubbles in your resin by mixing it thoroughly, using a heat gun or torch to remove surface bubbles, and considering using a pressure pot for a smooth finish.
- Follow the specific resin’s instructions for ratio, pot time, and cure time, and consider factors such as depth, clarity, and cure time when selecting the appropriate epoxy resin for your casting.
Choosing the Right Epoxy Resin
To ensure the success of your epoxy resin casting project, it’s crucial to carefully select the appropriate epoxy resin based on the specific requirements of your project. The type of resin you choose will greatly impact the outcome of your casting.
For clear casting projects, it’s recommended to use clear casting resin, as it provides excellent clarity and transparency. On the other hand, if you’re looking to add color to your castings, you can opt for colored epoxy resins that come in a variety of shades.
When selecting an epoxy resin, it’s important to consider factors such as the size and complexity of your mold, the depth of the casting, and the curing time. Some epoxy resins are specifically formulated for deep pour projects, while others are better suited for thin layers. It’s essential to choose a resin that can handle the thickness of your casting to prevent cracking or warping.
In addition to the resin itself, you should also pay attention to the mixing process. Properly mixing the epoxy resin and hardener is crucial to achieve a strong and durable casting. Be sure to follow the manufacturer’s instructions and mix the two components thoroughly to avoid any soft or sticky spots in your casting.
Another important aspect to consider is the prevention of bubbles on the surface of your casting. To minimize the presence of bubbles, it’s recommended to use a heat gun or torch to remove any trapped air carefully. Additionally, choosing an epoxy resin with a longer working time can give you more control over the casting process and allow bubbles to rise to the surface before the resin sets.
Selecting the Perfect Casting Mold
When selecting the perfect casting mold for your epoxy resin project, there are several points to consider.
First, think about the material options available, such as silicone or plastic, and choose one that suits your desired outcome.
Next, evaluate the size and shape of the mold, ensuring it can accommodate the volume and dimensions of your casting.
Mold Material Options
Consider the desired depth, clarity, and surface appearance of your finished piece when selecting the perfect mold material for casting with epoxy resin. Assess if the resin is suitable for turning applications and whether a pressure pot is needed for curing. Evaluate whether a longer working time is required and check if the cure time aligns with the project timeframe.
Opt for flexible silicone molds for easy removal of cured pieces and select molds with shiny surfaces for a glossy finish or dull surfaces for a matte finish. Additionally, consider the shape, depth requirements, and desired surface appearance when deciding on a mold.
Size and Shape Considerations
For optimal casting results, carefully assess the size and shape of your desired piece to ensure you select the perfect mold for your epoxy resin project. Consider the depth and clarity you want to achieve in your finished piece.
If you’re planning on pouring a deep-pour epoxy resin or creating a river table, you’ll need a mold that can accommodate the thickness of the resin. Evaluate if the resin is suitable for turning applications, and if so, determine if you’ll need a pressure pot for curing.
Also, consider the working time and cure time of the resin to ensure they align with your project timeframe. Opt for flexible silicone molds that make it easy to remove cured pieces and select molds with shiny or dull surfaces for specific finishes.
Don’t forget to use a mold release to ensure your resin casting comes out clear and free of any imperfections.
Preparing Your Mold for Casting
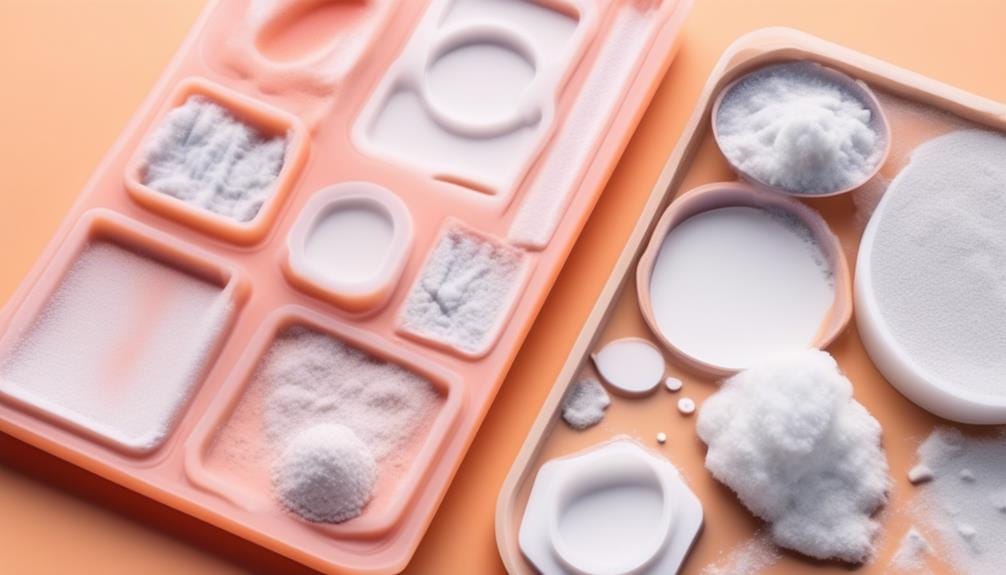
To ensure a successful casting process, it’s essential to prepare your mold properly.
Thoroughly clean the mold, removing any dust, debris, or residue. This will help ensure a smooth surface finish for your final casting.
Once clean, apply a thin, even coat of mold release agent. Choose a product that matches the desired surface finish of your casting.
Cover all areas of the mold with the mold release agent to ensure easy removal of the cured resin. Allow the mold release agent to dry completely.
With a clean and coated mold, it’s now ready for casting. Consider the shape and depth of your mold before pouring the epoxy.
If you want to embed objects, place them in the mold before pouring the epoxy to prevent bubbles from rising to the surface.
Avoiding Air Bubbles in Your Resin
To ensure your epoxy resin casting is free from unsightly air bubbles, take measures to create a clean and controlled environment for mixing and pouring the resin. Here are some key tips to help you avoid air bubbles in your resin:
- Mix thoroughly: Properly mix the resin and hardener, ensuring there are no streaks or unmixed portions. This will help prevent air from being trapped during the curing process.
- Remove surface bubbles: After pouring the resin into your mold, you may notice small air bubbles rising to the surface. To eliminate them, use a heat gun or torch to apply heat and encourage the bubbles to pop carefully.
- Consider pressure pots: If you frequently work with epoxy resin, investing in a pressure pot may be beneficial. These pots apply vacuum pressure to the resin, effectively removing any trapped air bubbles and ensuring a smooth finish.
- Longer working times: For larger projects, consider using epoxy resin with longer working times. This will allow you more time to pour and manipulate the resin, minimizing the chance of air entrapment.
- Choose the right mold: Opt for flexible silicone molds that are easy to de-mold. This will help prevent air bubbles from forming during the demolding process.
- Mold release agent: Before pouring the resin, apply a thin coat of mold release agent to the mold surface. This creates a barrier between the epoxy and the mold, reducing the likelihood of air bubbles forming.
Curing Your Casting for the Best Results

To achieve optimal results when curing your epoxy resin casting, it’s essential to follow the specific resin’s instructions for ratio, pot time, and cure time. Each epoxy resin has its own set of requirements for proper curing, and by adhering to these guidelines, you can ensure the best possible outcome for your project.
A crucial element in the curing process is accurately measuring and thoroughly mixing the resin and hardener. Failure to do so may result in sticky or uneven curing. Take care to follow the recommended mixing ratios provided by the manufacturer to achieve the desired chemical reaction.
Additionally, it’s important to remove any air bubbles that may have formed during the mixing process. This can be done using a heat gun or a toothpick to pop the bubbles gently. Covering the mold during curing can also help protect it from dust particles, ensuring a smooth, flawless finish.
When selecting the appropriate epoxy resin for your casting, consider factors such as depth, clarity, and cure time. Different resins offer varying degrees of transparency and may have different cure times. By understanding the resin fundamentals and choosing the right epoxy system, you can achieve the desired surface appearance for your project.
After the resin has cured, it’s important to sand down any rough edges and finish the piece as desired. This final step allows you to refine the appearance and ensure a professional-looking result.
Achieving a Flawless Finish on Your Castings
To achieve a flawless finish on your castings, it’s crucial to focus on surface preparation techniques.
Sanding down any rough or uneven edges and using a heat gun or torch to remove bubbles are essential steps.
Additionally, applying a thin coat of mold release agent and using clean-release masking tape can ensure a clean demolding process.
Once the surface is prepared, polishing and buffing methods, such as using TotalBoat TotalBuff and TotalShine compounds, can elevate the finish to a high shine, resulting in a flawless appearance.
Surface Preparation Techniques
Achieving a flawless finish on your castings requires careful surface preparation techniques that ensure easy removal of the casting and the desired color without affecting the curing process. Here are some techniques that can help you achieve the best results:
- Properly prepare the mold by applying a thin coat of mold release agent. This creates a barrier between the epoxy and the mold surface, making it easier to remove the casting without any damage.
- Use compatible tints like mica powders, universal tints, pigment dispersions, and alcohol inks. Please make sure they’re compatible with the epoxy resin to achieve the desired color without interfering with the curing process.
- Seal the sides of custom molds with silicone or hot glue to prevent leaks. Use sheathing tape, packing tape, or mold release tape to line the inside for easy demolding.
Polishing and Buffing Methods
After properly preparing the surface of your castings, the next step in achieving a flawless finish is to utilize effective polishing and buffing methods.
Once your epoxy resin casting has cured, it’s essential to remove any rough or uneven edges by sanding them down. This will create a smooth surface for polishing.
To achieve a high shine, you can use polishing compounds and a soft cloth. Apply the compound to the cloth and gently rub it onto the casting in circular motions. This will help to remove any minor imperfections and enhance the overall appearance of your casting.
Additionally, consider applying a clear coat of resin or varnish to enhance the shine further and protect the surface.
Pro Tips for Mastering Epoxy Resin Casting
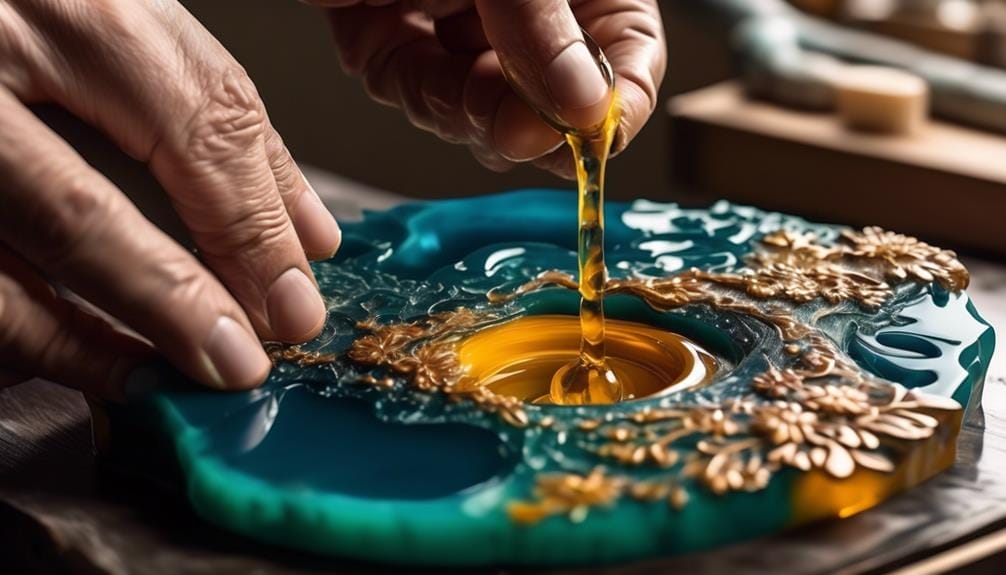
For mastering epoxy resin casting like a pro, incorporating these expert tips will elevate your skills to the next level:
- Experiment with different techniques: Try out various casting techniques such as coating, doming, and pouring resin into molds. Each technique offers unique possibilities and effects, allowing you to create stunning resin castings.
- Pay attention to the details: Gather all the necessary supplies before starting your resin casting project. From mixing cups and stirring utensils to mold release agents, having everything ready will ensure a smooth and hassle-free process.
- Follow resin directions diligently: Understanding the resin’s instructions is crucial for achieving the desired results. Take note of the mixing ratio, pot time, and cure time specified by the manufacturer. Following these guidelines will help you produce flawless resin castings.
- Measure and mix accurately: Accurate measurement and thorough mixing of resin and hardener are vital steps in the casting process. Use calibrated measuring cups to ensure precise ratios, and mix the components thoroughly to avoid issues like sticky resin or uneven curing.
- Master pouring and bubble removal: Learn proper pouring techniques to achieve even, smooth pours. Additionally, take measures to remove any bubbles that may form during the pouring process. Using a heat gun or torch can help eliminate bubbles and create crystal-clear castings.
- Perfect your demolding and finishing techniques: Pay attention to the demolding process to prevent any damage or distortion to your resin castings. Once de-molded, take the time to refine and finish your castings using sanding, polishing, and buffing methods.
Exploring Creative Possibilities With Casting Resin
To unlock the limitless potential of casting resin, artists, and creators can explore a multitude of innovative and imaginative ways to utilize this versatile material. One exciting avenue to explore is the creation of resin jewelry.
With casting resin, you can make stunning and unique pieces by combining Resin Obsession super clear with various pigments and tints. The result is jewelry that isn’t only visually appealing but also durable, thanks to the UV resistance of the resin.
Another creative possibility with casting resin is the creation of epoxy rivers. By pouring layers of resin with different colors or materials, such as wood or stones, you can achieve a mesmerizing effect that resembles a flowing river. This technique is commonly used in the creation of river tables, where the epoxy river becomes the centerpiece of a functional and artistic furniture piece.
In addition to jewelry and river tables, casting resin offers countless other creative possibilities. Artists can experiment with different molds, such as those made from melamine or HDPE, to create custom shapes and sizes. Mixing resin with compatible tints and pigments allows for the creation of vibrant and eye-catching art pieces.
With its versatility and endless creative possibilities, casting resin is a medium that opens the door to unlimited exploration and innovation for artists and creators. The only limit is your imagination.
Frequently Asked Questions
Can You Use Epoxy Resin for Casting?
Yes, you can use epoxy resin for casting. To achieve the best results, follow these tips: use high-quality resin, select suitable molds, remove air bubbles, add color/effects, avoid common mistakes, and properly cure and finish your castings for durability and longevity.
What Should You Not Cast in Resin?
When casting with epoxy resin, it’s important to avoid certain materials. Organic items like flowers and food can decompose, heat-sensitive materials like wax can melt, and porous materials like fabric can trap air.
What Is the Difference Between Casting Epoxy and Epoxy Resin?
Casting epoxy and epoxy resin have distinct differences. Casting epoxy is ideal for detailed castings, while epoxy resin is versatile for various projects. Casting epoxy has a longer curing time, allowing for air bubble release, while epoxy resin cures faster.
What Do I Need to Cast Resin?
To cast resin, you’ll need essential tools like mixing cups, molds, and a heat gun. Make sure to follow safety precautions and choose the right epoxy resin. Accurate measurement and thorough mixing are crucial for success.
Conclusion
In the world of epoxy resin casting, the possibilities are endless. Like a master sculptor shaping clay, you have the power to create beautiful and unique pieces that tell a story.
With the right resin, molds, and techniques, you can bring your imagination to life. So, grab your tools, embrace the magic of resin, and let your creativity flow.
Unleash the artist within and embark on a journey of artistic exploration with epoxy resin casting.

