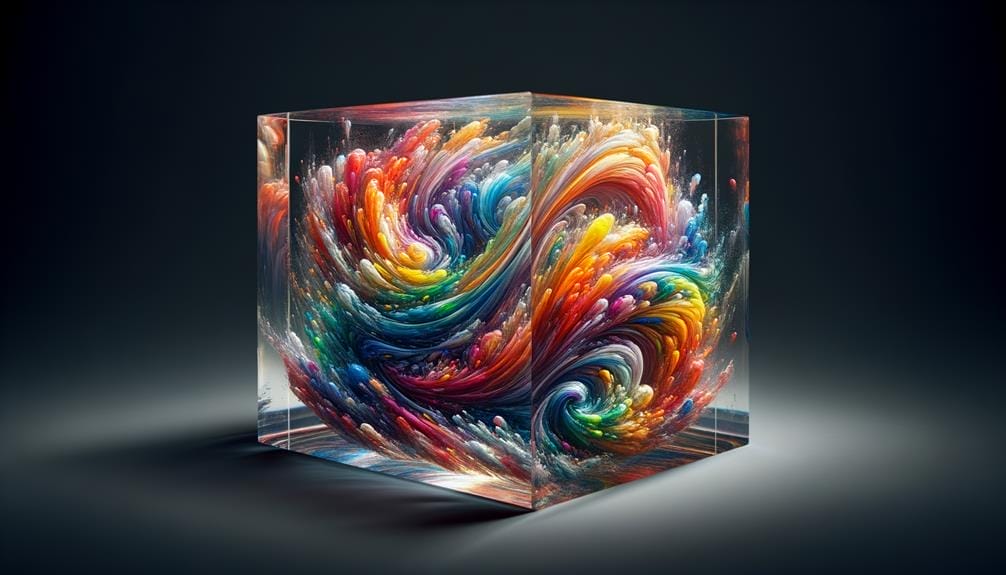
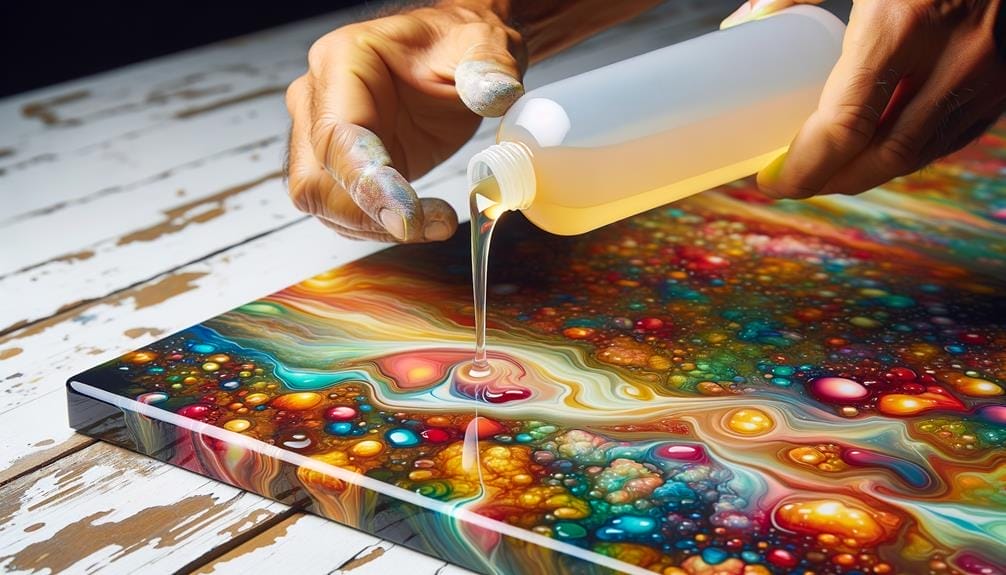
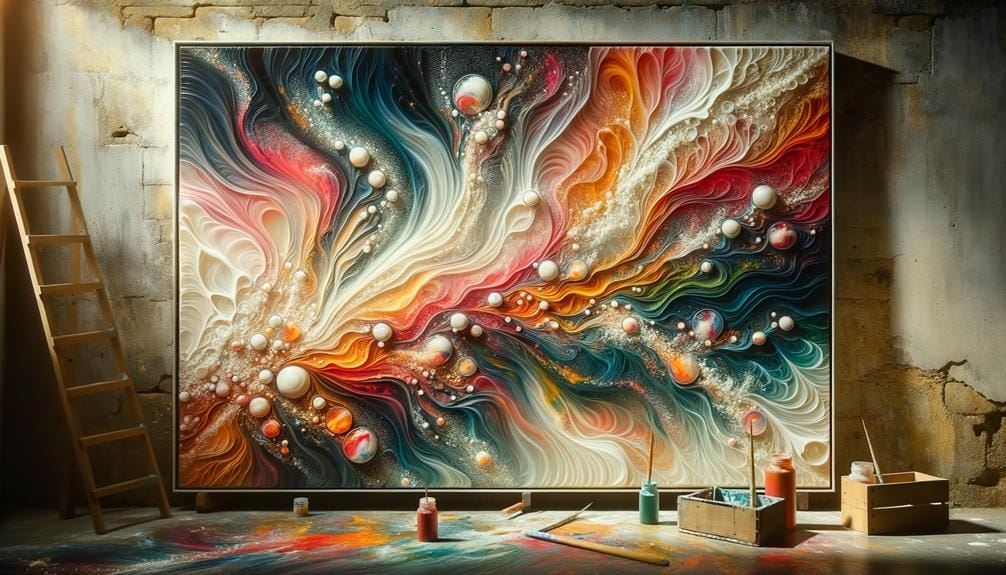
You know what they say: 'A picture is worth a thousand words.' Well, when it comes to resin painting, that saying couldn't be more true. Resin painting is a captivating art form that allows you to create stunning, three-dimensional pieces that will leave everyone in awe.
But how exactly does it work? How do you achieve those vibrant colors and mesmerizing textures? In this discussion, we'll unravel the secrets behind resin painting, from the materials you need to the techniques you can master.
So, get ready to embark on a journey of creativity and discover the endless possibilities that resin painting has to offer.
Key Takeaways
- Choosing the right resin is crucial for achieving the desired results in resin painting, considering factors such as durability, open time, and odor.
- Proper curing time and safety precautions should be followed to ensure a successful resin painting project, including proper ventilation, wearing protective gear, and following manufacturer's instructions.
- Workspace preparation and cleaning are essential to create a safe and organized environment for resin painting, including decluttering, protecting the work surface, and implementing safety measures for resin fumes.
- Various techniques and finishing touches can enhance resin paintings, such as using a heat gun for unique effects, experimenting with different manipulation techniques, incorporating additional materials, and applying a protective coat for a polished finish.
Materials for Resin Painting
To create stunning resin paintings, the essential materials you'll need include:
- Epoxy resin and hardener: These act as the foundation for your resin painting. When mixed together, they create a clear, glossy, and durable surface that's perfect for showcasing your artistic vision.
- Pigments: These are what bring your painting to life, adding vibrant colors and depth to your resin. Whether you choose bold and vibrant hues or soft and subtle tones, the pigments allow you to create a variety of effects and moods in your artwork.
- Heat gun: This is a valuable tool in the resin painting process. It helps you manipulate the resin, spreading it smoothly across the canvas and creating interesting patterns and textures.
- Canvas or surface prepared with white primer: This provides a solid base for your resin painting. The white primer allows the colors to pop and ensures that the resin adheres properly.
Choosing the Right Resin
When it comes to choosing the right resin for your painting, there are several important points to consider.
First, you need to evaluate the different resin types available and their specific properties.
Secondly, it's crucial to understand the curing time of the resin to ensure that your artwork sets properly.
Lastly, don't forget to take safety precautions into account, such as working in a well-ventilated area and wearing protective equipment.
Resin Types
There are various types of resin available, each with its own unique characteristics and uses, making it important to choose the right resin for your project.
When considering resin types, factors such as open time, odor, and workability should be taken into account.
Epoxy resin is known for its durability and strength, making it suitable for projects that require a hard, glossy finish.
On the other hand, art resin is preferred for its long open time and low odor.
It's crucial to consider the specific requirements of your project and your personal preferences when selecting the right resin type.
Curing Time
Considering the importance of curing time in resin painting projects, it is crucial to select the right resin that aligns with your desired working speed and the complexity of your art. The curing time of resin can vary depending on the type and brand chosen. Some brands offer longer open times, allowing for intricate artwork and more time for manipulation before the resin sets. On the other hand, certain resins are designed to cure quickly, perfect for those who prefer a fast-paced working style or have simpler projects. To help you choose the right resin for your needs, here is a table showcasing the curing times of different resin types:
| Resin Type | Curing Time |
|---|---|
| Epoxy | 24-72 hours |
| UV Resin | Varies, longer working time under UV light |
| Quick Cure | Rapid curing, sets in a short period of time |
Safety Precautions
To ensure your safety while working with resin, it's important to choose the right resin that aligns with your specific needs and preferences. Here are four safety precautions to keep in mind when selecting the resin for your painting project:
- Ventilation and Protective Gear: Ensure proper ventilation in your workspace and wear protective gear such as gloves and a respirator to prevent inhalation and skin contact.
- Low Odor and Long Open Time: Opt for a resin with a long open time and low odor, like the Art Resin brand, to minimize exposure to potentially harmful fumes.
- Follow Manufacturer's Instructions: Read and follow the manufacturer's instructions for proper mixing, handling, and disposal of the resin to ensure safety and reduce environmental impact.
- Consider Environmental Impact: Consider the environmental impact of the resin and choose eco-friendly or non-toxic alternatives if possible to minimize harm to the environment.
Preparing Your Workspace
Before you begin your resin painting, it's crucial to take the necessary steps to prepare your workspace. This involves implementing safety measures to protect yourself from resin fumes and ensuring proper ventilation.
Additionally, organizing your materials and cleaning the workspace will contribute to a smooth and efficient resin painting process.
Safety Measures
For optimal safety, ensure that your workspace is properly prepared before starting your resin painting project. Here are four important safety measures to consider:
- Ventilation: Adequate ventilation is crucial when working with resin. Open windows or use exhaust fans to ensure proper air circulation and prevent the buildup of harmful fumes.
- Protective Gear: Wear appropriate personal protective equipment, such as gloves, goggles, and a respirator, to protect yourself from potential skin contact, eye irritation, and inhalation of resin particles or fumes.
- Fire Safety: Resin is highly flammable, so keep a fire extinguisher nearby and avoid working near open flames or heat sources. Additionally, have a clear path to exit in case of an emergency.
- Cleanliness: Maintain a clean and organized workspace to minimize the risk of accidents. Wipe up spills immediately, dispose of waste properly, and keep all tools and materials in designated areas.
Organizing Materials
Create an organized and efficient workspace by preparing your materials before beginning your resin painting project. This will help you stay focused and ensure a smooth and enjoyable creative process. Start by setting up a well-ventilated area with the necessary protective gear, such as gloves and a respirator, to ensure your safety. Warm up the Art Resin by placing it in warm water and mix it with the hardener in separate cups, creating a simple color palette for your first attempt. Use a 3/4 pine plywood as your canvas and apply three coats of white primer as a base coat. To catch drips and allow the resin to flow off the sides, create a plywood trough. Once you have all your materials organized, you can begin your resin painting journey with confidence.
| Materials | Purpose | Importance |
|---|---|---|
| Well-ventilated workspace | Ensures safety by providing proper ventilation while working with resin, protecting you from harmful fumes. | Essential |
| Protective gear (gloves, respirator) | Protects your skin and respiratory system from potential health hazards associated with resin and its hardener. | Crucial |
| Warm water | Helps to warm up the resin and make it more fluid, making it easier to mix and work with. | Important |
| Separate cups for resin and hardener | Allows for accurate measurements and proper mixing of the two components, ensuring the resin cures properly. | Vital |
Preparing your workspace in advance will save you time and prevent any interruptions during your resin painting process. By having all your materials organized and ready, you can fully immerse yourself in the art and create stunning resin paintings. So take the time to set up your workspace properly and enjoy the journey of resin painting.
Cleaning the Workspace
To ensure a safe and efficient resin painting process, it's important to thoroughly clean and prepare your workspace. Here are four key steps to consider when cleaning your workspace for transparent art:
- Declutter and clear the area: Remove any unnecessary items from your workspace to avoid accidents and create a clutter-free environment. This will allow you to focus on your resin painting without distractions.
- Wipe down the work surface: Use a mild detergent and water to wipe down your work surface. This will remove any dust or debris that could contaminate your resin and affect the final result of your artwork.
- Ensure good ventilation: Find a dedicated space with good ventilation to minimize the inhalation of fumes. This will create a comfortable working environment and reduce the potential health risks associated with resin painting.
- Protect your work surface: Lay down protective coverings such as plastic sheets or disposable drop cloths to prevent any spills or drips from damaging your work surface. This will help maintain the integrity of your workspace and make cleaning up easier.
Mixing Resin and Pigments
When mixing resin and pigments for your resin art, it is crucial to ensure proper ratios to achieve the desired results. To do this, use separate cups for each color and combine 6oz of resin with 6oz of hardener for each color. This will ensure that the resin cures properly and creates a durable and long-lasting artwork.
To help you visualize the process, here is a table that shows the proper ratios for mixing resin and pigments:
| Color | Resin (6oz) | Hardener (6oz) |
|---|---|---|
| Red | 6oz | 6oz |
| Blue | 6oz | 6oz |
| Yellow | 6oz | 6oz |
| Green | 6oz | 6oz |
| Purple | 6oz | 6oz |
Once you have measured the resin and hardener, it's time to add the pigments. Stir the pigments into each cup for approximately 3 minutes per color. This will ensure a thorough and consistent mixture, allowing the pigments to blend seamlessly with the resin. Take your time during this step to ensure that the colors are well incorporated and evenly distributed.
Mixing resin and pigments is just the first step in creating beautiful resin art. Experiment with different pouring techniques and a heat gun to control the flow and blending of colors, resulting in unique patterns and textures. You can also add objects or elements between resin layers to create depth and dimension. Dried flowers, shells, or glitter are great options to consider. Just make sure to fully cover them with resin to preserve their beauty.
Once you have added all the layers and elements, allow the artwork to cure completely according to the resin manufacturer's instructions. Trim any excess resin and consider adding a final protective layer for a polished finish. With the proper ratios and careful mixing, your resin art will come to life with vibrant colors and stunning effects.
Applying Resin to Your Canvas
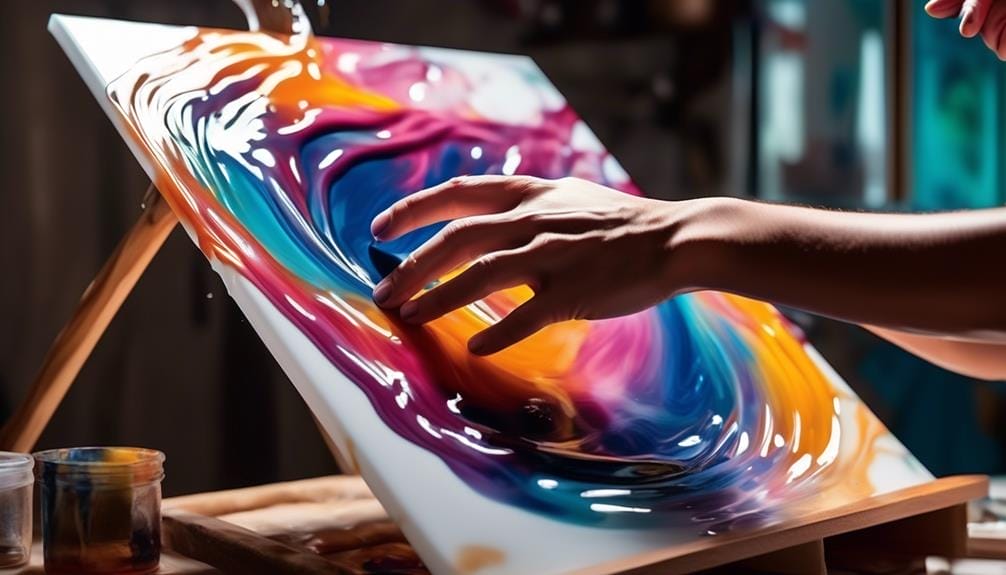
Now it's time to apply resin to your canvas, and there are three key points to consider:
- Preparation: Ensure your canvas is clean and free from dust or debris.
- Mixing resin: Carefully measure and mix the resin according to the manufacturer's instructions.
- Applying resin: Use a brush or pouring technique to evenly spread the resin onto your canvas, being mindful of any desired patterns or effects you want to achieve.
Remember to take your time and follow the instructions carefully to achieve the best results.
Preparation
For optimal workability and to ensure the elimination of micro bubbles, it's crucial to warm up the resin and thoroughly mix it with a hardener. This preparation step is essential to achieve the desired results in your resin painting.
Here are four key points to consider when preparing your canvas for resin application:
- Choose the right canvas: Using a 3/4 pine plywood as the canvas provides a sturdy surface that can withstand the weight of the resin.
- Apply a base coat: Applying three coats of white primer as a base coat helps create a smooth and even surface for the resin to adhere to.
- Utilize effective techniques: When painting with a heat gun, pouring the resin through the center and using the heat gun as a mixing stick can enhance fluidity and create interesting patterns.
- Add depth and interest: Consider adding copper to your artwork or working the white resin to create a beach/river feel, adding depth and visual interest to your piece.
Mixing Resin
To continue the process of preparing your canvas for resin application, let's now explore the crucial step of mixing resin to achieve the desired results in your resin painting. Mixing resin is a precise and important task that requires attention to detail. The proper mixture of resin and hardener will ensure a smooth and glossy finish on your canvas. To help you understand the resin mixing process, here is a table outlining the recommended ratios of resin to hardener for different resin painting techniques:
| Resin Painting Technique | Resin Ratio | Hardener Ratio |
|---|---|---|
| Coating | 1:1 | 1:1 |
| Layering | 2:1 | 1:1 |
| Embedding | 3:1 | 1:1 |
| Tinting | 4:1 | 1:1 |
Applying Resin
To apply resin to your canvas, make sure the resin has been warmed up for easy workability and to eliminate micro bubbles. This step is crucial in achieving a smooth and professional finish.
Here are some tips for applying resin to your canvas:
- Mix resin and hardener in separate cups for each color. Stir each color for 3 minutes to ensure thorough mixing.
- Apply 3 coats of white primer on a plywood canvas. This will create a solid base and enhance the vibrancy of your colors.
- Create a trough around the edges of your canvas to catch any resin drips. This will prevent mess and ensure a clean finish.
- Pour the resin mixture through the center of your canvas and use a heat gun as a mixing stick. This technique will create unique waves and eddies in your artwork.
Creating Cells and Lacing Effects
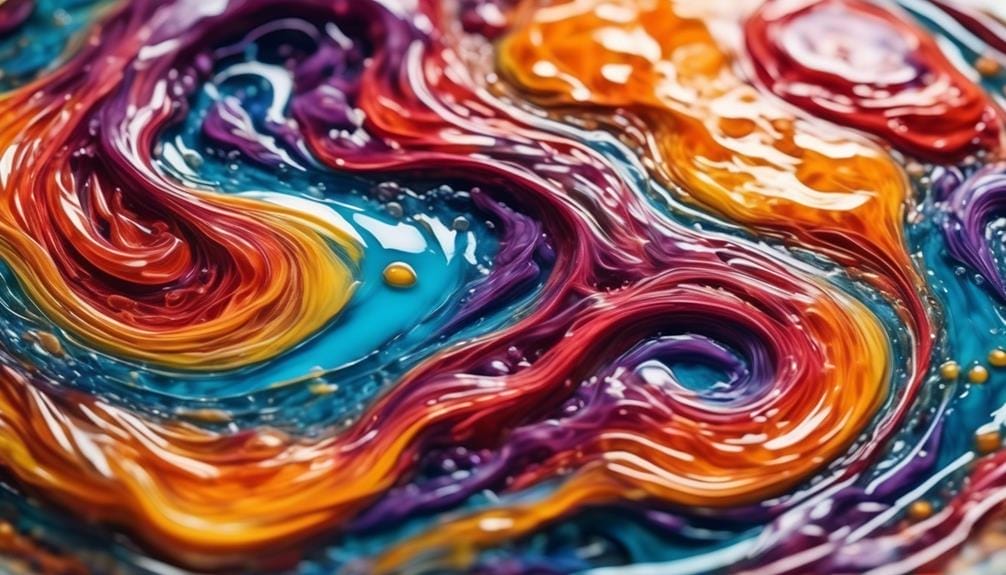
Creating captivating cells and mesmerizing lacing effects in resin painting can be achieved by skillfully applying heat to the surface using a heat gun. This technique allows the resin to react and form unique patterns, adding depth and intrigue to your artwork. By experimenting with different heat gun techniques and angles, you can control the size and shape of the cells and lacing, creating a truly personalized piece.
To enhance the formation of cells and lacing patterns, you can mix silicone oil or alcohol inks with the resin. These additives promote the creation of cells by reducing the surface tension of the resin. As you apply heat, the silicone oil or alcohol inks rise to the surface, creating beautiful, organic-looking cells that are reminiscent of bubbles or marbled effects.
To help you visualize the potential of creating cells and lacing effects in resin painting, here is a table showcasing some examples:
| Technique Used | Resulting Effect | Emotion Evoked |
|---|---|---|
| Gentle Heat | Small, delicate cells | Calm, tranquility |
| Strong Heat | Large, bold cells | Vibrant, energetic |
| Zigzag Motion | Lacing patterns across the surface | Dynamic, movement |
| Circular Motion | Concentric circles of cells | Whimsical, mesmerizing |
Using Heat to Manipulate Resin
Using heat to manipulate resin allows for the spreading and blending of colors, resulting in stunning and vibrant artwork. Let's explore how this technique can elevate your resin paintings:
- Unleash the Power of Colors: By using heat to manipulate resin, you can achieve a mesmerizing interplay of hues. The heat gun enables you to effortlessly spread and blend colors, creating captivating gradients and transitions. The vibrant pigments come alive, evoking a sense of energy and excitement.
- Embrace Fluidity: Warm water is essential for preparing the resin before starting your project. This step ensures easy workability and eliminates unwanted micro bubbles. By embracing the fluidity of resin, you can smoothly manipulate it with heat, allowing the colors to flow and merge organically.
- Maintain Control: To maintain control over the painting process, it's crucial to mix the colors less when using a heat gun. This technique prevents the colors from becoming muddy and allows you to guide the resin's movement. With careful precision, you can create dynamic patterns and captivating designs.
- Enhance the Final Effect: After adding all the layers and allowing your artwork to cure completely, using a heat gun can take your piece to new heights. By gently applying heat, you can blend colors seamlessly and enhance the final effect. This adds depth and dimension, transforming your resin painting into a true masterpiece.
Using heat to manipulate resin opens up a world of artistic possibilities. It empowers you to create captivating artwork that mesmerizes and delights. Let your creativity flow and embrace the transformative power of heat in your resin paintings.
Adding Texture and Dimension

Enhance the visual impact of your resin paintings by incorporating texture and dimension into your artwork. Adding texture and dimension to your resin paintings can take your artwork to a whole new level, creating a more dynamic and engaging piece.
By manipulating the resin, you can create a variety of textures that add depth and interest to your painting. One way to achieve texture is by using various tools and techniques to create patterns or raised surfaces on the resin. You can experiment with different objects, such as brushes, palette knives, or even natural materials like leaves or flowers, to create unique textures.
Additionally, you can incorporate other materials into your resin painting, such as sand, glitter, or beads, to add dimension and visual interest. These materials can be embedded into the resin or sprinkled on top to create a textured effect.
Another technique to create dimension is by layering multiple thin layers of resin, allowing each layer to partially cure before adding the next. This creates a sense of depth and dimension as the layers build up.
Incorporating Other Materials
Experiment with a variety of materials to add depth and visual interest to your resin paintings. Incorporating other materials into your resin wall art can take your artwork to a whole new level. Here are four exciting materials you can try using:
- Metallic Foils: Add a touch of glamour to your resin painting by incorporating metallic foils. These foils come in various shades and can be applied to the surface of the resin, creating stunning metallic accents that catch the light and add dimension to your artwork.
- Dried Flowers: Bring the beauty of nature into your resin wall art by embedding dried flowers. Choose delicate petals or vibrant blooms and carefully arrange them on the resin surface. When the resin cures, the flowers will be preserved, creating a unique and organic element in your artwork.
- Crushed Glass: Create a mesmerizing effect by adding crushed glass to your resin painting. The reflective properties of the crushed glass will give your artwork a captivating sparkle, enhancing the overall visual appeal.
- Seashells: Capture the essence of the ocean by incorporating seashells into your resin wall art. Whether you choose small shells or larger, more intricate ones, they'll add a touch of coastal charm to your artwork, reminding viewers of the beauty and serenity of the beach.
Curing and Finishing Your Resin Painting

To ensure the proper curing and finishing of your resin painting, there are several important steps you need to follow. Curing is the process of allowing the resin to harden and fully set, while finishing involves adding final touches and protective measures to enhance the longevity and appearance of your artwork.
Firstly, after pouring the resin, it is crucial to let it cure in a dust-free environment for the recommended time specified by the manufacturer. This will ensure that the resin dries evenly and without any imperfections. Once the resin has cured, you can proceed with the finishing process.
One important step in finishing your resin painting is sanding. This helps to remove any bumps or rough edges, giving your artwork a smooth and polished finish. You can use sandpaper or a sanding block with varying grits to achieve the desired level of smoothness.
Another essential part of finishing is applying a protective coat. This can be done by adding a layer of varnish or a resin topcoat. This not only adds shine and depth to your painting, but also acts as a barrier against UV light and other external elements that can cause damage over time.
Lastly, don't forget to clean and care for your resin painting regularly. Dusting it with a soft, lint-free cloth and avoiding direct sunlight will help to preserve its beauty for years to come.
| Steps to Curing and Finishing Your Resin Painting |
|---|
| 1. Let the resin cure in a dust-free environment for the recommended time. |
| 2. Sand the painting to achieve a smooth finish. |
| 3. Apply a protective coat of varnish or resin topcoat. |
| 4. Clean and care for your artwork regularly. |
| 5. Avoid direct sunlight to prevent damage. |
Troubleshooting Common Resin Painting Issues
Now that you have successfully cured and finished your resin painting, let's address any potential issues that may arise during the process. Troubleshooting common resin painting issues can help you overcome challenges and achieve the desired results.
Here are four common issues to watch out for:
- Air bubbles: Air bubbles can appear in the resin as it cures, resulting in an uneven surface. To prevent this, use a heat gun or torch to carefully remove any bubbles before the resin sets. Move the heat gun or torch in a sweeping motion over the surface, being cautious not to overheat and damage the artwork.
- Overflow and uneven surfaces: Using too much resin can lead to overflows and uneven surfaces. Ensure you follow the recommended guidelines for resin-to-hardener ratios and only pour the necessary amount. This will help you achieve a smooth and level finish.
- Poor ventilation and inadequate protective gear: Resin can release harmful fumes during the curing process. Ensure that your workspace is well-ventilated to avoid inhaling these fumes. Additionally, wear appropriate protective gear such as gloves and a respirator to protect yourself from any potential health hazards.
- Yellowing: Resin artworks exposed to sunlight can yellow over time. To prevent this, store your resin in a cool, dark place when not in use. If you plan to display your artwork in sunlight, consider using UV-resistant varnish to protect it from harmful UV rays.
Tips for Cleaning and Maintaining Resin Painting Tools
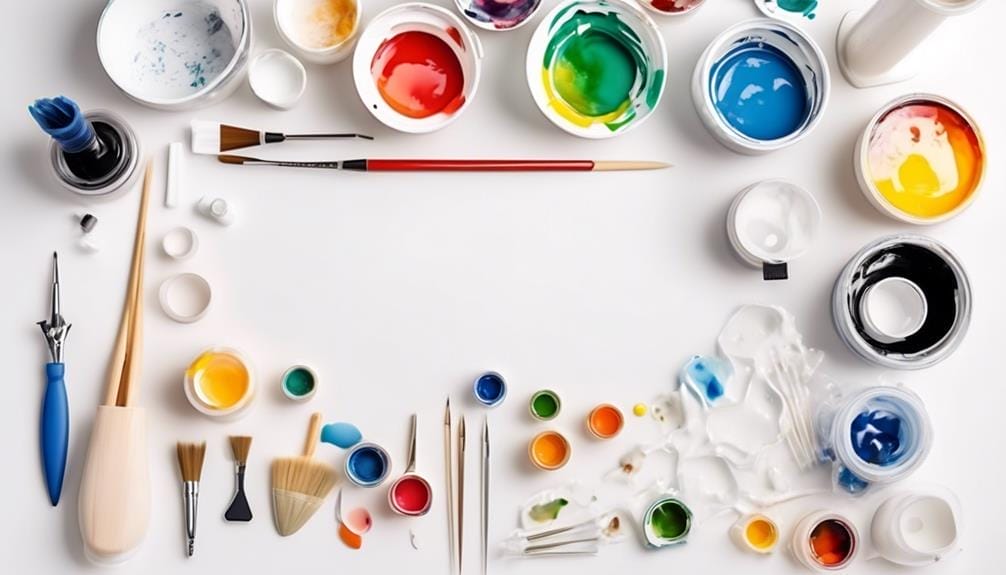
To ensure the longevity and effectiveness of your resin painting tools, it is important to know how to properly clean and maintain them. Cleaning and maintaining resin painting tools not only helps to keep them in good condition but also ensures that they perform optimally when you are creating your artwork. Here are some tips to help you clean and maintain your resin painting tools:
| Cleaning Resin Painting Tools | Maintaining Resin Painting Tools |
|---|---|
| Clean your tools immediately after use to prevent resin from hardening and becoming difficult to remove. | Store your tools in a dry and clean area to prevent any damage or contamination. |
| Use warm soapy water to clean resin off your tools. Scrub gently with a soft brush to remove any stubborn residue. | Inspect your tools regularly for any signs of wear or damage. Replace any worn out or broken tools to ensure safety and optimal performance. |
| If resin has hardened on your tools, soak them in rubbing alcohol or acetone to help soften and remove the resin. | Keep the handles of your tools clean and free from resin buildup. This will ensure a comfortable grip and prevent any slipping or accidents. |
Frequently Asked Questions
What Is Resin Painting?
Resin painting is a creative technique that allows you to explore marbling techniques. By using resin as a medium, you can create stunning artworks with vibrant colors, glossy finishes, and three-dimensional effects.
What Kind of Paint Do You Use in Resin?
In resin painting, you use high-quality epoxy resin paint. It's specifically designed for art projects and gives vibrant colors. Acrylic paints are popular because they mix well and maintain vibrancy. Experimenting with different paints opens up exciting possibilities.
What Should You Not Put in Resin?
In resin, avoid water-based items like fresh flowers or paper, which can cause air bubbles and discoloration. Don't use oil-based paints that won't cure properly or acrylic paint in large amounts, as it leads to bubbles and cloudiness.
Can I Use Resin on Acrylic Paint?
Yes, you can use resin on acrylic paint. The resin technique adds a glossy and durable finish to your artwork. It also creates depth and dimension, enhancing the overall visual appeal. Ensure the paint is fully dry before applying resin to avoid cracking or bubbling.
Conclusion
In conclusion, resin painting is a captivating form of art that allows for endless creativity and experimentation.
With its vibrant colors and three-dimensional effects, resin paintings add depth and texture to any space.
Like a symphony of colors and textures, resin paintings create a visual rhythm that's both mesmerizing and captivating.
By incorporating various materials and utilizing the right techniques, artists can create stunning and unique works of art that are sure to leave a lasting impression.

